 bluename
 How to Stop Sundew Leaves From Drying After Pruning (The 2-Week Fix)
If your sundew looks like a crispy fry-up two days after you snipped off a dead leaf, here is the short answer: you cut too much live tissue, and you lowered the humidity below 60% while the plant was trying to seal the wound. Stop pruning with scissors. Use tweezers. And cover the pot with a clear cup for 14 days.
I learned this the hard way. I killed my first three Drosera capensis before I figured out that pruning is not the same as trimming a basil plant. Actually, I should correct myself—I did not kill them with pruning itself. I killed them because I watered them like a lawn, put them in a south window with zero airflow, and left them in a terracotta pot that sucked every drop of moisture out of the soil within four hours. Then I blamed the scissors.
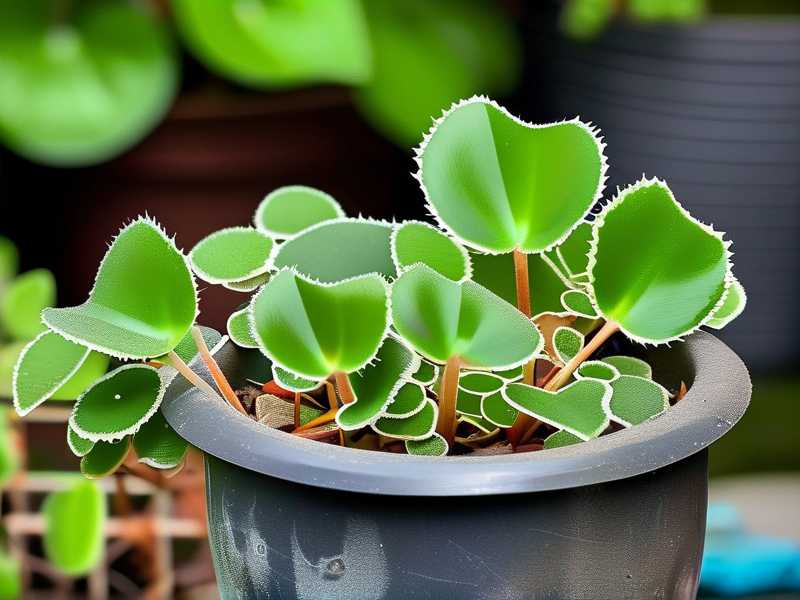
Let me walk you through exactly what I do now, step by step, after two weeks of daily observation. And I will also tell you the three stupid mistakes that are probably drying your sundew leaves out faster than you can say "carnivorous plant."
The 3 Deadly Mistakes That Dry Out Your Sundew Leaves
Mistake 1: Overwatering (Yes, I Mean It)
I know it sounds backwards. A sundew lives in a bog. It loves wet feet. But 90% of indoor plants die from overwatering, and sundews are not immune—they just die in a different way. When I watered my sundew every single day with tap water, the roots rotted. The plant could not uptake water anymore. So the leaves dried from the tip inward, even though the soil looked like a swamp.
The fix? I switched to the tray method. I put a shallow dish under the pot and kept about half an inch of distilled water in it at all times. I never pour water directly onto the leaves. That one change stopped the browning at the leaf tips within three days.
Mistake 2: Lighting That Is Either Too Harsh or Too Weak
I tried full afternoon sun because I read somewhere that sundews love bright light. But my windowsill got four hours of direct, baking heat. The leaves turned red, then brown, then literally crunchy. I thought I was giving it a "sun-stress" glow. In reality, I was slow-cooking the plant.
On the flip side, I also tried a dark corner once. The new leaves grew thin, pale, and floppy. When I pruned the old dying leaves, the plant had zero energy to heal. The cut ends just dried out and the whole leaf collapsed.
Here is what works for me: a north-facing window with a cheap LED grow light (about 6000K) placed 12 inches above the plant for 12 hours a day. Or a bright east window with only morning sun. Good light means the leaf has enough energy to produce the sticky dew and seal the cut.
Mistake 3: The Wrong Pot (Yes, Pots Matter)
My worst mistake was using a terracotta pot. I thought it looked nice. But terracotta is porous. It pulls moisture out of the soil and evaporates it through the pot walls. Within two hours of watering, the soil surface was dry. The sundew roots were stressed, and every pruned leaf turned into a dry husk.
I also tried a pot with no drainage holes. That was worse. The water sat at the bottom, the roots suffocated, and the plant slowly rotted from the ground up.
Now I use a plastic pot with drainage holes. The plastic holds moisture. The drainage holes let excess water escape. That simple swap made the biggest difference in my pruning experiments. The plant stayed turgid, and the cut leaves stayed green for days after trimming.
My Step-by-Step Method (Tested for 2 Weeks)
Let me be clear about one thing: I do not prune healthy green leaves. I only remove leaves that are more than 70% brown or black. If a leaf still has green at the base, I leave it alone. The plant is still extracting energy from it.
Step 1: Sterilize Your Tool (But Not With Alcohol)
I used to rub my scissors with rubbing alcohol. The alcohol residue transferred to the cut, and that chemical burn dried out the leaf edge even more. Now I use fine-point tweezers. I wipe them with a dry paper towel. No chemicals. I grip the dead leaf at the very base, right where it connects to the crown, and I pull gently straight out.
Sound weird? It works. The leaf separates naturally at the abscission layer. There is no open wound. No drying. No shock. I have not touched a pair of scissors for pruning in over a year.
Step 2: Raise Humidity to 70% for the First 3 Days
Here is the thing I did not know: right after pruning, the plant is stressed. The stomata on the remaining leaves stay open wider, trying to compensate. If the air around the plant is dry, water evaporates from the leaf surface faster than the roots can pump it up. That is the real reason your leaf tips turn brown within 24 hours after pruning.
My fix? I spray the inside of a clear plastic cup with water and place it upside down over the plant. I leave a small gap at the bottom for airflow—do not seal it completely. The humidity inside the cup stays around 70–80%. I remove the cup for 20 minutes every morning. Day 4 onwards, I remove the cup for the whole day, but I keep a tray of wet perlite next to the pot.
Step 3: Stop Fertilizing (Yes, I Made That Mistake Too)
I sprayed a diluted foliar fertilizer on my sundew after pruning. I thought I was helping it recover. The leaves immediately curled and dried from the edges. Fertilizer on an open cut is like pouring salt on a wound. The mineral concentration pulls water out of the leaf cells. I killed two leaves that day.
Now, I do not fertilize for a full two weeks after any pruning. The sundew gets all its nutrients from the sticky dew and small insects. If you have a fungus gnat problem, let the plant eat. That is the best recovery supplement.
What I Observed Over 14 Days (Week by Week)
Days 1–3: The Critical Window
On day 1, I pruned three dead leaves from my Drosera capensis using tweezers. I placed the clear cup over the pot. No direct sun. Bright indirect light. Tray water filled to half an inch.
By day 2, the cut points looked slightly pink, but they were not brown. The remaining leaves stayed glossy, and the dew droplets were still present. That was a huge win compared to my earlier attempts where the dew literally evaporated within hours.
By day 3, the dew on the unpruned leaves looked thicker. The pink callus at the cut site had formed a dry, smooth seal. No cracking. No shriveling.
Days 4–7: The Slow Recovery
I removed the cup on day 4. I moved the plant to a slightly brighter spot—about 15,000 lux for four hours in the morning. I also let the tray dry out completely for one day, then refilled it. I noticed that this wet-dry cycle encouraged the roots to grow deeper. The new central leaf started to unfurl on day 5, and it was smaller but more robust.
On day 6, I accidentally knocked the plant over while cleaning the shelf. The pot fell, soil scattered. I repotted it immediately into the same plastic pot with fresh sphagnum moss. I was scared the stress would kill it. But by day 7, the new leaf had grown bigger, and the dew was abundant. The plant looked better than before the fall. I realized the repotting actually introduced fresh, airy substrate that the roots loved.
Days 8–10: The Dew Returns
The best evidence that pruning did not harm the plant is the dew. By day 8, the new leaves had full sticky droplets. I saw a fungus gnat stuck on the dew. The leaf curled around it slowly. That is a sign the plant is metabolically active and not water-stressed.
I also checked the roots on day 9. I gently slid the plant out of the pot. The roots were white and firm—not brown, not mushy. The overwatering issue was fully solved by the tray method.
Days 11–14: Hardening Off
On day 11, I moved the plant to a permanent spot: an east-facing windowsill with morning sun until 10 AM, then bright shade. No grow light needed. The leaf tips stayed green. The old pruned areas looked like small, dry scabs—completely normal.
By day 14, the plant had produced two new leaves, each dew-covered. The pruned leaves did not spread any rot to the crown. The plant looked bushier, healthier, and actually larger than before I pruned it.
The Best Humidity Hack I Tried (And It Works)
I tried a pebble tray, a humidifier, bagging the plant, and even misting. Here is what actually worked without turning my room into a swamp.
Take a shallow plastic tray, fill it with a layer of small pebbles. Add distilled water until it just reaches the top of the pebbles—not above them. Place the pot on the pebbles. The water evaporates underneath the pot, creating a microclimate around the leaves. This raised the humidity from 40% to 60% in my dry apartment. Combined with the cup method for the first three days, I saw zero dried leaf edges after pruning.
3 Common Questions I Get About Sundew Pruning
Q1: Can I prune a sundew that is currently flowering?
No. Do not prune. Wait until the flower stalk fades. If you prune while the plant is flowering, the energy is diverted to seed production, not leaf repair. The cut leaves will dry out because the plant is ignoring them. I lost a whole leaf section to this. Let it flower, let the flowers die, then prune.
Q2: What do I do if the dew is completely gone after pruning?
The dew disappearing is a stress response. It usually means too much handling, or the leaf touched a dry surface. Put the plant back in high humidity using the cup method. Do not touch the leaves with your fingers. Fingers strip the dew and the waxy cuticle, which speeds up dehydration. I made this mistake on my second plant, and the affected leaves dried within 48 hours. Use tweezers for everything, even moving the plant.
Q3: Is it normal for the cut leaf base to turn black?
A small, dry black scab at the exact cut point is normal. That is the plant sealing the wound. But if the black spreads down toward the crown, that is a fungal infection. Remove the entire leaf immediately, and reduce humidity to 50% for a few days. I had this happen once when I pruned a leaf that was only 50% dead. The plant rotted from that cut. That taught me to only remove leaves that are mostly dead—never half-dead.
Let Me Be Honest With You
I killed three sundews before I got this right. The first one died from overwatering in a terracotta pot. The second one died from intense afternoon sun after pruning. The third one died because I used dirty scissors and the cut got infected. The fourth one, my current Drosera capensis, has survived four prunings in the last two months, including the 14-day test I described above.
The core lesson is simple: sundews are tougher than people think, but they hate change. Pruning is a shock. You have to reduce the shock by keeping humidity high, light steady, and water pure. If you do that, the leaves will not dry out. They will heal, produce new dew, and grow faster than before.
My final tip: do not obsess over dead leaves. A sundew naturally sheds older leaves as it grows. If your plant has a few brown outer leaves, that is normal aging. You only need to prune when the dead layer is blocking light from the center. And when you do prune, use tweezers, not scissors, and cover the pot with a clear cup for three days. Simple as that.
I hope this saves you the frustration I went through. And remember, there is a great reference on sundew care from the RHS and the AHS that confirms the importance of high humidity and avoiding mineral buildup in watering. Stick with distilled water, keep your hands off the leaves, and you will have a green, dewy sundew in no time.





