 bluename
 How to Grow Sundew in a Greenhouse: A Beginner’s Guide to Success
I remember the first time I saw a sundew. Its delicate, glistening tentacles looked like something from another world, and I was instantly hooked. But my early attempts at growing these fascinating carnivorous plants ended in disappointment—dried leaves, mold, and a general sense of failure. The common pain point for many enthusiasts like me is the delicate balance they require: they need specific light, water, and humidity that can be tricky to achieve on a windowsill. That’s when I turned to a greenhouse. In this guide, I’ll share my hands-on journey of how to grow sundew in a greenhouse, detailing the exact steps I took, the mistakes I made, and the thriving colony I have today after careful, sustained observation.
Why a Greenhouse is Ideal for Sundew Cultivation
Sundews (Drosera) are found on every continent except Antarctica, but most popular species thrive in boggy, sunny environments. Replicating these conditions consistently is the key. A greenhouse provides unparalleled control over the three most critical factors: light, humidity, and temperature. According to the International Carnivorous Plant Society (ICPS), stable environmental control is the single biggest factor in long-term carnivorous plant health, preventing the stress that leads to decline. A greenhouse isn’t just a luxury; for serious growers, it’s a tool for creating a micro-habitat.
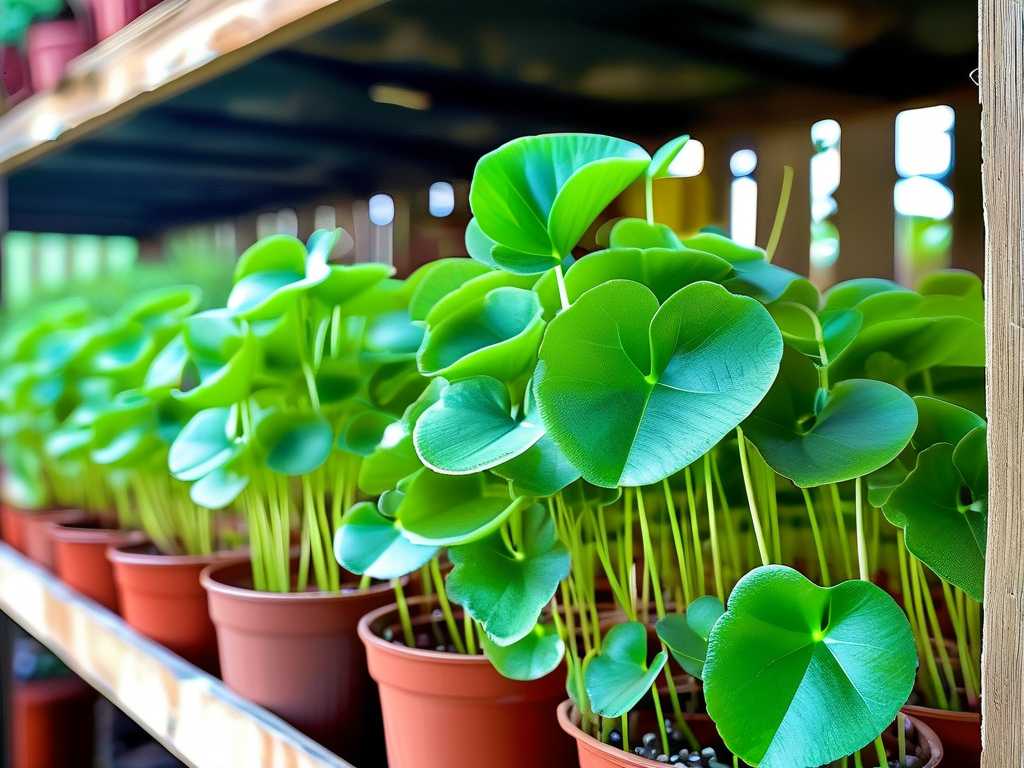
Getting Started: Essential Supplies and Setup
Before you introduce a single plant, your greenhouse needs to be prepared. Rushing this stage was my first big mistake.
Choosing the Right Sundew Species Not all sundews are equal for greenhouse growing. I started with species known for their adaptability. Cape Sundews (Drosera capensis) are virtually bulletproof and perfect for beginners. For more visual impact, I added the stunning Drosera binata (Forked Sundew). I sourced my plants from a reputable nursery specializing in carnivorous plants, ensuring they were healthy and pest-free from the start.
The Non-Negotiables: Soil, Water, and Containers Sundews absolutely require nutrient-poor, acidic soil. Any standard potting mix will kill them. I use a simple 50/50 blend of sphagnum peat moss and perlite. The American Horticultural Society (AHA) emphasizes that for peat-based mixes, pre-rinsing the media with distilled water helps lower initial pH and flush out any latent minerals. Water is paramount. Tap water, with its dissolved minerals and salts, is toxic. I use only distilled water, reverse osmosis (RO) water, or rainwater. I keep a dedicated 20-gallon barrel in the greenhouse for collected rainwater. For containers, I use standard plastic pots with drainage holes, placed inside deeper water trays. This allows for the “tray method” of watering, which is perfect for sundews.
Greenhouse Zone Preparation I sectioned off a raised bench in my moderately-sized hobby greenhouse. I covered the bench with a waterproof liner and then placed my water-filled trays on top. This creates a localized zone of high humidity right around the plants. A simple fan set on low provides gentle air circulation to prevent stagnant air, a lesson I learned the hard way.
My Step-by-Step Planting and Acclimation Process
Here is the exact process I followed, which you can replicate.
- Potting: I filled each clean pot with my pre-moistened peat/perlite mix. I made a small hole, gently placed the sundew’s root system inside, and firmed the soil around the base. The crown of the plant must stay above the soil line.
- Hydration: Immediately after potting, I watered the soil from the top with distilled water until it drained freely. Then, I placed the pot in its tray and filled the tray with about half an inch of water.
- Initial Placement: I did NOT place the newly potted sundews in full, direct greenhouse sun immediately. This can scorch them. Instead, I positioned them on a slightly shadier part of the bench for a 5-day acclimation period.
- Final Positioning: After acclimation, I moved them to their permanent spot where they receive at least 6 hours of direct sunlight, filtered through the greenhouse polycarbonate panels. Morning sun is especially beneficial.
The 2-Week Observation Log: What Actually Happened
This is where the real learning occurred. I monitored my plants daily, taking notes.
- Days 1-3: The plants looked slightly wilted after transplanting (transplant shock). I maintained the water in the trays and ensured humidity stayed above 60%. No direct feeding was attempted.
- Days 4-7: Perking up! The Cape Sundews showed the first signs of new, sticky dew production on their tentacles. The Drosera binata began to unfurl new leaves. I noticed a few fungus gnats in the greenhouse—a potential food source.
- Days 8-10: Vigorous growth was evident. I observed the process of sundew feeding in a controlled environment firsthand. A gnat became stuck on a Drosera capensis. Over 24 hours, the tentacles slowly curled inward, digesting the prey. The plant’s response to this natural fertilizer was a noticeable growth spurt.
- Days 11-14: The colony was clearly established. New leaves were emerging consistently. The humidity around the tray zone was creating a perfect microclimate. However, I spotted a minor issue: a thin layer of algae starting to form on the surface of the peat in one pot. This was my next “pitfall” to address.
Troubleshooting: Problems I Faced and How I Solved Them
Problem 1: Algae Growth on Soil Surface As noted, the constant moisture and bright light encouraged algae. While not directly harmful, it’s unsightly and can compete for surface space.
- Solution: I carefully scraped off the top quarter-inch of affected soil and replaced it with fresh, long-fiber sphagnum moss. The moss acts as a dry, acidic barrier, inhibiting algae while maintaining humidity at the base. Increasing air circulation slightly also helped.
Problem 2: Aphid Infestation In week 3, I found a small cluster of aphids on the flower stalk of one plant. Sundews can catch bugs, but they’re not immune to sap-sucking pests.
- Solution: I manually removed the flower stalk (sacrificing the blooms) and isolated the plant. I then used a cotton swab dipped in diluted Castile soap (1 tsp per liter of water) to dab each visible aphid. For ongoing pest management for greenhouse sundews, I introduced a small population of ladybugs into the greenhouse, which provided excellent biological control.
Problem 3: High-Temperature Stress During a sudden heatwave, my greenhouse temps spiked above 95°F (35°C). Some sundew leaves began to curl and dry at the tips.
- Solution: I immediately used shade cloth over the sundew section and increased ventilation by opening all vents and running two fans. I also topped up all water trays to increase evaporative cooling. Most species recovered once temperatures stabilized.
Advanced Care for a Thriving Collection
Once your sundews are stable, you can focus on optimization.
Feeding: In a greenhouse, they will catch plenty of gnats and flies naturally. If you want to supplement, you can offer dried bloodworms (fish food) rehydrated with a drop of water, placing a tiny bit on a few tentacles every 2-4 weeks. Overfeeding can harm the plant.
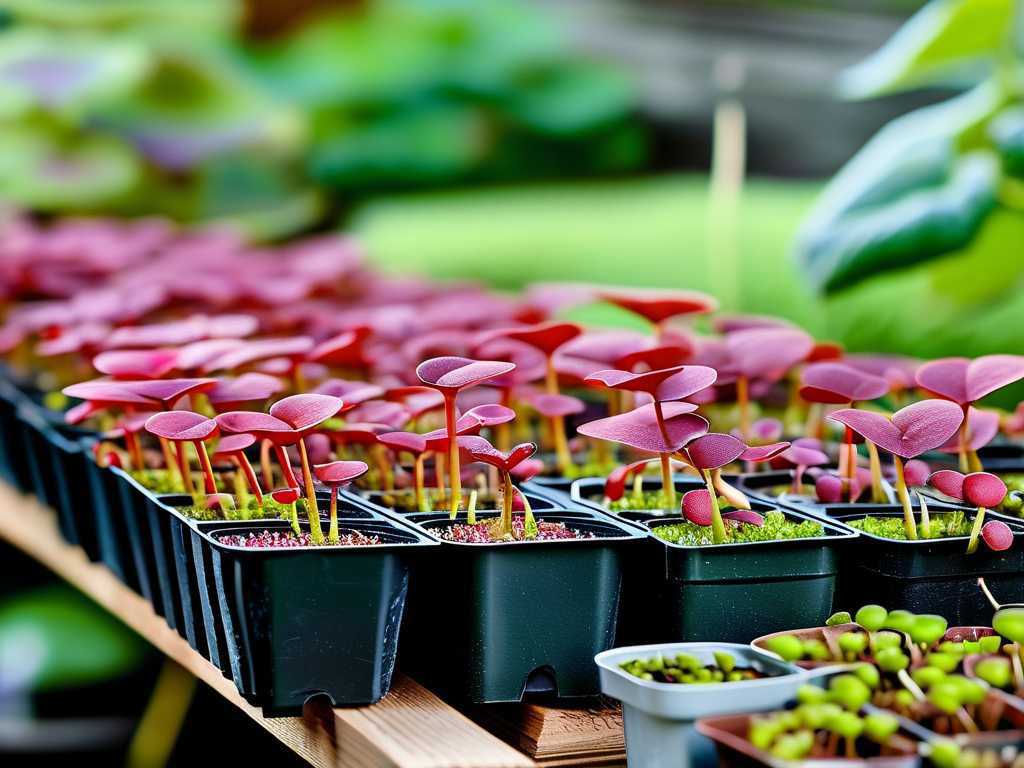
Propagation: The joy of success is sharing it. My Drosera capensis readily produced leaf cuttings. I placed a healthy leaf on moist peat moss, and within weeks, plantlets formed. I also learned to collect and sow their tiny, dust-like seeds, a process that requires patience but is incredibly rewarding.
Seasonal Adjustments: Many sundews appreciate a slight winter cool-down (a dormant period). I reduce watering slightly and allow nighttime temperatures in the greenhouse to drop into the 40s-50s°F (5-15°C) for a few months. This rest period leads to stronger growth in spring.
How often should I water my greenhouse sundews? Always use the tray method. Keep about 0.5 to 1 inch of distilled or rainwater in the tray at all times during the growing season. The soil should be permanently damp but not waterlogged. In winter, you can let the tray dry out for a day or two before refilling.
Can I use fertilizer on my sundews? Almost never. They are adapted to nutrient-poor soils and get their nutrition from insects. Fertilizer, even in dilute amounts, can burn their roots and kill them. The only exception is a rare, extremely diluted foliar spray for certain advanced species, but for beginners, the rule is simple: no fertilizer.
Why are the dew drops disappearing from my sundew? Lack of dew is a sign of stress. The most common causes are too low humidity, water quality issues (using tap water), or insufficient light. Go back to the basics: ensure you’re using pure water, maintain high humidity via the water tray, and provide several hours of direct sunlight. The dew should return once conditions improve.
Growing sundews in a greenhouse has transformed my hobby from a series of guesses into a sustainable practice. The controlled environment allows these incredible plants to showcase their full, dewy potential. By starting with the right setup, learning from close observation, and being ready to solve common problems, you can create a captivating display of living insect traps. The journey involves patience, but the moment you see a new leaf glisten with sticky, digestive dew under your greenhouse roof, every bit of effort feels worthwhile.





