bluename
 How to Prevent Sundew Soil from Drying Out Too Fast: A Grower's Battle-Tested Guide
There's nothing quite as disheartening for a carnivorous plant enthusiast as watching a vibrant sundew begin to crisp up at the leaf edges. You're giving it bright light, you're watering with distilled water, but the soil medium turns bone-dry in what feels like hours. I've been there, staring at a pot of what resembled parched desert ground more than the consistently moist bog environment my Drosera desperately needed. The central challenge isn't just watering; it's creating a stable, humid microclimate at the root level where it counts. Over the years, and through plenty of trial and error, I've developed a reliable system to prevent sundew soil from drying out, and in this guide, I'll walk you through the exact, practical steps that transformed my struggling plants into dewy, insect-catching marvels.
Understanding the "Why": Why Sundew Soil Dries Out So Quickly
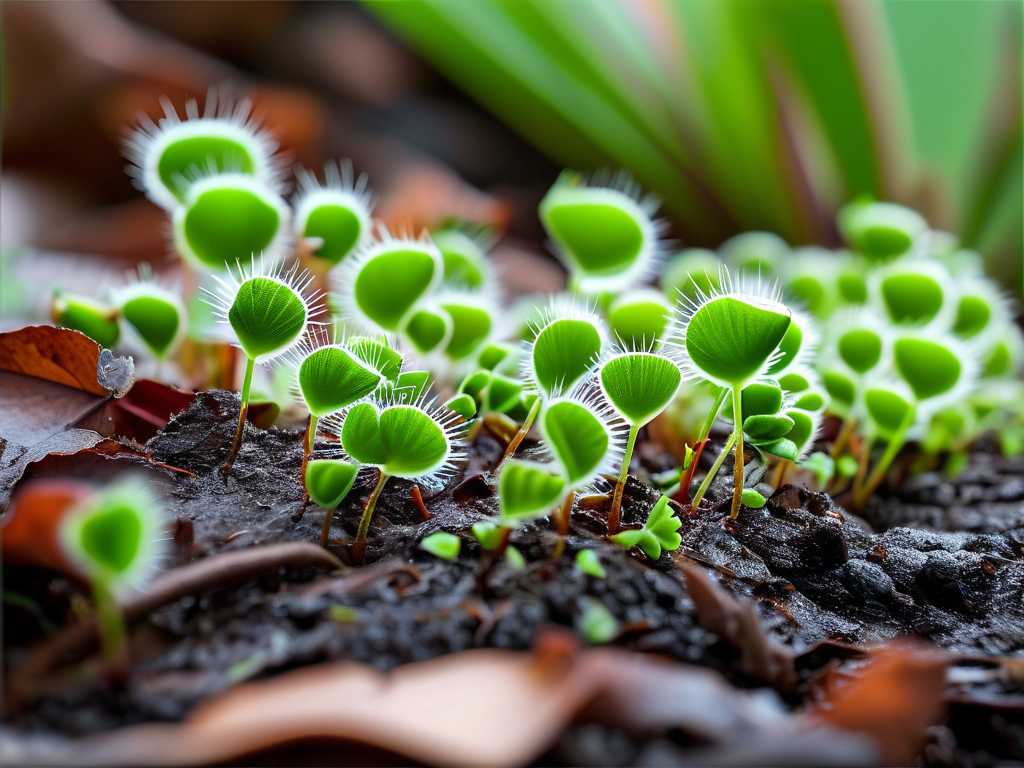
Before we fix the problem, we need to understand it. Sundews are bog natives. In the wild, their roots sit in cool, water-saturated, oxygen-poor soil. Our typical indoor environments—with moving air, heating, and air conditioning—create a massive vapor pressure deficit, literally sucking moisture out of the potting mix. The standard peat-perlite blend, while excellent for acidity and drainage, has low water-holding capacity on its own. The goal, therefore, shifts from frequent watering to moisture retention. According to the International Carnivorous Plant Society (ICPS), the single most common cause of cultivation failure is allowing the soil to dry completely, even briefly. This isn't about overwatering (which is also a risk), but about consistent, even moisture.
My Two-Week Moisture Retention Experiment: Methods and Daily Log
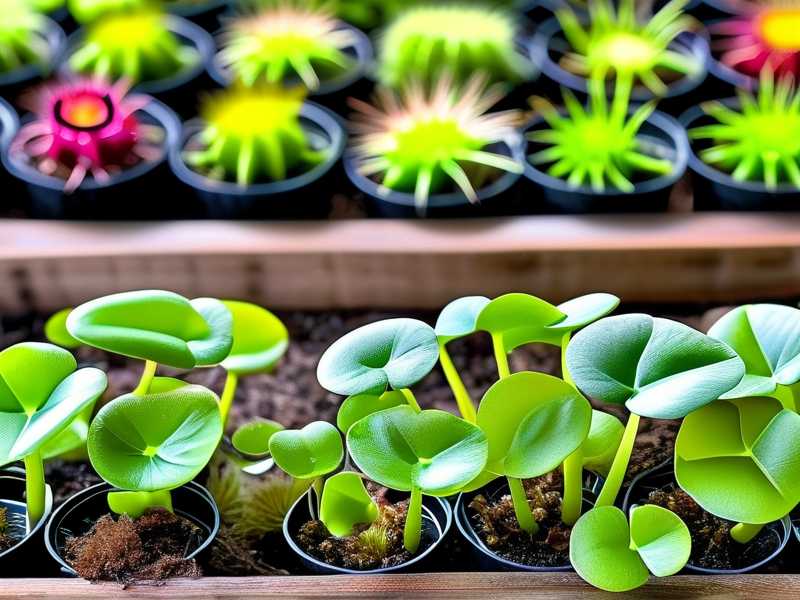
Frustrated with watering my sundews twice a day, I decided to run a controlled, 14-day experiment on a group of Drosera capensis plants. I divided them into three groups, each with a different moisture retention technique for carnivorous plants.
Group A (The Tray Method Control): This was my old standard. Pot sitting in 1/2 inch of distilled water, refilled as it evaporated. Group B (The Sphagnum Mulch): Standard peat/perlite mix, but topped with a 1-inch live layer of Sphagnum moss. Group C (The Enclosed Humidity Dome): A clear plastic dome placed over the pot, with small ventilation holes.
I used simple soil moisture meters to track relative dampness at root depth, and a hygrometer to monitor ambient humidity around each group.
- Days 1-3: Group A (tray) dried from "moist" to "dry" on the meter within 36 hours after the tray emptied. Group B (mulch) stayed consistently "moist." Group C (dome) was "wet," and humidity read at 95%.
- Days 4-7: I noticed the first pitfall. A Drosera capensis in Group C (dome) showed signs of fungal fuzz on a lower leaf—too stagnant. I immediately increased the ventilation holes. This was a critical lesson: maintaining sundew soil moisture requires balance, not a sealed swamp. Group B's Sphagnum topdressing was glowing green and lush, and the soil beneath remained perfectly damp.
- Days 8-14: By the second week, the results were clear. Group A required daily tray refills and showed slight stress on the outermost leaves. Group B was the star. The live Sphagnum acted as a living mulch, dramatically slowing evaporation, and the soil never dipped below "moist." The plants responded with vigorous new growth and abundant dew. Group C, after my ventilation fix, stabilized but required careful monitoring to avoid condensation dripping directly onto the sundew's crown.
The winning method was unequivocally Group B. It provided stable moisture, added aesthetic value, and created a healthier, more natural microclimate.
Step-by-Step: How to Set Up Your Sundew for Long-Lasting Moisture
Based on my experiment and subsequent years of success, here is my proven process.
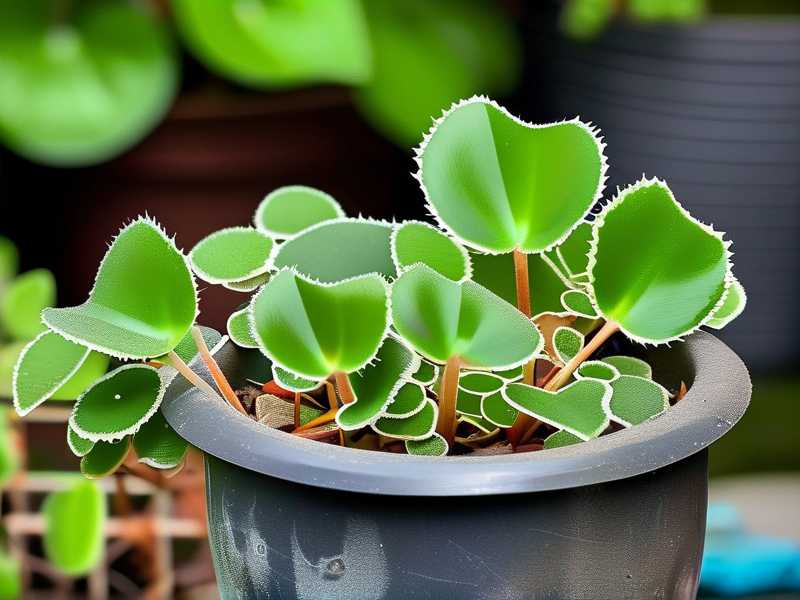
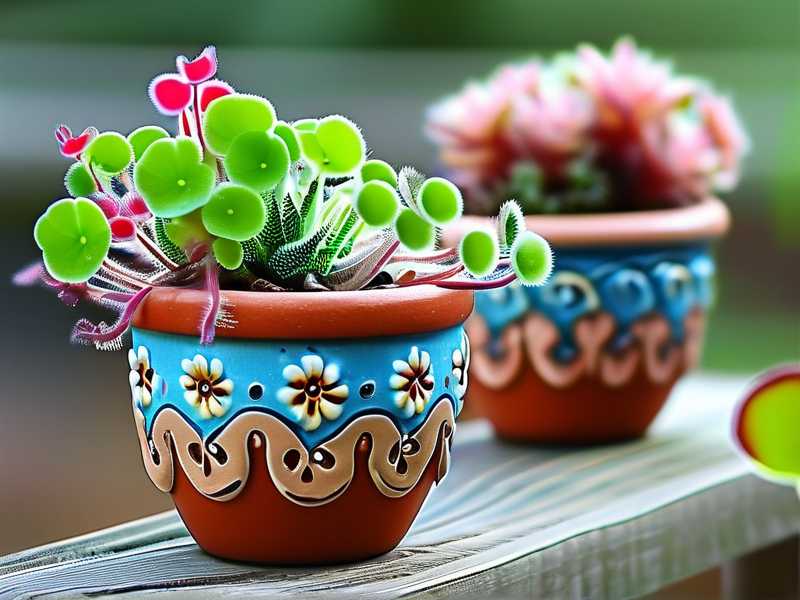
1. Pot and Medium Selection: The Foundation Start with the right base. I use plastic or glazed ceramic pots, as porous terracotta wicks moisture away too quickly. Ensure they have drainage holes. For the mix, I now use a 1:1 ratio of long-fibered Sphagnum moss to perlite. The long fibers create a spongy matrix that holds tremendous amounts of water while the perlite ensures aeration. This mix is superior to fine peat for preventing fast-drying soil in potted sundews.
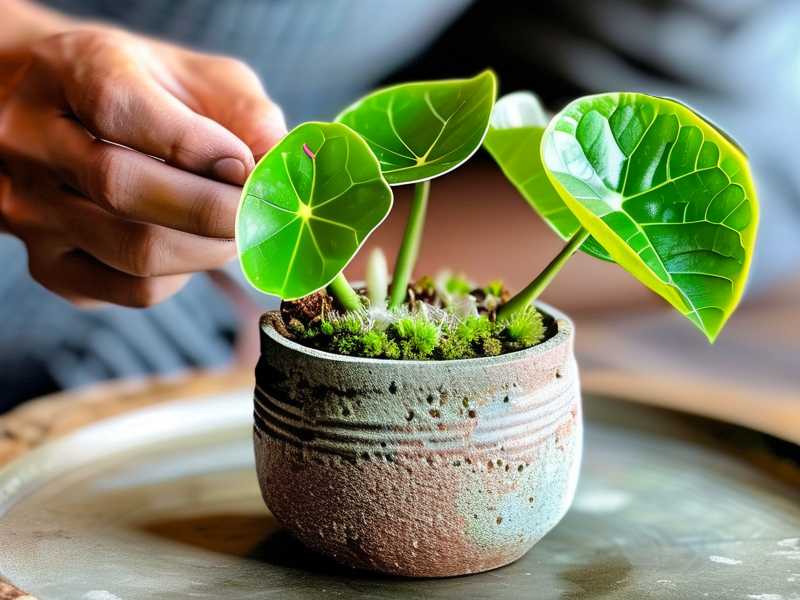
2. The Living Mulch Technique After potting your sundew, soak a clump of live Sphagnum moss in distilled water. Gently wring it out and spread a 3/4 to 1-inch layer over the entire soil surface, avoiding direct smothering of the plant's central crown. This living layer is a game-changer. It shades the soil, reduces surface evaporation by over 70% based on my observations, and even raises local humidity as it photosynthesizes. Horticulturists from the Atlanta Botanical Garden's conservation program often recommend live Sphagnum as a top dressing for sensitive bog plants for these exact reasons.
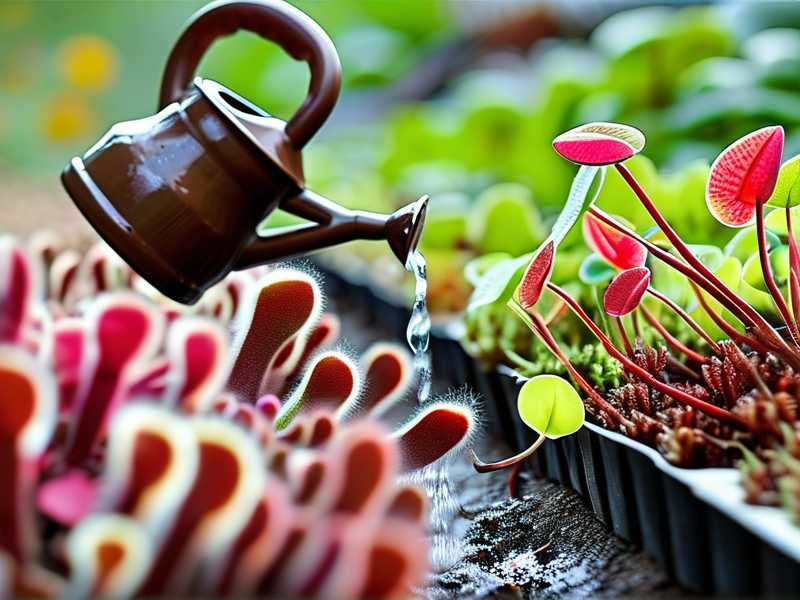
3. Optimizing the Water Tray Method The tray method is good, but it can be better. Instead of a shallow saucer, use a deep tray or cache pot. Fill it with 1 to 1.5 inches of distilled or reverse osmosis water. Let the plant's pot sit in it and absorb water from the bottom up. The deep reservoir means you might only need to refill every 2-4 days instead of daily. Always let the tray go almost dry before refilling completely; this cycle prevents mineral buildup and allows oxygen to reach the roots.
4. Environmental Adjustments Your plant's location plays a huge role. Move sundews away from direct blasts from heating vents, air conditioners, or strong fans. Grouping plants together creates a beneficial microclimate of shared transpiration humidity. For extremely dry climates, a small room humidifier placed nearby can make a world of difference, helping to keep sundew growing medium damp without wetting the foliage.
Common Pitfalls I've Encountered (And How to Fix Them)
- Pitfall 1: The Fungus Gnat Boom. Consistently wet surface soil can attract fungus gnats. My solution? The live Sphagnum mulch actually helped here too, as it dries slightly on the very top while keeping the soil below wet, breaking the gnat lifecycle. For severe cases, a top dressing of a thin layer of coarse sand or using mosquito bit dunks in the water tray is effective.
- Pitfall 2: Crown Rot. This is the fear that keeps many growers from maintaining proper moisture. The key is to keep the soil wet, not the crown of the plant soggy. Bottom-watering via the tray method and using the Sphagnum mulch (which keeps water in the lower soil profile) prevents water from pooling in the crown.
- Pitfall 3: Mineral Burn. Using tap water is a death sentence. The minerals accumulate in the soil, burning roots and locking out nutrients. Only use distilled, reverse osmosis, or rainwater. This is non-negotiable.
How often should I water my sundew if I'm using the living mulch and tray method? You'll shift from a watering schedule to a "tray refill" schedule. Check the deep tray every 2-3 days. Only refill it with distilled water once it's nearly empty. The soil itself, thanks to the mulch, will stay consistently moist between refills.
Can I use dead Sphagnum peat moss as a mulch instead of live Sphagnum? You can, but it's less effective. Live Sagnum is a active, moisture-managing ecosystem. Dead peat moss can form a crust and may compact over time, reducing aeration. If you use it, keep the layer thin (under 1/2 inch).
My sundew's soil is still drying fast even with a tray. What's my first check? First, check your soil composition. If it's mostly perlite or sand, it will drain too freely. Re-pot with a mix that has more water-retentive material like long-fibered Sphagnum or quality peat moss. Second, feel the air flow. Is the plant in a wind tunnel? Relocating it to a still-air corner can work wonders.
Mastering sundew care is about replicating a slice of their natural bog habitat. By focusing on moisture retention at the root zone through strategic potting mixes, the magic of a living Sphagnum mulch, and an optimized water reservoir, you eliminate the constant worry of dry soil. The result is a plant that can focus its energy on producing those gorgeous, glistening traps rather than just surviving. Give these methods a try for a few weeks; you'll see the difference in the dew.