 bluename
 How to Water Sundew from Below: A Complete Guide to the Bottom Watering Method
I’ve killed my fair share of sundews. There, I said it. For years, I struggled with the paradox of these stunning carnivorous plants: they crave constant moisture but despise soggy crowns. I’d watch in despair as their once-glistening, dew-covered leaves turned black or dried up, victims of my well-intentioned but misguided top-watering. The frustration was real. If you’re here, you likely know that pain—the delicate dance of keeping the soil wet without drowning the plant. That’s when I discovered, and fully committed to, the bottom watering method. It wasn't just a tweak; it was a revolution for my Drosera collection. This guide is the result of my hands-on experience, a detailed account of my two-week deep dive into bottom watering, complete with the mistakes I made and how you can avoid them.
Why Bottom Watering is a Game-Changer for Sundews
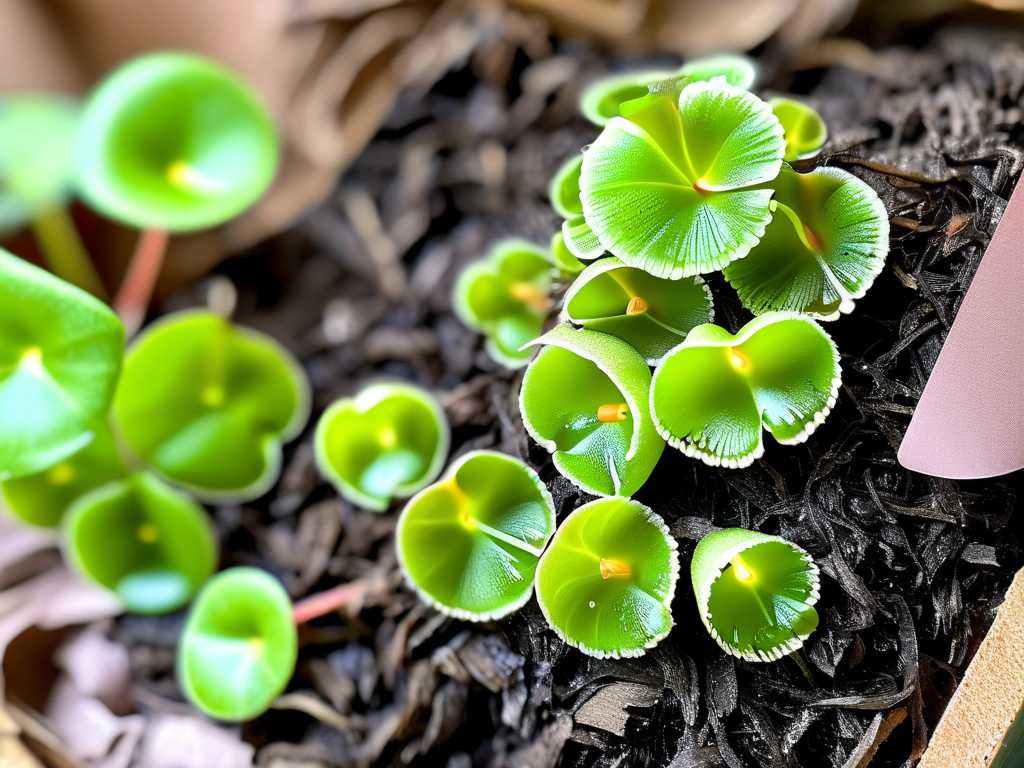
Sundews (Drosera) are bog natives. In the wild, their roots often sit in perpetually damp, mineral-poor conditions, while their sticky, glandular leaves remain above the waterline to catch prey. Top watering disrupts this natural setup. It can wash away the precious, insect-trapping mucilage—the very "dew" that gives them their name and charm. More critically, it can lead to crown rot, a fungal issue that swiftly kills the plant from its center.
The bottom watering technique elegantly solves this. By allowing the plant to draw water up through the drainage holes, you mimic the capillary action of a bog. The surface stays relatively dry, protecting the crown, while the root zone remains consistently moist. The International Carnivorous Plant Society (ICPS) consistently recommends this method, noting it helps prevent soil compaction and ensures even moisture distribution without disturbing the plant's sensitive foliage.
My Step-by-Step Process for Bottom Watering Sundews
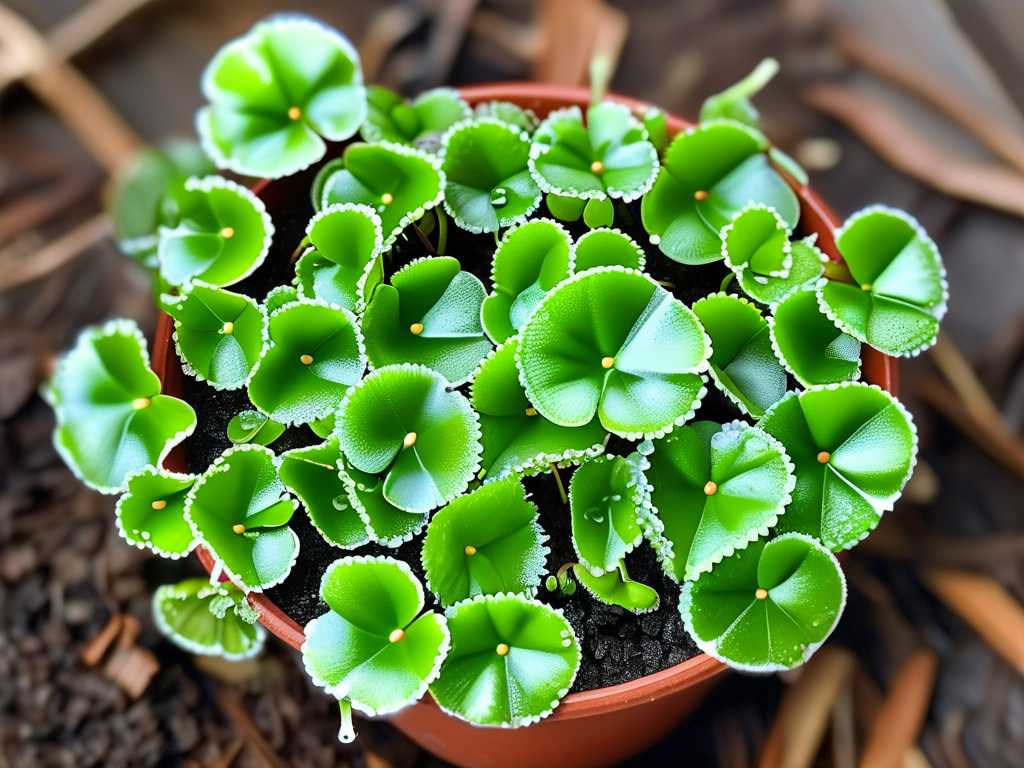
I decided to convert my entire sundew shelf to this method for a full two weeks to document the process and effects. Here’s exactly what I did, refined by trial and error.
Gathering the Right Supplies You don’t need fancy gear. I used:
- Saucers or Trays: Deep enough to hold 0.5 to 1 inch of water. I prefer solid plastic trays that fit multiple pots.
- The Correct Water: This is non-negotiable. Carnivorous plants are extremely sensitive to minerals. I use only distilled water, reverse osmosis (RO) water, or rainwater. Tap water, even if left to sit, will likely contain harmful dissolved solids that can burn roots and kill your plant over time. I keep a dedicated jug of distilled water nearby.
- Appropriate Pots: Pots must have drainage holes. I use standard plastic nursery pots sitting inside decorative cache pots or directly in the tray.
The Weekly Watering Routine
- The Fill: I pour my distilled water directly into the saucer or tray, not the pot. I add enough so the water level reaches about 0.5 inches (roughly 1.25 cm) up the side of the pot. For my smaller pots, this is about a quarter-inch of water in the tray itself.
- The Soak: I let the pots sit in this water bath. The soil medium (a mix of peat moss and perlite) acts like a sponge, wicking the moisture upward through the entire root ball. This usually takes 20-30 minutes. You’ll see the surface of the soil darken with moisture.
- The Decision Point – To Empty or Not? This was my biggest learning curve. Many guides say to empty the tray after 30 minutes. However, through observation, I found my sundews in a warm, sunny windowsill drank that water within a few hours. Constantly filling and emptying the tray became tedious. So, I adopted a modified approach, backed by the expertise of growers at the Carnivorous Plant Hub: for most common sundews (like Drosera capensis), I maintain a permanent shallow reservoir. I never let the tray go completely dry, but I also never let the water level submerge more than the bottom third of the pot. I top up the tray when the water is nearly gone. This provides the constant "bog-like" moisture they adore.
The 2-Week Observation: Transformations and Troubleshooting
The changes weren't immediate, but they were profound.
Week 1: Adjustment and Recovery In the first few days, my previously stressed Drosera spatulata (which had some dried leaf tips from sporadic top-watering) showed no dramatic change. However, by day 5, I noticed new growth at the center was noticeably more vigorous and stickier. The existing dew droplets seemed larger and more resilient, no longer being washed away by daily watering. A key success indicator was the absence of fungus gnats. The dry surface soil discouraged them from laying eggs, a fantastic side benefit.
The "Pit" I Fell Into (And How to Climb Out) About a week in, I noticed one of my Drosera adelae looking slightly wilted, even though its tray had water. I panicked, thinking it needed more, and nearly drowned it. This was my pitfall: assuming wilting always means thirst. I carefully lifted the pot. It was heavy—soggy, in fact. The problem was the opposite: poor aeration. The fine peat had become too compacted from constant wicking, suffocating the roots. My solution? I gently aerated the soil around the edges with a toothpick and, for that pot only, let the tray dry out completely for 24 hours before resuming with a shallower reservoir. The plant perked up within two days. The lesson: Always check soil saturation before adding more water. Wilting can be a sign of root rot from overwatering, even with bottom watering.
Week 2: Thriving and Prolific Dew By the end of the second week, the results were undeniable. My sundews were producing more leaves, and the dew coverage was the best I’d ever seen—glistening in the morning light like tiny diamond fields. The plants simply looked healthier and more robust. The soil surface, while moist to the touch, was never muddy or algae-ridden (a common issue with top-watering that keeps the surface wet).
Optimizing the Method for Different Sundew Types
Not all sundews have identical needs. My two-week trial included a few types:
- Temperate Sundews (e.g., Drosera filiformis): These thrived with the constant shallow reservoir, as they naturally grow in wetter conditions.
- Tropical Sundews (e.g., Drosera capensis, D. aliciae): These were the stars of the show, responding with explosive growth and constant flower stalks.
- Tuberous & Petiolaris Complex Drosera: I did not use this constant reservoir method for these. They have distinct dry dormancy periods or require precise wet/dry cycles. Bottom watering is still useful for their active growth phase, but the tray must dry out between waterings. Always research your specific species.
Addressing Common Concerns and Questions
Won't constant water cause root rot? This was my initial fear. The key is the water quality (mineral-free) and the medium (airy and acidic). In their natural bog habitat, sundew roots are in constant moisture but with excellent aeration from sphagnum peat. If you use a dense, water-retentive mix, rot is possible. Ensure your mix is at least 50% perlite or horticultural sand. The bottom watering method actually promotes healthier root growth as the roots grow downward toward the consistent moisture source.
How do I know when to add more water? I developed a simple check. For my maintenance reservoir method, I top up the tray when only a thin film of water remains—essentially before it goes bone dry. For the "soak and dry" approach, lift the pot. If it feels light, add water to the tray. If it feels heavy, wait.
What about fertilizer or feeding? Bottom watering is perfect for supplemental feeding. Sundews get most nutrients from insects. However, if you want to give a weak boost, you can add a highly diluted carnivorous plant fertilizer (like Maxsea) to the water in the tray very occasionally (once a month during active growth). The plant will take it up through its roots. Never use standard plant fertilizer.
Seeing my sundews glisten with robust health after years of struggle was the ultimate reward. The bottom watering method isn't just a technique; it's a mindset shift that aligns with the plant's natural biology. It saves time, reduces pest issues, and most importantly, creates the stable, moist environment these captivating carnivores need to truly flourish. Give it a consistent try for a few weeks—observe, adjust, and watch your own sundews transform.





