 bluename
 How to Grow Sundew in a Balcony with Wind Protection: A Practical Guide for Urban Gardeners
I love carnivorous plants, and sundews (Drosera) have always fascinated me with their glistening, dewy tentacles. But when I moved to a high-rise apartment with a windy balcony, I thought my dream of growing them was over. The constant gusts seemed like a death sentence for these delicate, moisture-loving plants. If you’re in the same boat, feeling frustrated because your balcony’s exposure to wind and elements makes gardening seem impossible, I’ve been there. However, after dedicated experimentation over the past season, I’ve successfully cultivated thriving sundews on my windy balcony. The absolute key was implementing effective wind protection for balcony sundew cultivation. This guide will walk you through my real, tested process, including the mistakes I made and how I fixed them, so you can enjoy these incredible plants too.
Understanding Sundews and Why Wind is Their Enemy
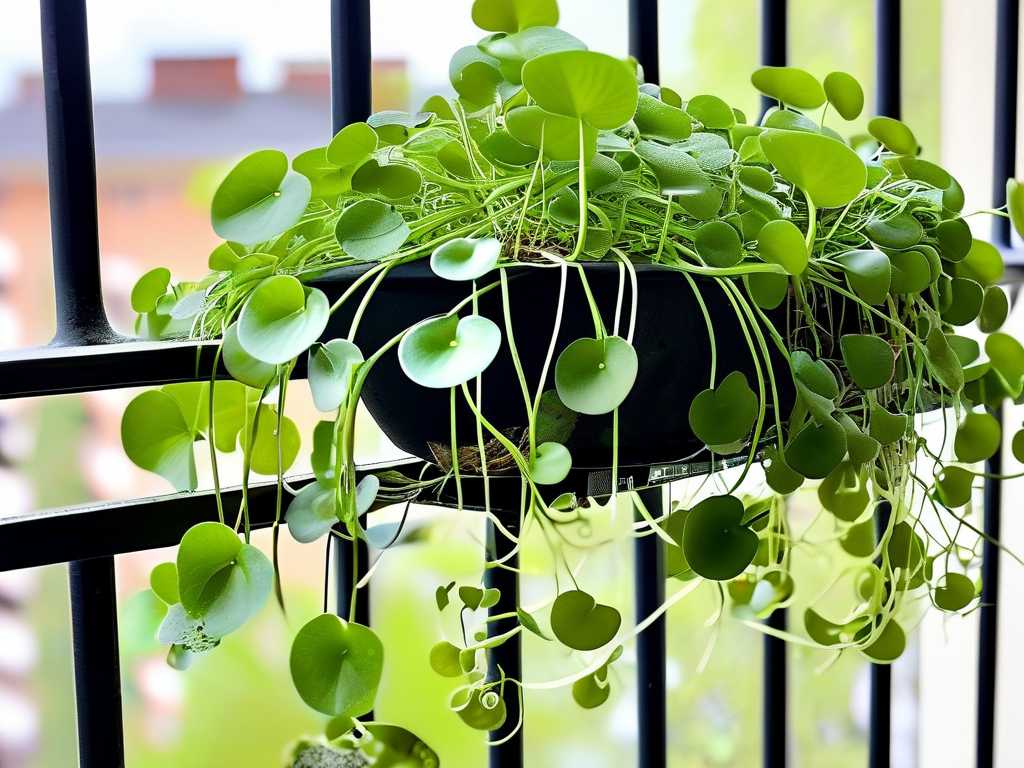
Before we dive into the how, it’s crucial to understand the why. Sundews are native to boggy, sheltered environments. Their sticky mucilage, which they use to trap insects, is highly susceptible to drying out. Wind accelerates evaporation, desiccating the dew, stressing the plant, and hindering its feeding ability. Simply put, without balcony wind protection for sundews, they will struggle, burn, and likely die. My first failed attempt involved placing a potted Drosera capensis directly on a balcony railing. Within two days, its tentacles were dry and brown. That was my painful, but valuable, first lesson.
My Step-by-Step Setup for a Wind-Protected Sundew Haven
This is the exact system I use now, born from trial and error.
Choosing the Right Sundew Species
Not all sundews are equal in hardiness. For beginners in challenging conditions, I recommend starting with robust species. My champions have been:
- Drosera capensis (Cape Sundew): Incredibly forgiving and fast-growing.
- Drosera spatulata: A compact rosette that adapts well. I sourced my plants from a reputable carnivorous plant nursery, ensuring they were healthy and pest-free from the start.
The Windbreak: Creating a Sheltered Microclimate
This is the most critical component. A solid railing or wall is ideal, but my balcony has open railings. Here’s what I tried and what finally worked:
- The Failed Mesh Screen: I first installed a standard garden windbreak net. While it reduced wind speed, it didn’t stop fine, drying gusts, and it looked messy.
- The Successful Solution – Polycarbonate Panels: Based on advice from experienced growers in the Carnivorous Plant Society, I installed clear, UV-stable polycarbonate sheets (like those used for greenhouses) along the windiest side of my balcony. They are lightweight, durable, and clip onto the railing. This created a transparent barrier that cuts wind by over 80% without sacrificing light. It was a game-changer for growing sundew plants on windy balconies.
Potting Mix and Containers: Never Use Soil
Sundews require nutrient-free, constantly moist media. Standard potting soil will kill them.
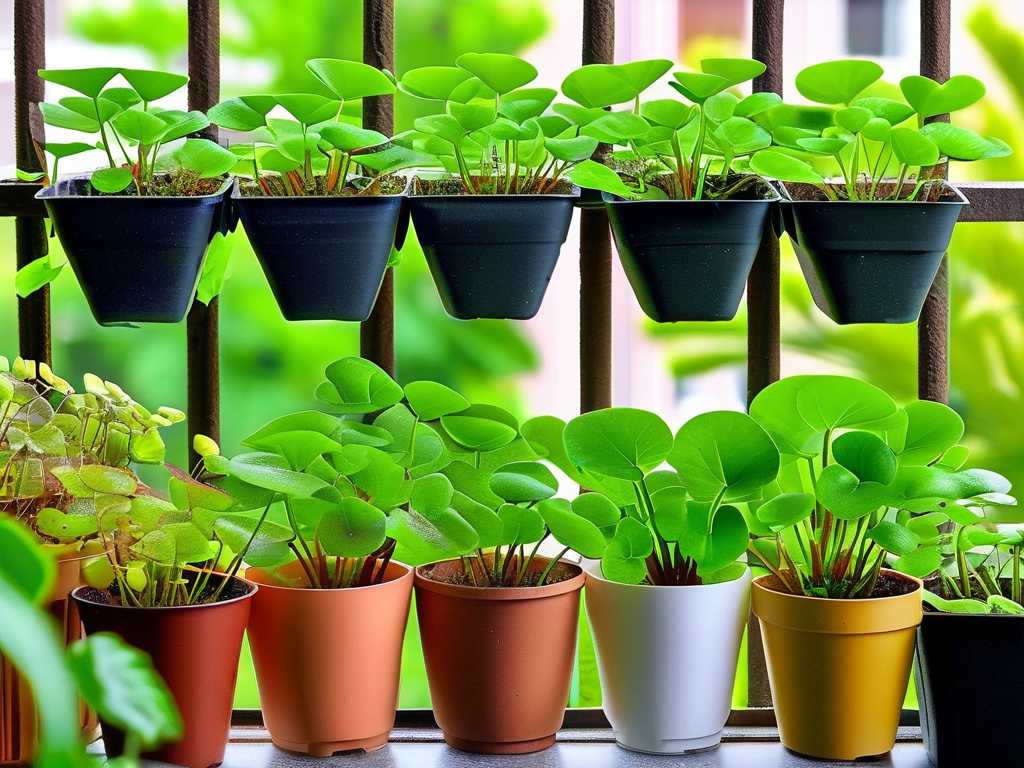
- My Mix: A 1:1 ratio of sphagnum peat moss and perlite. I always rinse the perlite thoroughly to remove dust. According to the International Carnivorous Plant Society (ICPS), this mix provides perfect acidity and moisture retention.
- Containers: I use deep plastic pots (with drainage holes) and, my favorite, a wide, shallow bog-style planter. Plastic retains moisture better than terracotta. The communal planter creates a stable, humid microenvironment.
Watering: The Lifeline
Rainwater, distilled water, or reverse osmosis water only. Tap water, with its minerals, is toxic.
- My System: I keep pots in saucers that are permanently filled with about 1-2 cm of water (the “tray method”). This mimics their natural bog habitat. I check the saucers every other day, especially after windy, sunny days, as evaporation is higher even with protection.
Light: Fuel for Their Glue
Sundews need bright light to produce their dew. My south-facing balcony gets plenty of sun, but the wind protection was crucial to prevent the light from becoming destructive.
- Placement: My plants get 4-6 hours of direct morning sun, with bright indirect light for the rest of the day. The polycarbonate panel diffuses the harshest afternoon rays slightly, preventing scorching.
The Two-Week Observation Period: From Stress to Success
After setting up my new wind-protected zone, I introduced two new Drosera capensis plants. Here’s my documented log:
- Days 1-3: Plants looked slightly stressed from transit. Dew production was minimal. I kept them in their water trays in the center of the protected area.
- Days 4-7: New dew droplets began appearing each morning! The older leaves still showed some damage from their pre-windbreak life, but the centers looked healthy.
- Days 8-14: Remarkable improvement. The plants visibly relaxed, with new leaves unfurling covered in thick, sticky mucilage. I witnessed a fungus gnat get trapped—a sign they were fully functional. The microclimate behind the panel was visibly more humid and still.
Common Pitfalls I Encountered (And How to Solve Them)
- Pitfall: Underestimating Side Winds. Even with a main windbreak, wind can swirl. My plants on the edges of the protected zone still suffered.
- Solution: I added shorter L-shaped polycarbonate pieces to the sides, creating a three-quarter enclosure. This made the microclimate even more stable.
- Pitfall: Overcrowding. In my enthusiasm, I placed pots too close together, restricting air circulation and promoting mold on the peat surface.
- Solution: I spaced pots to allow airflow between them. For fungal issues, a light sprinkle of ground cinnamon (a natural fungicide) on the media surface worked wonders.
- Pitfall: Ignoring Rain. A heavy, wind-driven rainstorm can batter the plants and flood the mineral-free media, leaching it out.
- Solution: I now have a movable clear acrylic roof panel that I can angle over the setup during severe weather. For routine rain, it’s beneficial, as long as it’s not torrential.
Feeding and Maintenance
You don’t need to feed sundews, but if your balcony is very sterile, occasional feeding boosts growth. I use rehydrated bloodworms (fish food) once a month, placing a tiny piece on a few tentacles. Never use fertilizer. I remove dead leaves to prevent rot.
Will Sundews Survive on a Windy Balcony?
Absolutely, but not by chance—only by design. The question isn't about their survival on a windy balcony per se, but about your ability to create a sheltered niche. With deliberate wind protection for balcony sundew cultivation, you transform a hostile environment into a perfect haven. My plants are now more robust than some I’ve grown indoors, likely due to the excellent natural light and fresh air in their controlled space.
How Do You Protect Potted Plants from Strong Winds?
The principle is to filter, not block entirely (which can create damaging turbulence). For sundews specifically, a transparent solid barrier like polycarbonate is best. For other plants, layered protection using trellises with climbing plants, sturdy woven screens, or even strategically placed furniture can break wind force effectively. The goal is to reduce wind speed significantly without creating a completely stagnant air pocket.
What is the Best Sundew for Beginners in Harsh Conditions?
Without a doubt, Drosera capensis. It’s resilient, grows quickly from seed or division, and recovers well from setbacks. Its long leaves produce copious dew when happy. Drosera spatulata is a close second for its compact, hardy form. Starting with these species builds confidence and understanding before trying more temperamental varieties.
Growing sundews on a windy balcony is a rewarding challenge that proves even the most sensitive plants can thrive in urban settings with the right adjustments. It requires observation, patience, and a focus on stabilizing their immediate environment. By prioritizing balcony wind protection for sundews, ensuring pure water, and providing bright light, you’ll be rewarded with the mesmerizing sight of dewy leaves glistening in the sun, right outside your door. The journey from my first withered plant to a thriving, dew-covered colony has been one of the most satisfying experiences in my gardening life. If I did it, you can too.





