 bluename
 How to Propagate Sundew from Seeds in a Greenhouse: A Complete Guide for Beginners
I’ve always been fascinated by the otherworldly beauty of sundews. Their glistening, dew-tipped tentacles are a marvel of nature. Yet, for years, the idea of growing these carnivorous wonders from seeds felt like an insurmountable challenge. The tiny seeds, the specific conditions, the fear of failure—it was enough to keep any casual enthusiast at bay. If you’ve ever bought a sundew only to watch it struggle, or felt intimidated by the specialized advice online, you’re not alone. The core pain point is clear: reliable, practical information that bridges the gap between textbook theory and the messy, rewarding reality of hands-on propagation. That’s why I decided to document my own two-week journey from seed to sprout in my home greenhouse, sharing every step, every setback, and every solution I discovered along the way.
My goal was simple: to demystify the process of how to propagate sundew from seeds in a greenhouse. This controlled environment offers the perfect balance of humidity, light, and stability that these finicky seeds crave. Let’s walk through the exact process I followed, which successfully yielded a forest of tiny Drosera capensis and Drosera spatulata seedlings.
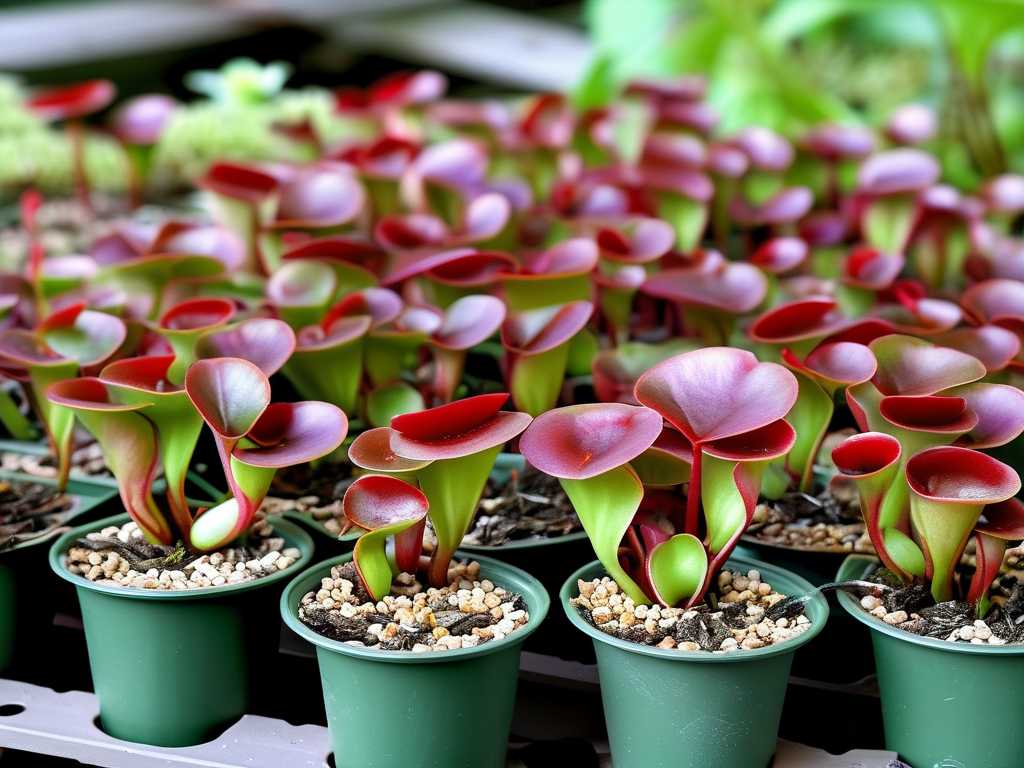
Gathering Your Propagation Toolkit
Success starts with the right materials. Based on recommendations from the International Carnivorous Plant Society (ICPS), I gathered my supplies well in advance. Using subpar materials is a common first pitfall I aimed to avoid.
- Seeds: I sourced fresh Drosera capensis and Drosera spatulata seeds from a reputable carnivorous plant nursery. Freshness is critical for high germination rates.
- Growing Medium: I used a sterile, nutrient-free mix of 50% sphagnum peat moss and 50% perlite. Never use potting soil or fertilizers, as these will harm or kill your sundews.
- Containers: I chose clear plastic pots with drainage holes, placed inside matching clear plastic humidity domes. The transparency allows light to reach the soil surface and lets you monitor moisture without disturbing the seeds.
- Water: Distilled water or reverse osmosis water is non-negotiable. Tap water contains minerals that will accumulate and poison the plants.
- Greenhouse: My small, heated hobby greenhouse was set to maintain a consistent temperature range, which is vital for sundew seed germination in controlled conditions.
The Step-by-Step Sowing Process
With everything ready, I began the meticulous sowing process. This is where patience and attention to detail make all the difference.
Preparing the Soil I thoroughly moistened the peat-perlite mix with distilled water until it was damp like a wrung-out sponge. I then filled the pots, gently firming the surface without compacting it. A level, firm surface prevents seeds from washing into crevices.
Sowing the Seeds Sundew seeds are dust-like. To sow them evenly, I tapped them gently from the packet onto a white piece of paper. Then, I carefully distributed them across the soil surface. I did not cover them with soil. Sundews require light to germinate, so surface sowing is essential. This is a critical step for starting sundews from seed indoors under lights or in a greenhouse.
Creating the Mini-Ecosystem After sowing, I lightly misted the surface with distilled water using a spray bottle to settle the seeds. I then placed the clear humidity dome over the pot, creating a sealed, humid environment. The pot was placed on a tray in my greenhouse, where it would receive bright, indirect light. I used a heating mat set to 70-75°F (21-24°C) underneath the tray to provide consistent bottom warmth, a tip strongly supported by the Carnivorous Plant Society of Australia (CPSA) for reliable germination.
The Two-Week Observation Diary: Triumphs and Troubles
This is where the real story unfolds. I checked on my seeds daily, and here’s what I observed.
Days 1-4: The Quiet Wait Nothing visible happened. The soil remained moist under the dome, and condensation cycled perfectly. The key here was resisting the urge to open the dome or add more water. Disturbing the microenvironment is a major cause of failure.
Days 5-7: First Signs of Life On the morning of Day 6, I spotted the first hint of green—tiny, almost translucent specks on the Drosera spatulata pot. By Day 7, several more appeared. The capensis seeds were still dormant. I noted that the soil surface looked a bit algae-green in one corner, a common issue in high humidity.
- The Problem: Early algae growth.
- The Solution: I immediately increased air circulation slightly by cracking open the humidity dome’s vent for an hour each day. I also ensured the greenhouse fan was on a low setting. This reduced surface moisture without drying out the medium. Algae competes with seedlings, so addressing it early is crucial.
Days 8-12: Rapid Development and a New Challenge The spatulata seedlings exploded in growth, developing their first tiny, functional dew-tipped leaves. The capensis finally began to germinate. However, I noticed a few seedlings in the center of the pot were dampening off—stems turning black and wilting.
- The Problem: Damping-off fungus, likely due to slightly excessive moisture and density in the center.
- The Solution: I carefully removed the affected seedlings with sterilized tweezers to prevent spread. I then applied a gentle, targeted spray of a sulfur-based fungicide, approved for carnivorous plants, following the CPSA’s guidance on disease prevention in sterile media. I also slightly reduced the watering frequency, allowing the top film of moisture to dry for minutes before re-misting.
Days 13-14: Stabilization and Growth By the end of the second week, both pots hosted dozens of healthy seedlings. The algae was under control, and no new damping-off occurred. The seedlings were developing their second set of leaves, a sure sign they had established their first roots. The greenhouse’s consistent climate was clearly paying off, providing the stable greenhouse environment for carnivorous plant seeds they needed to thrive.
Essential Ongoing Care for Your Seedlings
The journey doesn’t end at germination. Your care for the next few months determines their survival.
Light: I gradually increased their exposure to direct greenhouse sunlight. Mature sundews need full sun, but seedlings benefit from slightly filtered light initially to prevent scorching. Water: I maintained the “tray method,” keeping about 0.5 inches of distilled water in the tray at all times, allowing the soil to wick up moisture as needed. Feeding: Seedlings get nutrients from the soil microorganisms and their first catches. I did not feed them manually at this stage. Transplanting: They will need to be thinned and transplanted into their own pots once they are large enough to handle, typically in 3-4 months.
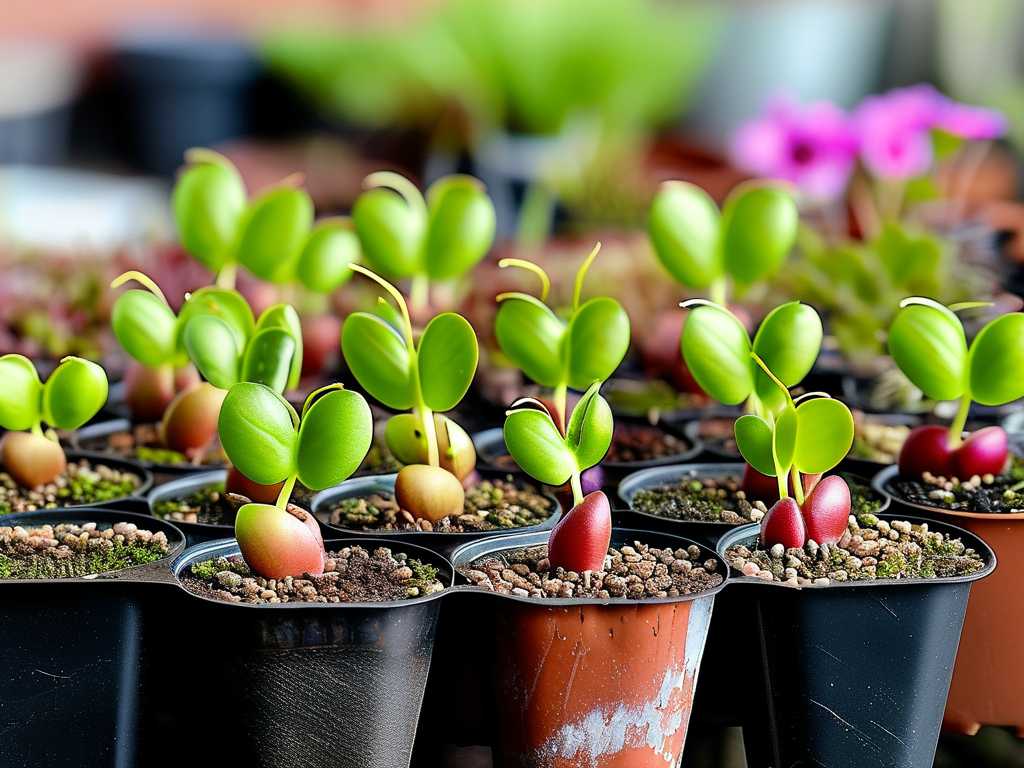
How long does it really take for sundew seeds to germinate? It varies by species. Easy varieties like Drosera capensis can sprout in 2-4 weeks, as I observed. Some temperate species may require cold stratification and can take several months. Always research the specific needs of your sundew species.
Can I skip the greenhouse and use a windowsill? You can, but results are less consistent. A greenhouse provides stable humidity and temperature, which significantly boosts success rates. A windowsill setup requires meticulous management of humidity domes and may struggle with temperature fluctuations.
Why did my sundew seeds never germinate? The most common reasons are using old/non-viable seeds, covering the seeds with soil (they need light), incorrect medium (using fertilized soil), or unsuitable water (using tap water). Ensuring fresh seeds, surface sowing, and using only distilled water with a peat-perlite mix are the fundamental keys.
Growing sundews from seed is a lesson in patience and precision. My two-week experiment highlighted that while the process is delicate, it is far from impossible. By understanding the need for sterile medium, distilled water, consistent warmth, and high humidity—all easily managed in a greenhouse—you can turn a packet of tiny seeds into a thriving colony of carnivorous plants. The joy of watching those first dewy leaves unfold is worth every minute of careful tending. Start with a resilient species, trust the process, and learn from the small hiccups along the way.





