bluename
 How to Grow Sundew in a Humidity Dome: My Step-by-Step Guide for Lush, Sticky Traps
I remember staring at my first, sad-looking sundew (Drosera capensis, to be precise), its tentacles dry and barely glistening. I’d read they needed high humidity, but my home’s air was a desert to this delicate carnivore. Frustration set in. I was about to give up on growing these fascinating plants until I discovered the transformative power of a simple tool: the humidity dome. If you’re struggling with crispy leaves, poor dew production, or failed germination, you’re not alone. The core challenge is creating and maintaining that perfect, moist microclimate, especially in less-than-tropical homes. This guide is the result of my two-week, hands-on experiment to master sundew care under a dome, sharing every step, mistake, and ultimate success.
Why a Humidity Dome is a Game-Changer for Sundews
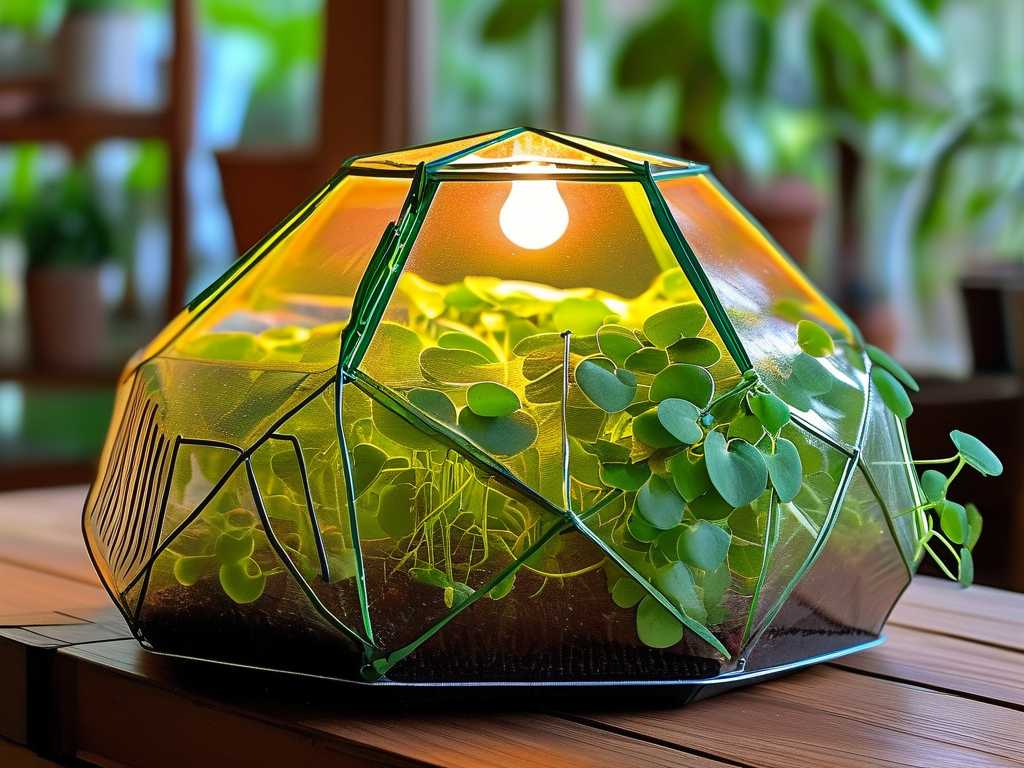
Sundews, or Drosera, are humidity lovers. Their survival hinges on those glistening, sticky mucilage droplets that trap prey. Low humidity causes these droplets to evaporate, leaving the plant unable to feed and stressed. A humidity dome acts as a miniature greenhouse, trapping evaporating water and creating a consistently humid environment. It’s crucial for germination, rehabilitating stressed plants, and growing moisture-sensitive species like Drosera adelae or tropical varieties.
According to the International Carnivorous Plant Society (ICPS), maintaining high ambient humidity is one of the most critical factors for healthy sundew growth, particularly for seedlings and tropical types. My own experience confirms this. Before the dome, my sundew’s dew was sporadic. After, the change was dramatic.
My Essential Setup: Choosing the Right Gear
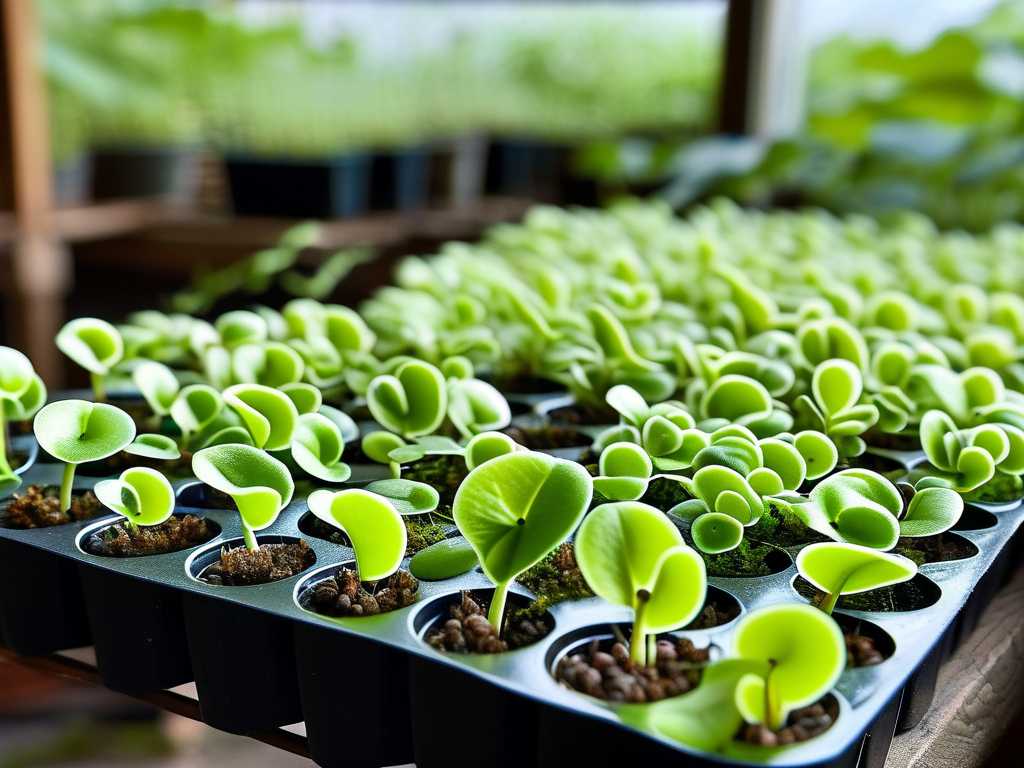
You don’t need expensive equipment. For my experiment, I used a common 10-inch by 20-inch plastic seedling tray with a transparent, vented humidity dome. The vents are crucial—they allow for gradual acclimation to lower humidity later. My planting medium was a classic 50/50 mix of sphagnum peat moss and perlite, with no fertilizers or additives, as recommended by experts at the Carnivorous Plant Hub. I used distilled water exclusively, as tap water minerals can harm these sensitive plants.
For plants, I selected two: a recovering Drosera capensis ‘Typical’ that had lost most of its dew and a batch of Drosera spatulata seeds. This let me test the dome for both rehabilitation and germination.
The Step-by-Step Process: From Setup to Observation
Preparing the Environment First, I thoroughly soaked the peat-perlite mix with distilled water until it was completely saturated, squeezing out excess. I filled clean, plastic pots (with drainage holes) and placed them in the tray. For the mature sundew, I made a small hole and gently settled its roots. For the seeds, I scattered them sparsely on the damp soil surface—they need light to germinate, so no covering.
Creating the Microclimate I placed the dome securely over the tray, ensuring all vents were closed initially. The tray was positioned under a bright LED grow light for about 14 hours daily, avoiding direct, hot sunlight which could cook everything inside. The goal was bright, indirect light. I maintained a consistent room temperature of around 72°F (22°C).
My Two-Week Observation Log and Key Adjustments
Here’s where the real learning happened. I monitored everything daily.
- Days 1-3: Condensation heavily covered the dome walls. The mature cape sundew showed no visible change.
- Days 4-7: By day five, I noticed the first tiny beads of dew forming on the tentacle tips of the mature plant! The soil surface remained visibly moist. However, I also spotted the first potential issue: a faint, fuzzy white patch on the peat moss—the beginnings of mold or algae. This is a common pitfall in stagnant, humid air.
- Days 8-10: The sundew’s dew production increased daily. New, small leaves emerged with full dewdrops. The spatulata seeds showed no signs yet. To tackle the mold, I implemented my solution: I opened the dome’s vents about halfway for 2 hours each afternoon to increase airflow. I also carefully removed the affected patch of moss with tweezers. This solved the problem without harming humidity levels significantly.
- Days 11-14: Progress was remarkable. The mature sundew was visibly plumper, with multiple leaves shimmering with sticky mucilage. It even caught a few fungus gnats on its own. On the final day, I observed the tiniest green specks—germination of the Drosera spatulata seeds had begun! The environment was clearly working.
Critical Lessons and Problem-Solving
My experiment wasn’t without hiccups. The mold issue was the main one. Simply sealing the dome forever is a recipe for fungal growth and rot. The fix is managed airflow. Cracking the vents periodically is essential. Another lesson was lighting. I initially had the light too close, causing temperatures inside the dome to spike. Moving it back a few inches created the right balance of bright light without excessive heat.
Watering is also unique under a dome. You will rarely need to top-water. The sealed environment recycles moisture. I only added a small amount of distilled water to the tray’s bottom when the condensation on the dome walls became very thin, about once a week. Overwatering leads to soggy media and root issues.
When and How to Acclimate Your Sundew
Not all sundews need to live under a dome forever. Hardy species like D. capensis can be acclimated to lower household humidity. After two weeks of robust growth, I began the “hardening off” process for my mature plant. Over one week, I gradually opened the vents wider and for longer periods each day. Finally, I removed the dome for an hour, then two, then permanently. The plant, now stronger and healthier, adapted well, maintaining about 70% of its dew in my normal room air. Seedlings, however, will stay protected for several more months.
Frequently Asked Questions
Can I use a terrarium instead of a humidity dome? Absolutely. A terrarium functions on the same principle. The key is ensuring it has adequate ventilation (like a cracked lid) to prevent stagnation. My dome-and-tray method is essentially a mini-terrarium and is often more space-efficient for multiple plants.
How often should I water sundews under a humidity dome? Far less than you think. The goal is to keep the media consistently damp, not waterlogged. Rely on the condensation as your guide. If the dome is clear of droplets, add a little distilled water to the tray, not the soil surface. I typically added water only once every 7-10 days.
Why are my sundew’s leaves turning black or yellow under the dome? This usually signals two possible issues. First, rot from excessive moisture and poor air circulation—ensure your vents are used. Second, old leaves naturally die back. If new growth is healthy and dewy, simply trim the old leaf. If the new growth is also suffering, review your water source (must be distilled/rainwater) and increase airflow immediately.
Mastering the humidity dome turned my sundew failures into consistent success. It provided the controlled environment my plants needed to rebuild their sticky traps, germinate successfully, and thrive. By following these steps—prioritizing clean media, distilled water, bright light, and, most importantly, managed ventilation—you can replicate this success. The sight of a sundew glistening under its personal greenhouse is immensely rewarding, proving that with the right microclimate, these captivating carnivores can flourish in any home.