 bluename
 How to Grow Sundew in a Bog Pot with Pitcher Plants: A Complete Guide for Carnivorous Plant Enthusiasts
I’ve always been fascinated by the intricate beauty and predatory nature of carnivorous plants. For years, I admired them from afar, convinced that creating their specialized environment was a task reserved for expert botanists. The dream of having a miniature, thriving bog garden on my patio, featuring the glistening tentacles of sundews alongside the elegant pitchers of Sarracenia, felt out of reach. My attempts at keeping them in standard pots with regular potting mix ended in quick, disappointing failure. The core problem was clear: I wasn't meeting their fundamental, non-negotiable needs for specific water, soil, and light. If you've ever killed a Venus flytrap with tap water or watched a sundew wither in dry air, you know the exact frustration I'm talking about. This guide is the result of my journey from those failures to success, specifically focusing on how to grow sundew in a bog pot with pitcher plants. I’ll walk you through every step I took, the real-time observations from a dedicated two-week setup period, and the practical solutions to the problems I encountered, so you can build a stunning, low-maintenance carnivorous plant display.
Understanding the Bog Pot Ecosystem: Why This Combo Works
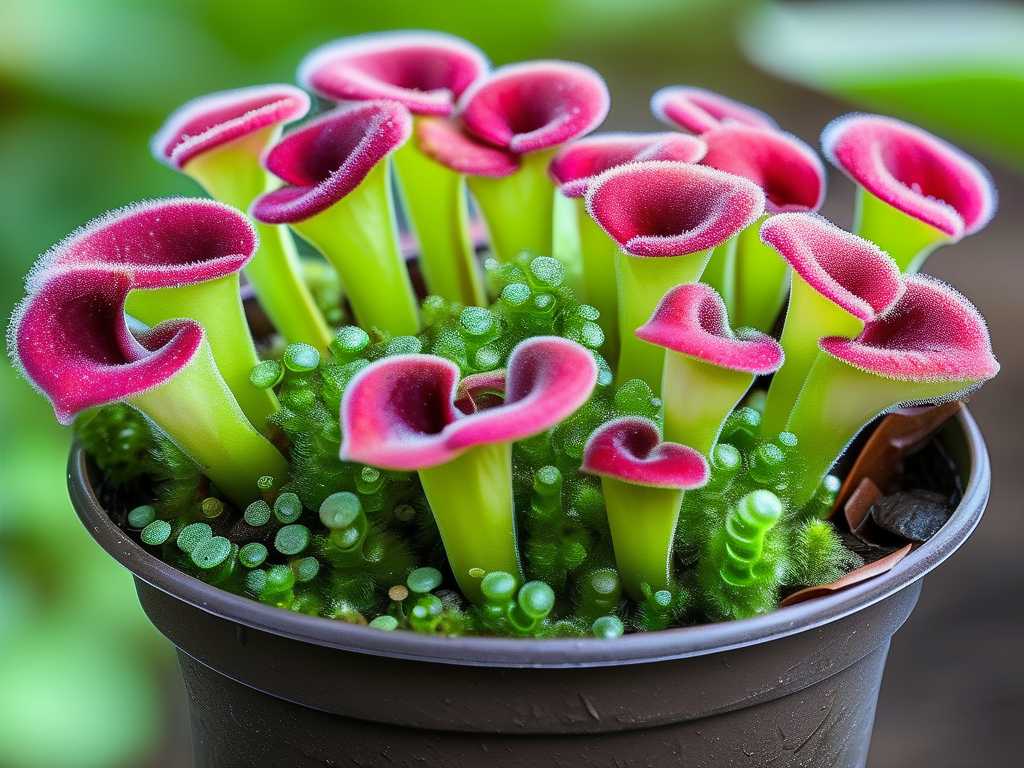
Before we get our hands dirty, it's crucial to understand why sundews and pitcher plants make perfect pot-mates. In the wild, they often coexist in the same nutrient-poor, waterlogged, and sunny environments—peat bogs and savannas. A bog pot is a container garden that mimics these conditions perfectly. The Royal Horticultural Society (RHS) emphasizes that the success of these plants hinges on replicating their natural habitat as closely as possible. They thrive in a symbiotic relationship within the pot: the tall, vase-like pitchers of the Sarracenia create visual structure and shade the soil slightly, helping to retain moisture for the low-growing, rosette-forming sundews (like Drosera capensis or D. spatulata). Together, they form a diverse and resilient mini-ecosystem that’s more stable and visually interesting than a single-species pot.
Essential Materials: Getting It Right from the Start
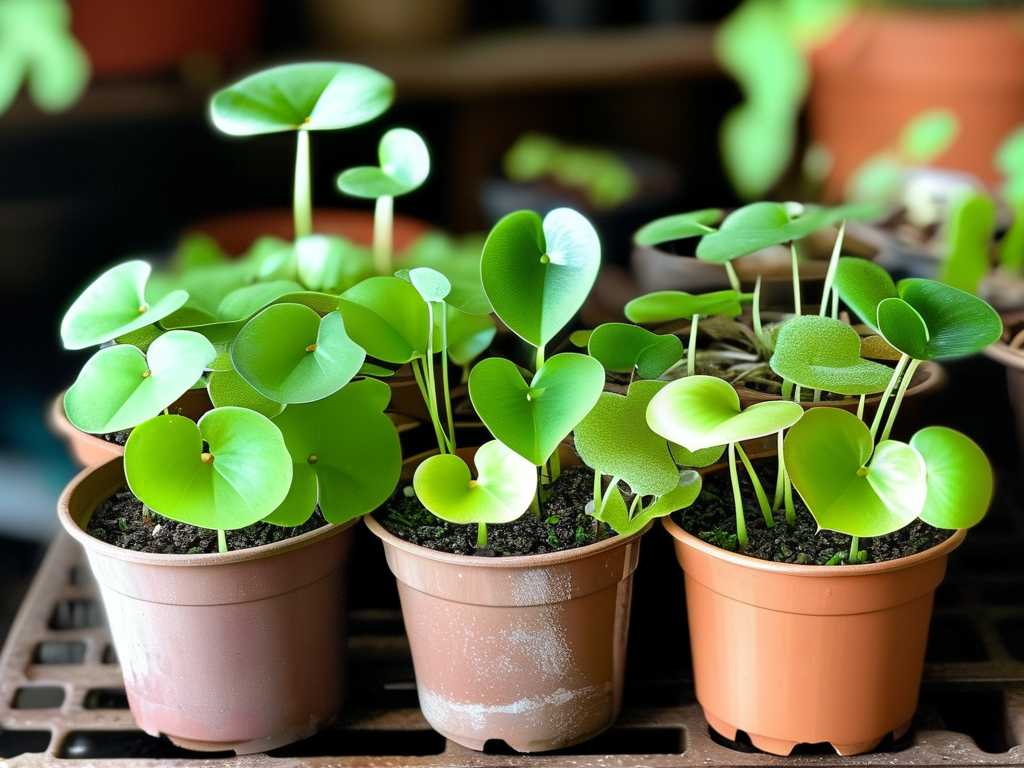
Gathering the correct materials is 80% of the battle won. Using the wrong component here will doom the project.
- The Container: Choose a pot with no drainage holes. This is non-negotiable. I used a glazed ceramic bowl, about 12 inches wide and 8 inches deep. Plastic pots or ceramic planters work well. The goal is to create a water reservoir at the bottom.
- The Growing Medium: Standard potting soil is lethal. You need a nutrient-free, acidic mix. I use a 50/50 blend of sphagnum peat moss and horticultural sand (or perlite). The American Sarracenia Conservancy (ASC) strongly recommends this mix to ensure proper acidity and drainage while retaining moisture. Avoid any product with added fertilizers or lime.
- The Water: This is the most common killer. Tap water contains minerals that will burn the roots and slowly kill your plants. You must use rainwater, distilled water, or reverse osmosis water exclusively. I keep a large jug of distilled water specifically for my carnivorous plants.
- The Plants: Select compatible species. For pitcher plants, hardy North American varieties like Sarracenia purpurea or S. flava are excellent for beginners. For sundews, the Cape sundew (Drosera capensis) is virtually indestructible and a prolific grower. I started with one Sarracenia purpurea and two Drosera capensis plants.
Step-by-Step: Building Your Bog Pot
Here is the exact process I followed, which you can replicate.
1. Preparing the Base Layer I filled the bottom third of my pot with a layer of coarse aquarium gravel or lava rock. This layer doesn't hold nutrients but creates a reservoir for excess water, preventing the soil from becoming completely anoxic and sour.
2. Mixing and Wetting the Soil In a large tub, I combined the peat moss and sand. Then, I slowly added my distilled water, mixing thoroughly until the medium was soaked through and had the consistency of a damp sponge. It should hold together when squeezed but not drip excessively. A common mistake is to use dry mix and water later; this leads to poor water absorption and dry pockets.
3. Planting Your Carnivorous Stars I mounded the wet mix into the pot, leaving about an inch of space from the rim. I created a small off-center hole for the Sarracenia, as it will be the focal point. I gently placed its rhizome (the horizontal stem) just at the soil surface, ensuring it wasn't buried too deeply—a surefire way to induce rot. For the sundews, I made two smaller holes near the front and sides, carefully teasing apart their delicate roots before settling them in. I gently firmed the soil around all plants to eliminate large air pockets.
4. The Initial Soak and Placement I then placed the entire pot in a tray and filled the tray with about an inch of distilled water—this is the "bog" method. The pot will wick up water as needed. Finally, I placed the pot in its permanent location: a spot that receives a minimum of 6 hours of direct, unfiltered sunlight. A south-facing patio or windowsill is ideal.
The Critical First Two Weeks: My Observation Log
This initial period is when your plants acclimate and you must be most vigilant.
- Days 1-3: The plants looked slightly shocked from transplanting. The sundews' dew was minimal. I kept the water tray consistently full. The key was resisting the urge to move them or "help" them.
- Days 4-7: I noticed the first major pitfall: algae growth on the soil surface. The bright sun and constant moisture created a perfect environment for it. While unsightly, a thin layer isn't harmful. To solve this, I carefully sprinkled a thin top dressing of rinsed, dried sphagnum moss over the exposed soil. This blocked light to the algae, conserved moisture, and looked more natural.
- Days 8-10: New growth! The Sarracenia began producing a new, small pitcher. The Drosera capensis started to show fresh, sticky leaves from the center. This was the first sign of success. However, I saw fungus gnats hovering. This was pitfall number two. While the plants would eventually catch them, the larvae in the soil could bother young roots. I placed a small, yellow sticky trap on the soil surface away from the sundews' leaves. It caught the adults and broke the cycle without pesticides.
- Days 11-14: The ecosystem began to balance. The algae was under control, the fungus gnat population dwindled, and the plants visibly perked up. The sundews were dewy every morning, and the new pitcher was elongating. I maintained the water level, ensuring the tray never dried out completely.
Ongoing Care and Maintenance
After the acclimation period, care becomes remarkably simple.
- Watering: Always keep water in the tray. Top it up with distilled water as it evaporates. In winter, when growth slows, you can let the tray dry out for a day or two before refilling, but never let the soil itself become bone dry.
- Feeding: Do not fertilize. Your plants will catch their own food. A healthy bog pot outdoors will attract gnats, flies, and other small insects. If grown indoors, you can occasionally feed a sundew leaf or pitcher a small, dead insect, but it's rarely necessary.
- Winter Dormancy: Temperate pitcher plants and some sundews require a cold dormancy period. In fall, as daylight shortens, growth will stop. I move my pot to an unheated garage where temperatures stay between 35-50°F (2-10°C) for 3-4 months. I reduce watering but don't let the soil completely dry out. They will look dead, but come spring, they will burst back to life.
Troubleshooting Common Issues
- Brown or Crispy Leaves: Usually a sign of low humidity, mineral burn from bad water, or insufficient light. Re-evaluate your water source and light exposure.
- Lack of Dew on Sundews: The most common causes are low humidity, pests (like aphids), or lack of light. Increase light exposure first.
- Mold or Fungus: This often indicates poor air circulation or overly soggy soil without the gravel base layer. Increase airflow around the pot and ensure you have that drainage reservoir.
How often should I water my bog pot? The beauty of the bog pot system is its self-regulation. Your goal is to maintain about an inch of water in the outer tray at all times during the growing season. Check the tray every 2-3 days and top it up with distilled, rainwater, or reverse osmosis water. The soil will wick up what it needs. The "set it and forget it" approach doesn't work here—consistent monitoring is key, but the actual task takes seconds.
Can I use a pot with drainage holes for my carnivorous plant arrangement? You should avoid standard pots with drainage holes for a true bog garden setup. The entire principle is to maintain a permanently moist, but not flooded, root zone. A pot with holes will drain too quickly, making it nearly impossible to keep the peat mix saturated. If you only have a pot with holes, you can use it as a cache pot by placing it inside a larger, sealed container that holds water.
What are the best sundew varieties to pair with pitcher plants in a container? For reliability and visual impact, you can't go wrong with the Cape Sundew (Drosera capensis). It's fast-growing, produces tall flower stalks, and tolerates a range of conditions. Another fantastic choice is the Spoon-leaved Sundew (Drosera spatulata), which forms beautiful, compact rosettes. For a temperate bog pot that will go through dormancy together, consider the native Round-leaved Sundew (Drosera rotundifolia). Their differing forms and growth habits create a captivating and cohesive miniature landscape alongside your Sarracenia.
Creating a thriving carnivorous plant display is less about having a green thumb and more about understanding a simple, specific set of rules. By mimicking their natural bog habitat in a single container, you unlock the ability to grow these fascinating plants with minimal fuss. The journey from my initial failures to the daily joy of checking on dewy sundews and emerging pitchers was immensely rewarding. It taught me patience, observation, and the importance of starting with the right fundamentals. With the right pot, the correct soil, pure water, and plenty of sun, your bog pot will not only survive but become a dynamic, conversation-starting piece of living art. The key is to think like the plant, provide what it evolved to need, and then sit back and watch the captivating drama of your own miniature ecosystem unfold.





