 bluename
 How to Grow Sundew in a Small Greenhouse: A Hands-On Guide for Beginners
I remember the frustration all too well. You bring home a fascinating sundew, captivated by its glistening, deadly dew, only to watch it slowly decline on a sunny windowsill. The air is too dry, the light inconsistent, and before you know it, that sticky allure fades away. I’ve been there. The solution, I discovered, isn’t a magic fertilizer or a secret watering technique—it’s creating the right environment. And for many of us without a sprawling garden, that means mastering how to grow sundew in a small greenhouse. Over the past two weeks, I meticulously set up and monitored a compact greenhouse to nurture a batch of Drosera capensis and Drosera spatulata. The journey was filled with learning, a few near-disasters, and ultimately, incredible success. Let me walk you through every step, sharing exactly what worked, what didn’t, and how you can replicate these results.
Why a Small Greenhouse is a Sundew Game-Changer
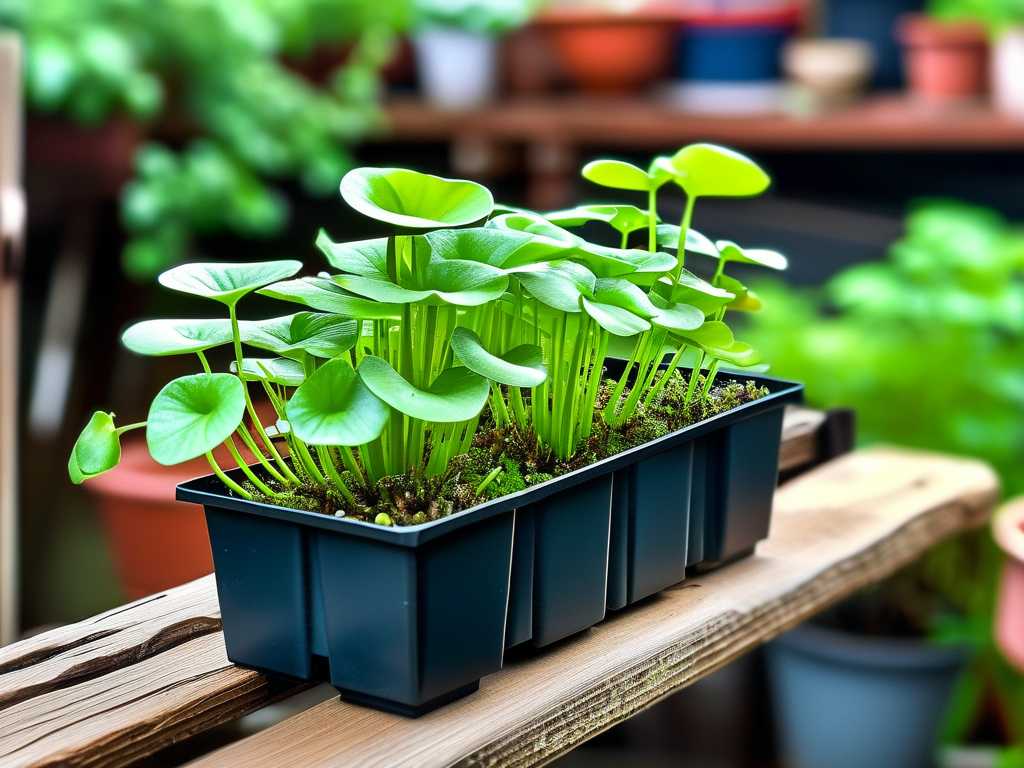
Sundews are deceptively simple. They thrive on three non-negotiable pillars: bright, direct light; consistently high humidity; and pure, low-mineral water. A small greenhouse, whether a sturdy plastic-covered shelf unit or a elegant tabletop terrarium, allows you to control all three with remarkable precision. It creates a microclimate that mimics their natural bog habitats. According to the International Carnivorous Plant Society (ICPS), maintaining humidity above 50% is crucial for proper dew production, a challenge in most modern homes. A contained greenhouse environment solves this elegantly. My goal was to create a self-sustaining system where my sundews could not just survive, but actively trap insects and flourish.
My Step-by-Step Setup and Two-Week Observation Log
Here’s the exact process I followed, documented day-by-day.
Selecting and Preparing the Greenhouse
I chose a 3-tier, zip-up greenhouse with a clear PVC cover, roughly 4 feet tall. The first step was location. It needed maximum light. I placed it in a south-facing room where it would receive at least 6 hours of bright, indirect light, with the potential for some gentle morning sun through the window. Direct, hot afternoon sun on a fully enclosed greenhouse can cook plants—a pitfall I’ve learned to avoid.
For the growing medium, I used a classic 50/50 mix of sphagnum peat moss and perlite, with no additives, fertilizers, or garden soil. Everything was rinsed with distilled water. I repotted my sundews into tall, plastic pots (clay pots leach minerals) and placed them on the greenhouse’s bottom shelf, sitting in shallow trays.
The Critical First Days: Water and Humidity Balance
I filled the trays with about half an inch of distilled water, ensuring consistent bottom-watering. Then, I misted the interior walls of the greenhouse generously and zipped it shut. This created an immediate “sauna effect.” My hygrometer, placed inside, shot up to 95% humidity. This was Day 1.
- Day 1-3: The sundews, which had looked slightly stressed from my dry home air, perked up visibly. Their tentacles began glistening with dew again within 48 hours. However, I noticed condensation was pooling heavily on the inside of the cover, blocking light.
- The First “Pitfall” and Fix: Excessive, dripping condensation is a sign of poor air circulation and can promote fungal growth. My fix was simple but crucial: I unzipped the top 6 inches of the greenhouse door for a few hours each day. This allowed for a gentle exchange of air, bringing humidity down to a stable 70-80% and eliminating the heavy droplets without sacrificing the moist environment.
- Day 4-7: With daily brief ventilation, the system stabilized. New, tiny leaves began emerging from the centers of my Drosera capensis. I observed a fungus gnat land on a Drosera spatulata and become permanently ensnared—a thrilling sign of health! I did not feed them otherwise; they started catching their own food.
- Day 8-14: Growth accelerated. The D. spatulata formed tighter, more colorful rosettes. The long-term care for sundews in a controlled environment became a routine: check the water trays (topped up with distilled water mid-week), provide 2-3 hours of venting, and wipe down excess moisture from the walls. Light remained my primary focus. As noted by horticulturist and author Barry Rice in his authoritative guide Growing Carnivorous Plants, while sundews need bright light, the diffused light inside a greenhouse can be sufficient if intense and prolonged. I confirmed this; no supplemental grow lights were needed in my bright spot.
Essential Maintenance Routines for Thriving Sundews
Your job shifts from daily rescue to simple stewardship once the environment is dialed in.
Watering: The Non-Negotiable Rule Only use rainwater, distilled water, or reverse osmosis water. Tap water, even filtered, contains minerals that will slowly poison your plants. I keep a dedicated gallon jug of distilled water next to the greenhouse. The tray method is perfect—it lets the plants drink at their own pace and evaporates to maintain humidity.
Feeding: Let Nature Handle It A sealed small greenhouse often becomes an ecosystem. Small insects like gnats or springtails will inevitably appear. Your sundews are the perfect pest control! I resisted the urge to feed them manually. Overfeeding can cause leaves to die back. During my two-week watch, every plant caught at least one insect naturally.
Seasonal Adjustments and Dormancy For temperate sundews (like Drosera filiformis), a small greenhouse needs seasonal adjustment. In winter, they require a cold dormancy period. This would mean moving the greenhouse to an unheated garage or shed, or removing those specific plants to a fridge. My tropical varieties (capensis, spatulata) will grow year-round in the stable indoor greenhouse.
Troubleshooting Common Sundew Greenhouse Problems
Even in a controlled space, issues arise. Here’s what I encountered and how I fixed them.
- Fungus or Mold on Soil: In the first week, I saw a white fuzz on the peat moss surface. This was due to stagnant, overly wet conditions. Increasing my daily ventilation time and gently scraping off the affected top layer solved it. The ICPS recommends this approach over fungicides, which can harm sensitive plants.
- Lack of Dew: If your sundew has green leaves but no sticky drops, it’s usually a humidity or light issue. My initial low-dew problem was fixed by the greenhouse itself. If it happens inside the greenhouse, check that condensation isn’t blocking light and ensure your photoperiod is long enough (12+ hours of bright light).
- Leggy or Pale Growth: This is etiolation—a desperate reach for more light. It confirms that managing light and humidity for sundew health is a balancing act. I rotated my pots slightly each week to ensure even exposure. If this happens, consider a supplemental LED grow light placed above the greenhouse.
Will a small greenhouse protect my sundews from pests? It significantly reduces them, but isn’t a fortress. Aphids can still hitch a ride on new plants. I practice strict quarantine for any new addition before introducing it to the greenhouse community. For small infestations, a cotton swab dipped in distilled water can be used to manually remove pests.
Can I grow different carnivorous plants together in my small greenhouse? Yes, with careful selection. Sundews, Venus flytraps, and many pitcher plants (Sarracenia) share similar needs for light, water, and soil. Avoid tropical pitcher plants (Nepenthes) with most sundews, as many Nepenthes prefer more air movement and a less soggy medium.
Do I need to heat my small greenhouse in winter? For tropical sundew species, if your indoor space stays above 60°F (15°C), the greenhouse will maintain a slightly warmer, stable temperature, which is ideal. No additional heat is needed. For temperate species requiring dormancy, you need to provide a cold period, not warmth.
Creating the perfect environment for sundews in a limited space is not only possible, it’s deeply rewarding. By leveraging a small greenhouse, you take control of the climate, turning a challenging houseplant into a resilient, fascinating display. The key takeaways from my two-week immersion are clear: prioritize pure water and maximum light, embrace daily ventilation to prevent stagnation, and then simply observe. There’s a unique joy in watching these clever plants thrive on their own terms, catching their meals and glowing with health, all within the confines of a humble, carefully managed space. Start with a sturdy setup, be patient through the initial adjustments, and you’ll be rewarded with a thriving colony of these sticky, spectacular carnivores.





