 bluename
 How to Grow Sundew in a Garden Bed (Outdoors): A Hands-On Guide from a Fellow Plant Lover
Ever felt the thrill of growing something truly unique in your garden? I have. After years of nurturing typical flowers and herbs, I craved a touch of the extraordinary. That’s when I turned to sundews, those captivating carnivorous plants with glistening, dew-tipped tentacles. But a major question stopped me: can these seemingly delicate bog dwellers truly thrive in an ordinary outdoor garden bed? Most advice pointed solely to terrariums or specialized pots, leaving the dream of a garden bed sundew colony feeling out of reach. I decided to experiment and find out. This guide is the result of my real-world journey, including the mistakes, the fixes, and the ultimate success of establishing a flourishing sundew patch right in my backyard.
My goal was clear: to create a permanent, low-maintenance outdoor home for Drosera capensis (Cape Sundew) and Drosera filiformis (Threadleaf Sundew), known for their relative hardiness. I was committed to documenting every step and observing the results over a critical two-week establishment period and beyond.
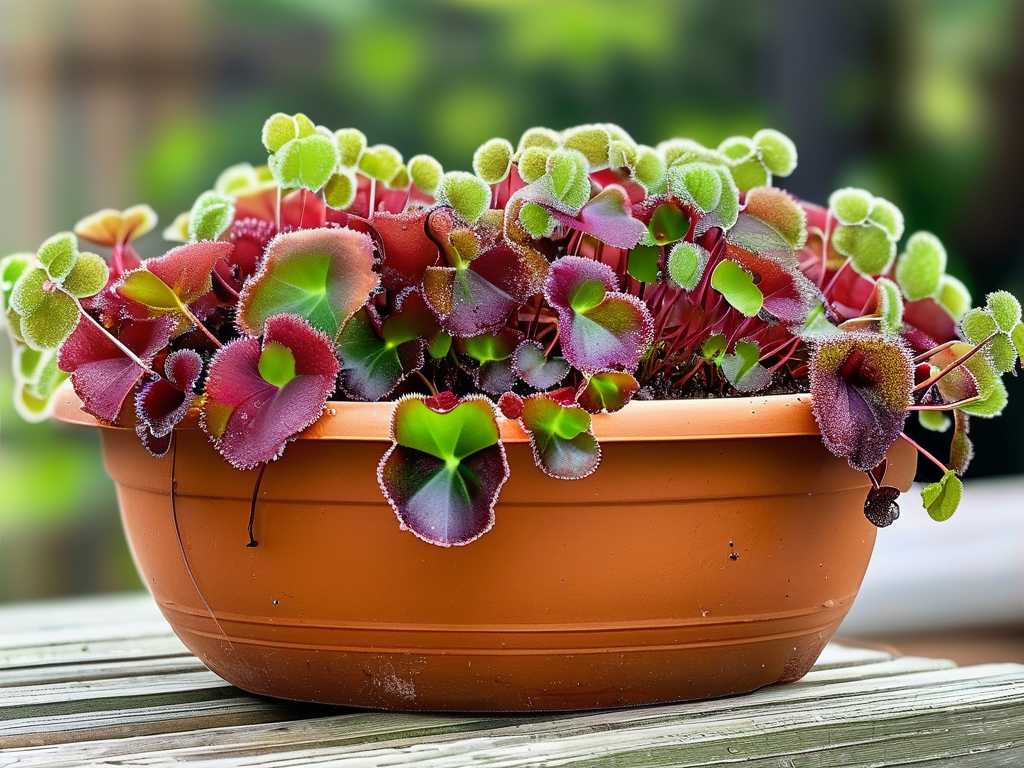
Understanding Your Sundew’s Wild Roots
Before you dig a single hole, you must think like a sundew. These plants aren’t just adapted to wet soil; they are natives of nutrient-poor, waterlogged environments like bogs and seepages. Their carnivorous nature is a direct adaptation to these conditions—they get nutrients from insects, not the soil. According to the International Carnivorous Plant Society (ICPS), the single greatest cause of failure is treating them like conventional plants, particularly by using mineral-rich soil, fertilizers, or tap water. Their roots are primarily for water absorption and anchorage, not nutrient uptake. This fundamental understanding shaped my entire approach.
The Non-Negotiables: Sun, Water, and Soil
Getting these three elements right is 95% of the battle. Compromise here, and your sundew project will fail.
1. Location: Full Sun is Non-negotiable Sundews are sun worshippers. They need a minimum of 6 hours of direct sunlight daily. More is better. The sun is what powers the production of their sticky, mucilaginous "dew," which is essential for trapping prey. I selected a spot that received sun from morning until late afternoon. Without ample light, the plants become leggy, lose their vibrant red and pink colors, and produce little to no dew, essentially starving them.
2. Water: Pure Water Only This was my first major pitfall. I initially watered my prepared bed with filtered tap water, thinking it was safe. Within the first week, I noticed the dew production on my Cape Sundews was minimal, and a few leaf tips looked burnt. I tested my water’s Total Dissolved Solids (TDS) and found it was over 50 ppm—far too high. Sundews require water with less than 50 ppm TDS, and ideally under 20 ppm.
- The Fix: I immediately switched to distilled water and rainwater collected in a barrel. I flushed the bed thoroughly with a gallon of distilled water to leach out minerals. Within 4-5 days of the switch, I observed a dramatic improvement. New leaves emerged glistening with sticky dew, confirming that pure water is an absolute mandate.
3. Soil: Creating the Perfect "Bog" Mix Regular garden soil or potting mix is a death sentence. It contains fertilizers and minerals that will burn the roots and kill the plant. You must create an acidic, nutrient-free medium.
- My Recipe: I used a 1:1 mix of sphagnum peat moss and horticultural sand (or perlite). Ensure the sand is silica-based and washed, not builder’s sand which contains lime. I moistened this mix thoroughly with distilled water before planting. This combination is airy, retains moisture perfectly, and mimics the natural acidic (pH 4-5) environment sundews love.
Step-by-Step: Building Your Sundew Garden Bed
Here is the exact process I followed, which you can replicate.
1. Site Preparation and Bed Construction I chose a slightly depressed area to help retain moisture but ensured it wasn’t a flooding zone. I dug out a trench about 12 inches deep and 3 feet long. I then lined it with a flexible pond liner or heavy-duty plastic sheeting, puncturing a few small holes about 2 inches from the top for slight overflow drainage—this prevents it from becoming a stagnant pond. This liner is crucial to isolate your acidic, mineral-free soil from the native ground.
2. Filling and Planting I filled the lined trench with my pre-moistened peat moss and sand mix. I gently planted my sundews, keeping their delicate root crowns level with the soil surface. I spaced Drosera capensis about 6-8 inches apart, as they can form robust clumps. The Drosera filiformis went in about 4 inches apart. Immediately after planting, I gave them a generous soak with rainwater.
3. The Critical First Two Weeks: Observation and Adjustment This period was all about monitoring and fine-tuning.
- Days 1-3: The plants looked slightly shocked from transplanting (transplant shock is normal). I kept the soil constantly saturated, with a centimeter of pure water standing in the bed.
- Days 4-7: The water quality issue surfaced (as described above). After flushing and switching to pure water, recovery began.
- Days 8-14: This was the turnaround phase. New, healthy leaves with abundant dew emerged. I observed small gnats and flies getting trapped. The plants were clearly feeding and acclimating. I ensured the water level was maintained, especially as it was a sunny, warm period.
Common Pitfalls and How I Solved Them
Pitfall #1: Pests and Mold. Even carnivorous plants can have pests. In week three, I noticed aphids on a few flower stalks. Spraying insecticides is not an option—it will kill the plant.
- Solution: I manually squished the aphid colony and, as recommended by experts at the Carnivorous Plant Hub, carefully applied a minute drop of diluted neem oil (1 drop per liter of distilled water) directly to the affected area with a cotton swab, avoiding the sticky leaves. It worked without harm.
Pitfall #2: Winter Dormancy. My Drosera filiformis is a temperate species that requires a cold dormancy period to survive long-term. I feared the bed might freeze solid.
- Solution: As autumn came, I mulched heavily with a thick layer of pine needles and dead sphagnum moss. The ICPS notes that for in-ground bog gardens, a deep mulch provides sufficient insulation. Come spring, the sundews re-emerged from their roots, right on schedule.
Pitfall #3: Weed Invasion. Weeds compete for space and can introduce nutrients.
- Solution: Constant, careful hand-weeding is the only safe method. I made it a weekly ritual to pluck out any invaders before they could establish, being careful not to disturb the sundews’ shallow roots.
The Reward: A Self-Sustaining Ecosystem
The most fascinating outcome, which took a few months to fully realize, was seeing a mini-ecosystem develop. The sundews effectively controlled fungus gnats and other small insects around the bed. They flowered prolifically, set seed, and new baby sundews began to sprout naturally in the bed. The maintenance became incredibly low—just topping up with rainwater during dry spells and weeding occasionally. The bed has now been thriving for multiple seasons, a testament to the method’s success.
How often do I need to water my outdoor sundew bed? You shouldn’t let the soil dry out. The goal is to keep it consistently saturated. During hot, dry spells, you may need to add pure water every other day to maintain a shallow water level. In cooler, rainy periods, nature will handle it for you. The liner ensures the water stays in the root zone.
Can I grow sundews outdoors in a cold climate? Yes, for hardy temperate species like Drosera rotundifolia or Drosera filiformis. They require a winter dormancy period with freezing temperatures. A thick mulch layer over the bed provides the necessary insulation. Tropical species like Drosera capensis can be grown as annuals in cold climates or brought indoors before frost.
Do I need to feed my sundews if they’re outdoors? No, absolutely not. One of the joys of an outdoor location is that the plants will catch their own food. They will attract and trap small insects naturally. Fertilizing them or trying to feed them meat will harm or kill them. Trust the process—they are expert hunters.
Growing sundews in an outdoor garden bed is not only possible but deeply rewarding. It moves them from being a curious windowsill specimen to becoming a dynamic part of your garden’s ecology. By respecting their unique needs for pure water, acidic soil, and abundant sun, you can create a stunning, conversation-starting display that thrives with minimal intervention. My two-week experiment turned into a long-term passion, and the glistening, dewy patch in my garden remains my proudest horticultural achievement. Start with a small bed, be patient through the establishment phase, and you’ll be amazed at the resilient and beautiful world you can cultivate.





