 bluename
 How to Grow Sundew from Tissue Culture: A Step-by-Step Guide from My Lab to Your Windowsill
I remember the frustration all too well. You see a stunning sundew (Drosera) online, a marvel of evolution with its glistening, deadly dew. You order one, only to receive a tiny, fragile plantlet in a sterile jar—a tissue culture specimen. It looks more like a science experiment than a future carnivorous superstar. The instructions are vague, and the fear of losing this precious, lab-grown wonder is real. I’ve been there. After several failed attempts and countless hours of research, I’ve perfected a method that works. This guide isn’t just theory; it’s my personal, hands-on journey of how to successfully acclimatize and grow sundews from tissue culture, including the exact steps I used, my two-week observation log, and the critical mistakes I made so you don’t have to.
Understanding Your Tissue Culture Sundew
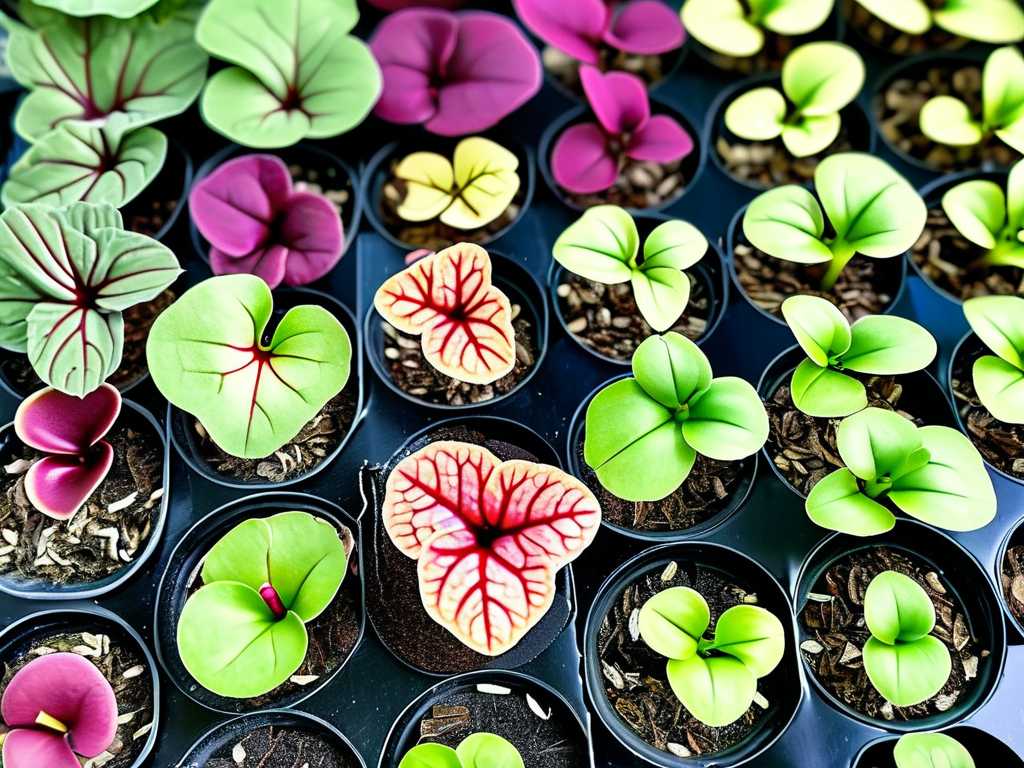
First, let’s clarify what you have. Tissue culture, or micropropagation, is a brilliant method used by nurseries and conservationists like those at the International Carnivorous Plant Society (ICPS) to produce large numbers of genetically identical, disease-free plants. Your plantlet has spent its entire life in a sterile, nutrient-rich gel with perfect humidity and controlled sugars. It has no experience with real-world microbes, airflow, or the drying effect of sun. Our job is to gently introduce it to these conditions—a process called acclimatization or “weaning.”
According to experts in plant biotechnology, the transition from in vitro (in glass) to ex vitro (outside glass) is the most critical phase. The plant must develop functional roots and leaves adapted to a non-sterile environment while its cuticle (a waxy protective layer) thickens. Rushing this step is the number one reason for failure.
My Essential Toolkit for Success
Gathering the right materials before you start is half the battle. Here’s what I prepared, based on recommendations from experienced growers and horticultural research:
- The Plant: A Drosera capensis ‘Albino’ tissue culture cup. I chose Cape Sundew for its relative hardiness.
- Acclimatization Dome: A clear plastic container with a lid (like a large deli container). Humidity is key initially.
- Growing Medium: A 1:1 mix of long-fiber sphagnum moss and perlite. Pure peat is also fine, but I find moss provides better aeration. Never use potting soil or fertilizer—it will kill carnivorous plants.
- Purified Water: Distilled, reverse osmosis (RO), or rainwater only. Tap water contains minerals that will accumulate and poison the plant.
- Tools: Long tweezers, a small spoon, and a spray bottle filled with purified water.
- Light Source: A strong LED grow light. While some sundews tolerate lower light, tissue culture babies thrive under consistent, bright, indirect light.
The Step-by-Step Acclimatization Process: My Hands-On Log
This is the exact procedure I followed, documented in real-time.
Day 1: The Transfer
My goal was to minimize shock. I filled the clean plastic container with pre-moistened (soaked in distilled water) sphagnum/perlite mix, creating a soft bed. I then carefully opened the tissue culture vessel. Using sterilized tweezers, I gently lifted the plantlet cluster out, avoiding the roots. I placed it in a shallow bowl of distilled water to gently swish and dissolve most of the agar gel clinging to the roots—this is crucial, as leftover agar can mold. I then made a small hole in the growing medium, placed the roots in, and gently firmed the moss around the base. I misted the plant lightly, placed the clear lid on top to create a mini-greenhouse, and set it under my grow light for a 14-hour photoperiod.
The First Week: High Vigilance
This was the most nerve-wracking period. The sealed dome maintained near 100% humidity. I observed condensation on the walls daily—a good sign.
- Day 3: I noticed the first potential issue: a tiny, fuzzy white spot on a deceased leaf fragment from the cluster. Early mold! I immediately removed the lid for 30 minutes to allow fresh air exchange, then replaced it. I increased airflow in the room slightly. This quick intervention stopped the mold.
- Day 5: The plantlet looked perkier. The central growth point was a vibrant green. No new mold appeared. I began a routine of lifting the lid for one hour each day to start hardening it to lower humidity.
- Day 7: I observed the first signs of new root growth—fine, white hairs emerging near the base. A major victory! The plant was establishing itself.
Week 2: Gradual Independence
Confidence was growing. The sundew was visibly larger.
- Day 10: I introduced a longer “hardening off” period. I propped the lid open with a small stick, creating a permanent small gap. Humidity remained high inside, but not saturated.
- Day 12: I removed the lid completely for 4 hours. The plant showed no signs of wilting. Its leaves were now producing minute droplets of mucilage—its first real, functional dew! This was the clearest indicator of successful acclimatization.
- Day 14: The lid was off permanently. The sundew was now living in ambient room humidity (around 50-60%). I kept the medium consistently moist by placing the container in a shallow tray of distilled water (the “tray method”). It was officially weaned.
Post-Acclimatization: Long-Term Sundew Care
Your plant is now a “normal” sundew. My Drosera capensis was moved to a permanent, open pot with the same soil mix. It sits in a water tray under strong light. I feed it occasionally with dried bloodworms or let it catch small gnats. It has since tripled in size and produced multiple flower stalks. The key is consistent moisture, bright light, and pure water.
Critical Mistakes I Made (And How You Can Avoid Them)
My first attempt failed. Here’s why:
- Skipping the Agar Rinse: I planted a plantlet with agar still on the roots. It developed severe mold within 48 hours and collapsed. Always rinse gently.
- Insufficient Airflow: Keeping the dome sealed tight for the first week without any air exchange invites fungal and bacterial growth. Brief daily venting is non-negotiable.
- Poor Water Quality: I once used filtered tap water in a pinch. Within weeks, the plant stagnated and developed brown tips—a classic sign of mineral burn. The purity of water cannot be overstated.
- Insufficient Light: I tried to acclimate a plant on a windowsill with indirect light. It became etiolated—stretched and weak—and lacked the energy to root properly. Strong artificial light gives you complete control and is highly recommended for this delicate phase.
Frequently Asked Questions
How long does it take for a tissue culture sundew to reach maturity? It varies by species. Fast growers like Drosera capensis can reach flowering size in 6-12 months under ideal conditions. Slower species like Drosera regia may take several years. My capensis began producing its first flower stalk about 8 months after weaning.
Can I feed my newly transferred sundew? Do not feed it during the first 2-3 weeks of acclimatization. Its energy is focused on root development and physiological adaptation. Once it is actively producing dew and growing new leaves in its open environment, you can offer tiny, soft-bodied insects or appropriate substitutes.
Why are the leaves not producing dew? Lack of dew is almost always a sign of insufficient light or humidity shock. If you hardened the plant off too quickly, it may stop producing dew temporarily. Ensure it is receiving very bright light (direct sun or equivalent grow light) and that the soil is consistently moist. It will resume dew production once it has adjusted.





