 bluename
 How to Propagate Sundew Leaves in Sphagnum Moss: A Step-by-Step Guide from a Fellow Plant Lover
I’ve been there. You’ve got this beautiful sundew, a captivating carnivorous plant, and you want to multiply your collection or save a precious specimen. You’ve heard leaf propagation in sphagnum moss is the way to go, but the information online is vague. Which leaves to choose? How moist should the moss be? What if it just rots? The fear of failure can be paralyzing. After several attempts, some successful and some… educational, I’ve perfected a reliable method. This guide isn’t just theory; it’s my personal, hands-on journey of how to propagate sundew leaves in sphagnum moss, complete with my two-week observation log, the mistakes I made, and exactly how I fixed them.
Why Sphagnum Moss is the Ideal Medium for Sundew Propagation
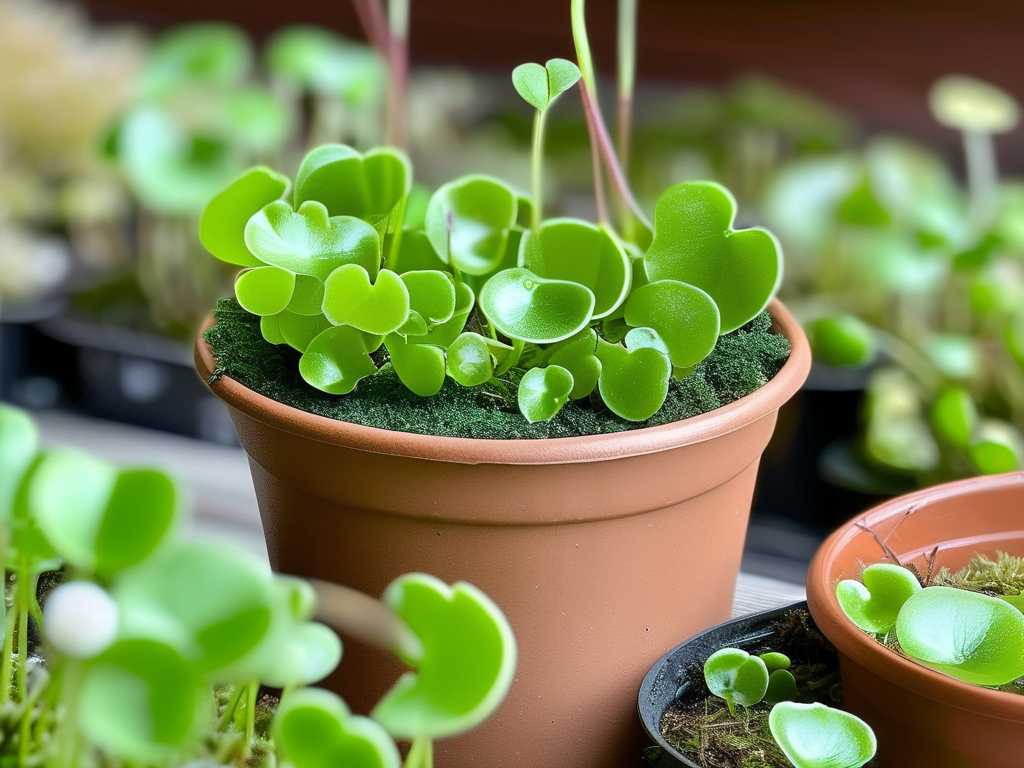
Before we dive into the steps, let’s talk about the “why.” Long-fiber sphagnum moss isn’t just dirt; it’s a superstar medium for carnivorous plants. Its structure is airy, preventing the soil compaction that suffocates delicate roots. It’s naturally acidic, mimicking the sundews’ preferred bog habitat. Most importantly, it has incredible moisture retention while still allowing oxygen to reach the developing plantlets—a critical balance. The International Carnivorous Plant Society (ICPS) frequently recommends sphagnum moss for propagation due to its consistent results and resistance to pathogens when kept properly moist. I’ve tried peat-perlite mixes, but for leaf cuttings, nothing beats the fluffy, supportive environment of quality, long-fiber sphagnum.
Gathering Your Propagation Toolkit
You don’t need a fancy lab. Here’s what I gathered on my kitchen counter:
- Mother Plant: A healthy, actively growing sundew (Drosera capensis is a fantastic beginner choice).
- Sphagnum Moss: Premium, long-fiber sphagnum. I pre-soak a handful in distilled or rainwater for about 30 minutes until it’s fully hydrated, then squeeze it gently so it’s damp like a well-wrung sponge, not dripping.
- Container: A clear plastic container with a lid (like a deli container) or a pot inside a sealed plastic bag. Transparency is key for monitoring without disturbing the cuttings.
- Tools: Precision tweezers and a sharp, sterile razor blade or scalpel. Sterilize with isopropyl alcohol.
- Water: Only distilled, reverse osmosis (RO), or rainwater. Tap water, with its minerals, is a surefire way to kill your cuttings.
- Light: A bright, indirect light source or a grow light. Direct sun in a closed container can cook your cuttings.
My Step-by-Step Process for Propagating Sundew Leaves
This is the exact sequence I followed in my most successful propagation attempt.
Selecting and Preparing the Perfect Leaf Cuttings
The first pitfall is choosing the wrong leaf. Young, small leaves often lack the energy reserves. I look for mature, healthy leaves from the outer part of the rosette, those that are fully developed but not old and senescing. Using my sterilized blade, I make a clean cut as close to the base (the petiole) as possible. Some species, like Drosera spatulata, can be propagated from leaf fragments, but for this guide, I’m using whole leaves. The goal is a clean piece with as much of the white, meristematic tissue at the base as possible—this is where the new plantlets will form.
Preparing the Sphagnum Moss Bed
I take my pre-soaked, wrung-out sphagnum moss and fluff it up in the container. I press it down lightly to create a firm, even surface, about 1-2 inches deep. It must be uniformly damp. Here’s where I failed once: I left the moss too wet. The leaves essentially stewed in stagnant water and turned to mush within days. The “well-wrung sponge” consistency is non-negotiable.
Placing the Cuttings and Creating the Ideal Environment
This part requires a gentle touch. Using tweezers, I lay the leaf cuttings flat on the surface of the moss, ensuring the base (the cut end) is in good contact with the medium. Some growers insert the base slightly into the moss, but I’ve had better results with the “on top” method, as it reduces the risk of rot at the insertion point. I lightly mist the surface with distilled water once. Then, I place the lid on the container or seal the pot inside a plastic bag. This creates a mini-greenhouse with near-100% humidity, eliminating the need for the cuttings to absorb water while they focus all energy on creating new growth.
The Critical First Two Weeks: My Observation Diary
This is where patience and observation are everything. I checked on my cuttings every other day without opening the container, relying on the clear lid.
- Days 1-3: No visible change. The leaves look the same. The container has slight condensation.
- Days 4-7: I notice the first sign of success! Tiny, dewdrop-like beads of moisture appear on the tentacles of some leaves. This tells me the leaf tissue is still alive and functioning. No signs of blackening or mold.
- Days 8-10: The breakthrough. At the base of several leaves, I see the first specks of bright green. These are the initial plantlets! They look like microscopic, green bumps. The moss remains consistently damp with condensation.
- Days 11-14: The green bumps grow into distinct, tiny sundew sprouts, each with their own miniature tentacles. Some leaves produced one plantlet; others produced two or three along the base. The original leaf cuttings begin to look a bit weathered, as they’ve donated their energy to the offspring.
Troubleshooting: The Problems I Encountered and How I Solved Them
My first attempt wasn’t this smooth. Here’s what went wrong and how I adapted.
The Great Mold Outbreak (And How I Stopped It) In an early try, I saw fluffy white mold on a leaf by day 5. Panic! I learned this is often due to organic debris on the leaf or overly soggy moss. As per advice from experienced growers on forums like those run by the Carnivorous Plant Society, I carefully removed the affected leaf with tweezers to prevent spread. I slightly vented the container by propping the lid open a crack for an hour each day to increase air flow, which solved the issue without harming the other cuttings.
The Case of the Shriveled Cuttings Another time, my cuttings simply dried up and turned crispy. The cause was low humidity. The seal on my plastic bag wasn’t tight. The fix was simple: I re-hydrated the moss (with distilled water) and transferred everything to a properly sealing container. This highlights the absolute necessity of a consistently humid environment.
When to Transition Your New Plantlets
After about 4-6 weeks, when the plantlets have developed several of their own leaves and look like tiny, complete sundews (about the size of a pencil eraser), they are ready for acclimation. This is a delicate phase. I open the container’s lid a little more each day over a week to gradually lower the humidity. Once acclimated to ambient air, I gently tease the plantlets apart, keeping their tiny root systems intact, and pot them into their own small pots of fresh, appropriate carnivorous plant soil. I keep them under high humidity (under a dome or bag) for another week or two as they establish, then treat them as mature plants.
Frequently Asked Questions
Can I use this method for all types of sundews? Most common subtropical and temperate sundews (like Drosera capensis, spatulata, and binata) propagate excellently this way. Some specialized species (like tuberous Drosera) require different methods. Always check the specific needs of your sundew variety.
How long does it take for a leaf cutting to become a full-grown plant? From cutting to a recognizable young plant takes about 2 months. Reaching mature size can take 6 months to a year, depending on species and growing conditions. Patience is your greatest tool.
My leaf is producing plantlets but looks dead. Is this normal? Yes, completely! The parent leaf is a sacrificial energy source. It will often brown and decompose as the plantlets draw nutrients from it. As long as the new growth is green and healthy, you are on the right track.
Propagating sundews through leaf cuttings in sphagnum moss is a profoundly rewarding process. It connects you to the cycle of growth in a tangible way. By selecting healthy leaves, maintaining the perfect dampness in your moss, and providing a stable, humid environment, you can turn a single leaf into a thriving new generation of plants. Remember to use pure water, be vigilant against mold, and have patience. The moment you see those first green specks emerge, every bit of careful effort becomes worth it. Happy propagating





