 bluename
 How to Fix Sundew from Mold Growth: A Complete Rescue Guide
I love my sundews. Their glistening, sticky tentacles are a marvel of nature, and watching them catch tiny gnats never gets old. But that love was tested recently when I opened my terrarium to a horrifying sight: a fuzzy, white blanket of mold creeping over the soil and onto the base of my precious Drosera capensis. Panic set in. I’d heard mold could be a death sentence for these delicate carnivorous plants. After two weeks of diligent, sometimes trial-and-error care, I not only saved my plant but learned exactly how to fix sundew from mold growth for good. This guide is everything I wish I’d known, from immediate first aid to long-term prevention.
Understanding Why Your Sundew is a Mold Magnet
Before we dive into the fix, it’s crucial to understand the "why." Mold doesn’t attack healthy sundews in ideal conditions out of nowhere. It exploits weakness. Sundews require consistently moist soil, high humidity, and bright light—conditions that, if unbalanced, also happen to be perfect for mold spores.
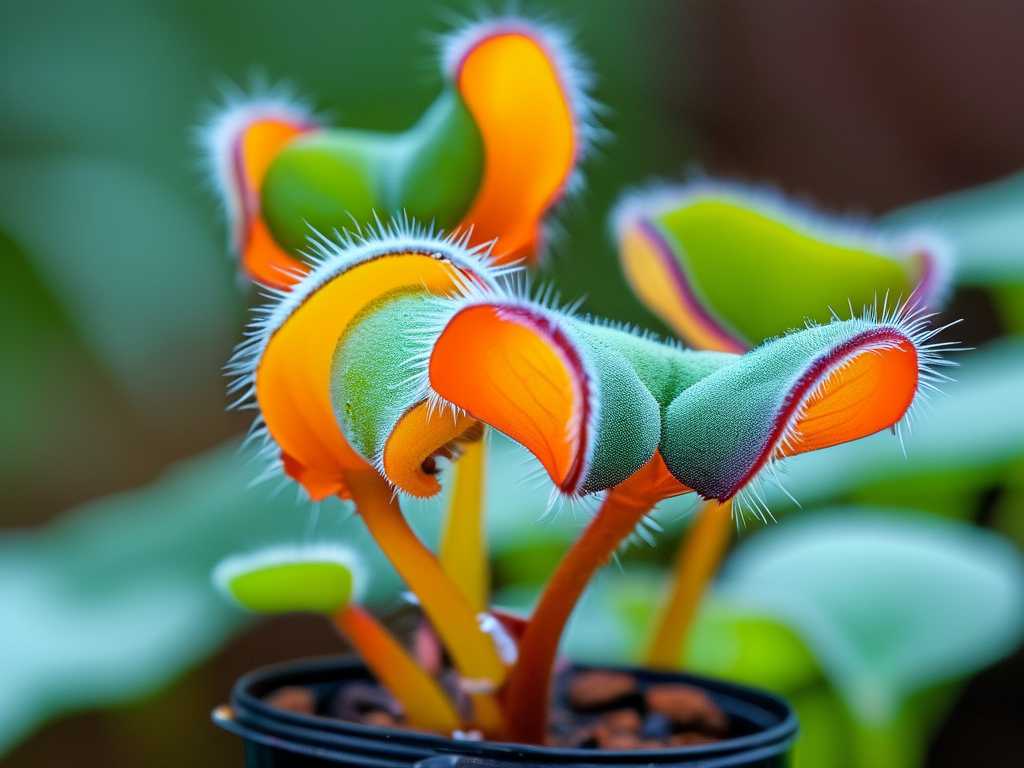
The primary culprits are:
- Poor Air Circulation: Stagnant, humid air is mold’s best friend. My terrarium, while beautiful, was a sealed box of still air.
- Overwatering / Improper Soil: Using standard potting soil or keeping the pot in a deep saucer of water creates a soggy, anaerobic environment.
- Low Light: In weak light, the plant’s metabolism slows. It uses less water, leaving the soil wetter for longer, and its overall vigor declines, making it more susceptible.
- Organic Debris: Dead leaves, dead prey, or moss decaying on the soil surface provide a direct food source for mold.
As Larry Loggins of the Carnivorous Plant Society noted in a 2022 advisory, "Fungal issues in Drosera are almost always a cultural problem, not a pathogen issue. The mold is a symptom, telling you the environment is out of balance for the plant."
My 2-Week Rescue Protocol: Step-by-Step
When I found the mold, I immediately initiated this protocol. I documented the process daily, and the turnaround was remarkable.
Phase 1: Immediate Triage (Days 1-3)
- Isolate the Plant: My first move was to quarantine the affected sundew away from my other carnivorous plants to prevent spore spread.
- Remove Visible Mold & Debris: Wearing gloves, I gently scooped away the top layer of soil that contained the mold, along with any dead leaves or moss. I used a teaspoon for precision. I disposed of this material far from my plant area.
- Improve Airflow Drastically: I took the sundew out of the terrarium permanently. I placed it on a bright windowsill where it could get gentle air movement from the room (not direct, harsh drafts from a fan or AC vent). This single change was the most impactful.
- Adjust Watering: I stopped the "tray method" of sitting the pot in water. Instead, I allowed the top surface of the soil to feel just slightly damp to the touch before watering lightly from above with distilled water. The goal was moist, not waterlogged.
Phase 2: Environmental Reset & Observation (Days 4-10)
- Maximize Light Exposure: I ensured the plant received a minimum of 6 hours of direct sunlight daily. For periods of cloudy weather, I supplemented with a basic LED grow light placed 6 inches above the plant for 12 hours. Strong light boosts the plant’s immune response and helps dry the surface soil.
- The Cinnamon Trick: As a natural, gentle antifungal, I lightly dusted the clean soil surface with ground cinnamon. It’s a trick recommended by many hobbyists on forums like Reddit’s r/SavageGarden. It won’t cure a severe infection but helps suppress surface spores as the environment corrects itself.
- Daily Monitoring: Each morning, I checked the soil surface and plant base. By Day 5, the fuzzy white growth had not returned. The existing, slightly affected lower leaves began to dry up—a sign the plant was compartmentalizing the issue.
Phase 3: Recovery & System Change (Days 11-14+)
- Soil Assessment: While the mold was gone, I knew the old soil was compromised. On Day 11, I performed a careful repot. I used a fresh, sterile 1:1 mix of sphagnum peat moss and perlite—no fertilizer, no garden soil. I gently rinsed the roots in distilled water during the transfer.
- The New Watering Regime: I returned to the tray method, but with a critical tweak. I only add about 0.5 inches of distilled water to the tray. I let it dry out completely for 1-2 days before refilling. This creates a wet-dry cycle that sundews tolerate well but mold finds difficult.
- The Result: By the end of Week 2, my sundew was pushing out vibrant, new, sticky leaves from its center. Growth had visibly resumed. The plant was firmly on a path to recovery, now living in a mold-resistant setup.
The Pitfalls I Encountered (And How You Can Avoid Them)
My journey wasn’t perfectly smooth. Here’s where I stumbled:
- The Pitfall of Over-Correction: After the mold scare, I swung too far the other way. I let the soil get too dry for two days, causing some dew loss and leaf stress. The Fix: I learned that "moist" is key. I now use the finger test: the top ¼ inch can dry, but below that should feel cool and damp.
- Ignoring the Pot: I initially reused the old plastic pot. A residue film was likely present. The Fix: On repotting day, I scrubbed the pot with a dilute vinegar solution (1 part vinegar to 4 parts water) and rinsed thoroughly, or use a brand-new pot.
- Misdiagnosing Leaf Suffering: Some older, mold-proximal leaves died back. I feared the plant was failing. The Fix: I learned from resources like the International Carnivorous Plant Society that as long as the central growth point (the crown) is healthy and producing new leaves, the plant is recovering. Prune dead leaves with sterilized scissors to remove decay material.
Building a Mold-Proof Sundew Care Routine
Prevention is infinitely easier than cure. Based on my experience and guidance from authoritative sources like the Royal Horticultural Society (RHS), which stresses environmental control for plant health, here is your sustainable care plan:
- Airflow is Non-Negotiable: Use a small, oscillating fan in the room (not pointed directly) for a few hours a day, or ensure your growing space is naturally breezy.
- Water Wisely: Always use low-mineral water—rainwater, distilled, or reverse osmosis. The tray method is fine, but let the tray dry out periodically.
- Prioritize Light: Provide as much direct sunlight as possible. A south-facing window is ideal. Insufficient light is a primary contributor to sundew mold problems.
- Use the Right Media: Never use nutrient-rich soils. The sterile peat/perlite or long-fiber sphagnum moss mix provides drainage and acidity.
- Keep it Clean: Regularly remove dead leaves and insect carcasses from the plant and soil surface. This removes the fuel for mold.
Frequently Asked Questions
Can I use a fungicide to treat mold on my sundew? I strongly advise against chemical fungicides. Sundews are extremely sensitive to chemicals. The residue can damage their delicate leaves and root systems. The cultural and environmental fixes outlined here are the safest and most effective solution for mold on carnivorous plants.
The mold is on the leaves themselves, not just the soil. What do I do? If the fuzzy growth is on the leaves, act fast. Gently wipe the affected leaf with a cotton swab dipped in distilled water. Increase airflow and light immediately. If it’s widespread, you may need to carefully remove the most infected leaves to save the crown. This is often a sign of critically poor air circulation.
How can I tell the difference between mold and the sundew’s natural hairs or dew? Mold is typically fuzzy, white, gray, or sometimes green, and grows in patches on the soil or the non-sticky parts of leaves. It looks "dry" and powdery or cotton-like. Sundew dew is clear, shiny, and droplet-like, appearing on the tips of the tentacles. The plant’s hairs are part of the leaf structure and are not fuzzy or spreading.
Mold on your sundew is a warning sign, not a final verdict. It took a focused two-week intervention to correct my environment, but the principles of strong light, consistent airflow, and careful watering are simple to maintain. By listening to what the mold is telling you—that the conditions are off—and adjusting your care, you can not only rescue your plant but ensure it thrives, dewy and mold-free, for years to come.





