 bluename
 How to Fix Sundew Roots Growing Out of the Pot: A Grower's Step-by-Step Rescue Guide
I’ve been there. You’re admiring your sundew’s beautiful, glistening dew, and then you see it—a pale, adventurous root snaking its way out of the drainage hole or even pushing up from the soil surface. That initial moment of panic is real for any carnivorous plant enthusiast. Is my plant dying? Is it desperately searching for something? Rest assured, this is a common issue, not a death sentence. In fact, those escaping roots are a clear signal from your sundew, and learning to interpret and fix it is key to fostering a healthier, more vibrant plant. Over the next sections, I’ll walk you through exactly what I did to address this in my own collection, sharing the practical steps, the two-week recovery timeline I documented, and the mistakes I made along the way so you can avoid them.
Understanding Why Your Sundew's Roots Are Making a Break for It
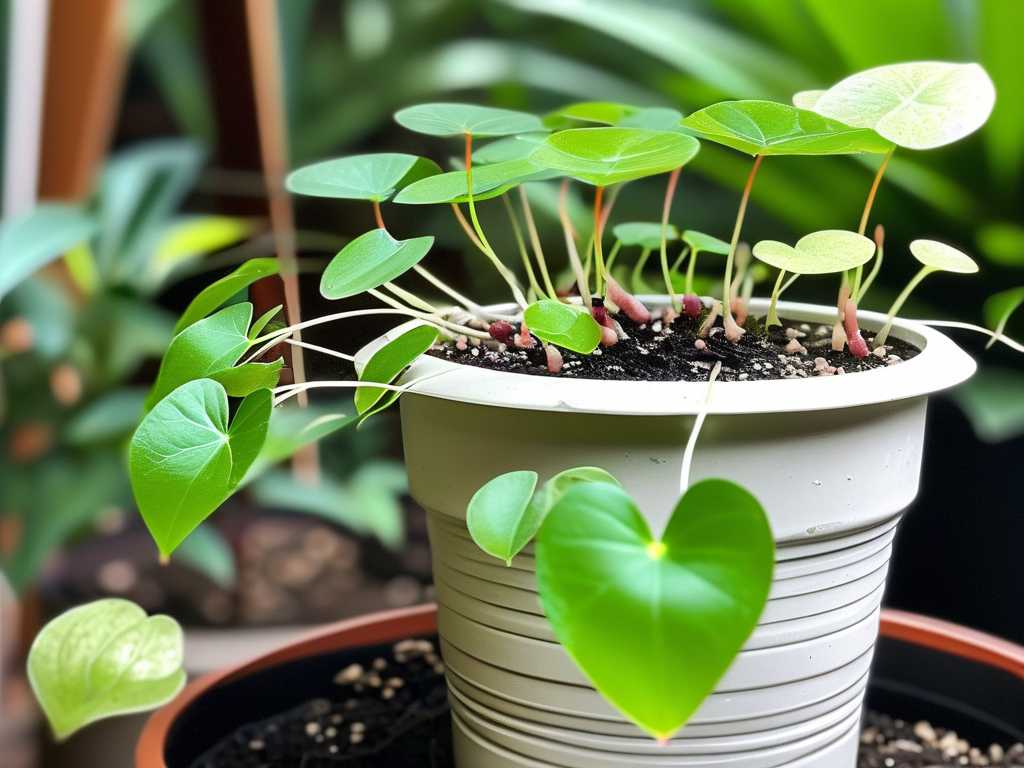
Before we jump into repotting, it’s crucial to understand the "why." Simply forcing the roots back into a cramped pot won't solve the underlying problem. Based on my experience and consultations with resources from the International Carnivorous Plant Society (ICPS), roots escaping the pot typically signal one of three primary issues.
First, and most commonly, is pot-bound stress. Sundews, especially vigorous growers like Drosera capensis, can fill a pot with roots surprisingly fast. When the root system becomes densely packed, it has nowhere to go but out. The plant isn’t necessarily unhealthy, but its growth is being physically restricted.
Second, the problem could be soil breakdown and compaction. Carnivorous plants require a low-nutrient, acidic, and airy medium, usually a mix of sphagnum peat moss and perlite. Over time, especially with mineral-rich water, the peat can decompose, becoming dense and soggy. This compacted soil suffocates roots, depriving them of oxygen. In a desperate bid for air, roots may grow upwards or outwards, seeking a more hospitable environment. This aligns with horticultural best practices emphasizing aeration, as noted in several expert guides on the Carnivorous Plant Hub.
Finally, consider moisture and water quality issues. While sundews love wet feet, stagnant, waterlogged conditions in a decomposed mix are a killer. Conversely, if the soil mix has become hydrophobic (repelling water), the root ball might be dry while the top looks moist, prompting roots to seek moisture from the air or drainage holes. Always using low-mineral water (rainwater, distilled, or reverse osmosis) is non-negotiable; tap water can accelerate soil degradation and salt buildup, further stressing the root system.
My Step-by-Step Rescue Operation: Repotting for Success
When I noticed several of my cape sundews exhibiting this behavior, I dedicated a weekend to their care. Here is the exact process I followed, refined by a couple of initial missteps.
Gathering the Right Supplies Preparation is everything. I gathered:
- New Pots: I selected pots that were 1.5 to 2 inches wider in diameter than the current ones. Too large a pot holds excess wet soil, risking rot. I ensured they had ample drainage holes.
- Fresh Soil Medium: A premium, unfertilized sphagnum peat moss and horticultural perlite mix (at a 50:50 ratio). I pre-moistened it with distilled water until it was damp, like a wrung-out sponge.
- Distilled Water: A full gallon, ready to go.
- Tools: Clean scissors, a small trowel, and a large basin for mixing soil.
The Gentle Extraction and Root Assessment This is where I made my first mistake. Initially, I tried to pull the plant out by the stem. Don't do this. You can easily damage the crown or leaves. The correct method is to turn the pot sideways, gently squeeze or tap it, and coax the entire root ball out intact. For stubborn plants, running a knife around the inner edge of the pot can help.
Once out, I carefully examined the root ball. The sight confirmed the pot-bound theory—a dense, white mat of roots circling the bottom. I gently teased apart the outer roots to encourage them to grow outward into the new medium. If the roots are severely matted, making a few vertical cuts down the sides of the root ball can help. I only trimmed any obviously dead or blackened roots.
The Repotting Process Itself I placed a layer of fresh, pre-moistened mix in the bottom of the new pot. I then positioned the sundew so its crown (where the leaves emerge) would sit at the same level as it did before—burying it deeper can cause rot. Holding the plant in place, I filled in around the sides with more mix, gently tapping the pot to settle the soil without compacting it. I did not press down firmly; we need to preserve air pockets.
My second mistake came next: the initial watering. I gave it a light top-watering, but the real crucial step is the "bottom-soaking" method. I placed the pot in a tray and filled the tray with about half an inch of distilled water. This allows the soil to wick moisture upward evenly, ensuring the entire root ball is hydrated without disturbing the fresh soil on top.
The Critical Two-Week Observation Period
Repotting is stressful for any plant. Here’s what I observed day-by-day with my sundews:
- Days 1-3: The plants looked a little sad. Some dew on the older leaves dried up—this is normal. I kept them in their water tray and placed them in bright, indirect light, avoiding direct sun which could further stress them.
- Days 4-7: I started to see signs of stabilization. No new roots were peeking out of the drainage holes. The existing leaves began to re-glisten as the plants rehydrated fully. I resumed their normal sunny location (they receive about 6 hours of direct morning sun).
- Days 8-14: This was the turning point. I noticed brand new, vibrant growth emerging from the center crown—a sure sign the roots had settled and were supporting new foliage. The older, stressed leaves from the transition remained, but the focus was clearly on fresh, dewy leaves. The soil moisture was consistent, and the plants perked up significantly.
Preventing Future Root Escapes: Ongoing Care Adjustments
Fixing the problem is only half the battle. Preventing recurrence involves tweaking your care routine.
Establishing a Proactive Repotting Schedule I now consider repotting not as an emergency fix, but as routine maintenance. For fast-growing sundews, I inspect the root zone annually in early spring at the start of their major growth cycle. If I see roots near the drainage holes or notice slowed growth, it’s time.
Mastering the Watering Technique I abandoned the "guess and pour" method. The tray method is my gold standard. I keep about 0.5 to 1 inch of distilled water in the tray during the growing season and only let it dry out briefly before refilling. In winter, I allow the tray to go dry for a day or two before adding a small amount of water. This mimics their natural bog conditions—constantly moist but not flooded.
Choosing the Optimal Pot and Soil Mix I’ve become a fan of taller pots for some deeper-rooted species, but width is still important. Plastic or glazed ceramic pots retain moisture better than porous terracotta. Every time I repot, I use a completely fresh, sterile soil mix. Reusing old media is a shortcut to reintroducing compaction and potential pathogens.
What if the roots are growing out the top? This is almost always a sign of soil compaction and surface deterioration. The solution is the same: repot. When you do, you’ll likely find the lower soil is soggy and broken down. Replacing all the old medium with a fresh, airy mix gives the roots the oxygen they were desperately seeking at the surface.
Can I just cut the roots poking out of the hole? You can as a very temporary measure, but it’s like trimming a weed without pulling it up—the problem remains. Cutting the roots doesn't address the lack of space or poor soil conditions inside the pot and can create an entry point for infection. It’s a short-term cosmetic fix, not a solution.
How do I know if it's root-bound or just healthy growth? A few fine, white root tips at a drainage hole can be normal exploratory growth. The signs of a problematic, pot-bound system are thicker, coiling roots forming a dense mat; roots visibly circling the inside of the pot when removed; and often accompanied by slowed leaf growth or the plant needing water more frequently because the root mass displaces the soil.
Seeing those escape-artist roots is your sundew’s direct communication. It’s telling you its foundational needs—space, air, and fresh medium—are no longer being met. By responding with a timely repot using the right materials and adjusting your long-term care, you transform a moment of concern into an opportunity for renewal. The reward, as I saw clearly after two weeks, is a surge of new growth and a plant that’s truly thriving, not just surviving, in its home.





