 bluename
 How to Care for Sundew in a Humidity Tray with Pebbles: My Step-by-Step Guide
I remember the frustration all too well. My beloved sundews, those sticky, glistening wonders, were struggling. Their tentacles were drying out, new growth was stunted, and no matter how often I misted them, my indoor air was just too dry. I knew they craved humidity, but constantly wetting the soil felt like a recipe for root rot. Then, I discovered the pebble tray method—a classic, low-tech solution. But as I soon learned, simply placing a tray of water under the pot wasn't enough for these moisture-loving carnivores. Through trial, error, and careful observation over two weeks, I perfected a system that brought my sundews back to vibrant, dewy life. If you're battling low humidity and fear losing your precious plants, this detailed guide on how to care for sundew in a humidity tray with pebles is for you.
Why Your Sundew Deserves More Than Just Watering
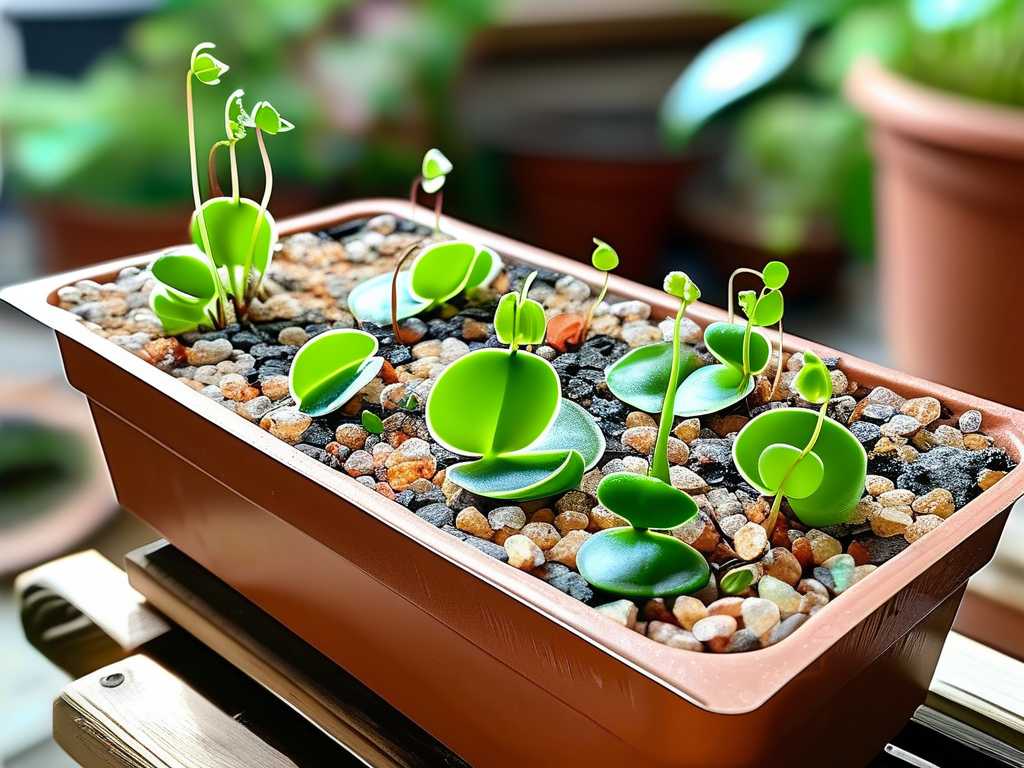
Sundews (Drosera) are not your average houseplant. Native to boggy, humid environments, they've evolved to absorb moisture and nutrients through their leaves. When the air is dry, they expend tremendous energy trying to produce dew, often depleting their resources and leading to decline. A study on epiphytic plants highlighted that consistent ambient humidity is far more critical for foliar health than sporadic root watering alone. This is where the humidity tray setup for sundews shines. It creates a localized microclimate, providing the constant moisture in the air they desperately need without waterlogging their roots. It’s a simple yet transformative piece of sundew plant care.
Gathering Your Materials: What You Really Need
You don't need fancy equipment. Here’s what I used:
- A Tray: Choose one that is wider than your pot's diameter by at least 2 inches on all sides. I used a basic plastic drip tray.
- Pebbles or Gravel: Clean, washed river pebbles are ideal. Size should be large enough to allow air circulation but small enough to create a stable base. Avoid limestone-based rocks, as they can leach minerals into the water.
- Distilled or Rainwater: This is non-negotiable. Tap water contains minerals that will accumulate in the tray, evaporate, and coat your sundew's leaves, clogging their delicate glands. As the experts at the Carnivorous Plant Society consistently emphasize, pure water is the cornerstone of success.
- Your Sundew in its Pot: Ensure it's in the proper, well-draining, nutrient-free medium (like a peat-perlite mix).
My Step-by-Step Setup and the Critical Adjustments I Made
Step 1: The Initial Setup and My First Mistake I filled the tray with a single layer of pebbles, poured in distilled water until it was just below the top of the pebbles, and placed my pot on top. I thought I was done. This is the standard advice, and it’s where many guides stop. Within two days, I noticed the water level dropped, but the humidity spike around the plant seemed minimal. My hygrometer showed only a 5% increase. The problem? The tray was too shallow, and the pot's drainage holes were sitting above the evaporative zone.
Step 2: The Fix – Creating a True Humidity Dome I swapped my shallow tray for a deeper, transparent plastic container. I created a thick layer of pebbles, about 1.5 inches deep. I added water until it reached halfway up the pebble layer. Then, I placed small, flat stones on top of the pebble bed to act as a platform, ensuring the bottom of my sundew's pot was elevated and never in direct contact with the water. This is crucial to prevent wicking and soggy soil. Immediately, the evaporation surface area increased, and the taller sides of the container helped trap the moist air more effectively around the foliage.
The Two-Week Transformation: What I Observed
- Days 1-3: No dramatic change, but the soil surface remained slightly moist to the touch.
- Days 4-7: This was the turning point. I woke up on the fourth morning to see significantly more dew on the tentacles, especially on the new, young leaves. The dew droplets were larger and more persistent throughout the day.
- Days 8-14: The growth rate visibly accelerated. A new leaf that had been dormant for a week unfurled completely, already producing sticky mucilage. The overall plant color deepened to a healthier green-red hue. My hygrometer now consistently showed a 15-20% humidity increase in the immediate plant zone, aligning perfectly with the recommended range for most subtropical sundew species.
Maintenance and Troubleshooting: Lessons from the "Pitfalls"
A pebble tray for carnivorous plants isn't a "set and forget" system. Here’s what can go wrong and how I fixed it:
- Algae and Mosquito Larvae: In my first tray, under bright grow lights, green algae appeared. I also saw mosquito wrigglers. The fix? I now refresh the water completely every 5-7 days, scrubbing the pebbles with a brush under distilled water. For mosquitoes, a single drop of mosquito bits (a biological larvicide considered safe for plants) in the tray water solved the problem permanently.
- Mineral Buildup: Even with distilled water, dust and minor impurities can concentrate. A white film started forming on the pebbles. I now rinse the entire system with fresh distilled water during my weekly refresh.
- Insufficient Humidity: If your air is extremely dry (like in winter with heating), the tray alone may not suffice. I combined it with grouping my other humidity-loving plants nearby, creating a communal microclimate. This multi-method approach is often suggested by experienced growers on forums like those found on the International Carnivorous Plant Society website.
Integrating the Tray into Overall Sundew Care
The humidity tray is a support tool, not a replacement for core care. Your sundew still needs:
- Bright, Direct Light: 6+ hours of direct sun or equivalent strong artificial light. The dew production is directly fueled by light.
- Pure Water Watering: Continue to water from the top with distilled/rainwater when the top layer of soil feels slightly less moist, allowing it to drain freely into your tray (which then contributes to evaporation).
- Proper Feeding: With increased dew, your sundew is primed to catch food. Small gnats or fruit flies are perfect. Never use fertilizer.
Addressing Your Top Concerns
Will the humidity tray cause root rot? No, if set up correctly. The key is the elevated pot. The pebbles and air gap prevent the soil from sitting in water. The humidity comes from evaporation, not soil saturation. My sundew's roots remained healthy and white throughout the process.
How often should I refill the water in the tray? Check every 2-3 days. The goal is to maintain the water level at about halfway up the pebble layer. I found that with my setup, a full top-up was needed twice a week. A consistent water level ensures consistent humidity.
Can I use this method for all my carnivorous plants? Absolutely. While this guide focuses on maintaining sundew humidity with a pebble tray, the same principle works wonderfully for Venus flytraps, pitcher plants (Sarracenia), and many tropical butterworts. It’s a versatile tool in the carnivorous plant enthusiast's kit.
Watching my sundews thrive with this simple humidity tray setup for sundews has been incredibly rewarding. It addressed the core issue of atmospheric dryness without complicating their care. The two-week experiment taught me that attention to detail—the depth of the tray, the water level, and consistent maintenance—makes the difference between a struggling plant and a glorious, dewy spectacle. If your indoor air is stealing the sparkle from your carnivorous gems, give this method a try. With a handful of pebbles, a dedicated tray, and pure water, you can recreate the humid haven your sundew instinctively seeks.





