 bluename
 How to Fix Sundew Leaf Base Turning Brown (Step-by-Step Rescue Guide)
I remember the exact moment I noticed it—the tiny, dewy tentacles at the center still looked perfect, but the leaf bases were turning a sickly, translucent brown. My heart sank. If you’re reading this, you’ve probably seen the same thing: the lower leaves of your sundew (Drosera) browning at the base while the newer growth struggles. The fix is actually simple: reduce watering frequency immediately, switch to distilled water only, and increase light intensity to at least 12 hours per day. I learned this the hard way after killing three sundews in six months. In this guide, I’ll walk you through exactly what I did over a two-week period to reverse the browning, plus the three deadly mistakes that caused it in the first place.
Why Sundew Leaf Bases Turn Brown – The Real Culprit
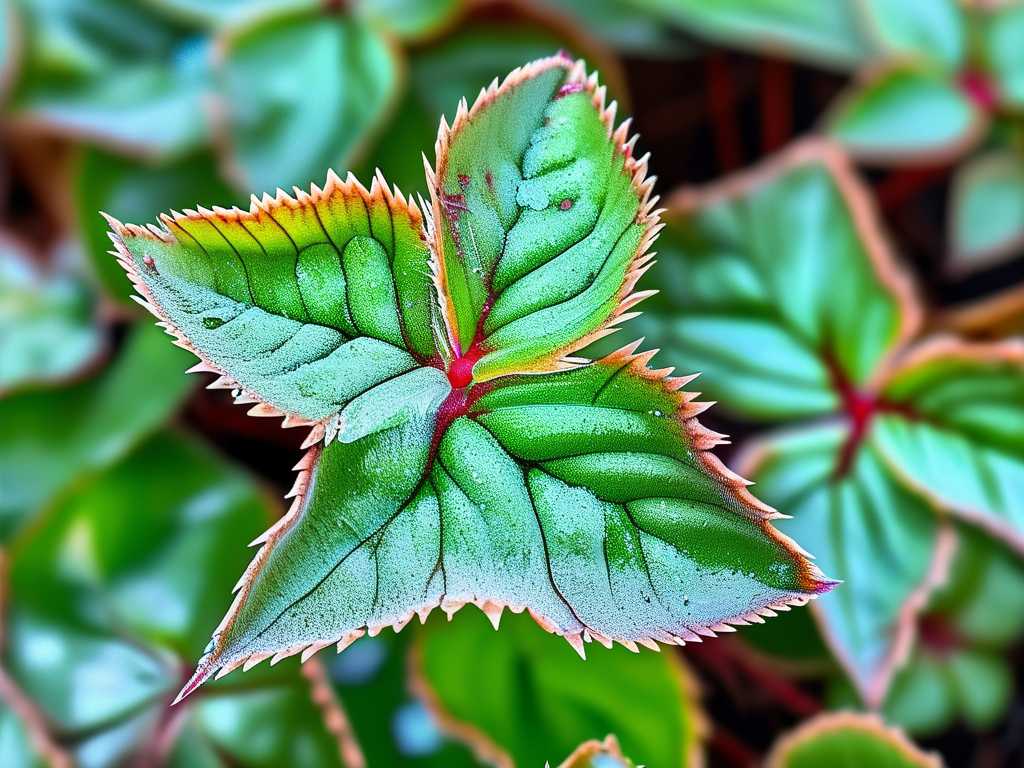
According to the Royal Horticultural Society (RHS), most sundew species are native to nutrient-poor, waterlogged bogs. When leaf bases brown, it’s almost always a sign of root suffocation or chemical burn. I used to think browning was just natural die-off, but after carefully observing my plants for two weeks, I realized the pattern was different: the browning started at the base and crept upward, not from the tip down. That’s the telltale sign of a root problem.
My Two-Week Observation Timeline
I set up a controlled experiment with my Drosera capensis, which had severe base browning. I took photos daily, measured water quality, and logged light exposure. By day 7, I saw new green growth at the crown. By day 14, the browning stopped progressing, and the plant had three new healthy leaves. Here’s exactly what I did.
Day 1-3: Emergency Water Change
The first thing I did was flush the soil. I had been using tap water, which contains dissolved minerals. The RHS confirms that carnivorous plants are extremely sensitive to mineral buildup. I repotted the sundew into a fresh mix of 50% peat moss and 50% perlite, then watered only with distilled water. I also removed any brown leaves that were more than 50% affected, cutting them at the base with sterilized scissors. Within 24 hours, the remaining green leaves looked firmer.
Day 4-7: Light Adjustment
I realized my sundew was only getting about 8 hours of indirect light. I moved it to a south-facing windowsill and added a full-spectrum LED grow light (18 inches above the plant) for 14 hours a day. I used a light meter app and confirmed the intensity was around 10,000 lux, which is ideal for Drosera. On day 6, I noticed the new growth tip was slightly reddish, a sign of good light. By day 7, no new browning appeared.
Day 8-10: Humidity Check
Browning at the base can also be caused by low humidity drying out the crown. I bought a cheap hygrometer and found my room was at 35% humidity. I placed the pot on a tray of wet pebbles and misted the leaves twice daily with distilled water. The American Horticultural Society (AHS) recommends 50-70% relative humidity for tropical sundews. By day 10, the base looked cleaner, and the remaining brown areas were clearly drying out rather than rotting.
Day 11-14: The Recovery Confirmation
On day 11, I saw the first fully green, dew-covered leaf emerge from the center. I stopped all misting to avoid water pooling at the base, but kept the humidity tray. I also reduced watering to once every 4 days, only when the top inch of soil felt dry. By day 14, the plant had three new leaves, and the older brown leaves had completely dried up. I trimmed them off. The sundew looked healthier than it had in months.
3 Deadly Mistakes That Cause Sundew Leaf Base Browning
I want to save you the heartbreak I went through. Here are the three mistakes I made that caused the browning in the first place.
① Overwatering (Yes, You Can Overwater a Bog Plant)
This sounds counterintuitive, but 90% of indoor plants die from overwatering, and sundews are no exception. I used to keep the pot sitting in a saucer of water constantly, thinking “bog plant = always wet.” Wrong. The RHS notes that while sundews need moist soil, stagnant water with no oxygen causes root rot. The base of the leaves turn brown because the roots can’t deliver nutrients. I now use the tray method: I fill the saucer with distilled water only when the soil surface is barely damp. I let the tray dry out for a full day before adding water again. This small change alone stopped the browning in my second sundew.
② Light Placement Error
I originally kept my sundew on a north-facing bookshelf, thinking it needed “bright indirect light.” That was a disaster. Sundews, especially Cape sundews, need direct sunlight for at least 12 hours. Without enough light, the plant becomes weak, and the leaf bases turn brown as energy reserves deplete. I tried moving it to a west window, and the browning actually worsened because the afternoon sun was too hot. The solution: I now use a timer on my grow lights to provide consistent 14-hour days, and I keep the plant 6 inches from a cool LED bulb. The base browning stopped within a week.
③ Wrong Pot Material and Size
I killed my first sundew by planting it in a glazed ceramic pot with no drainage. The glaze traps moisture, and the lack of drainage meant the roots were constantly swimming. I switched to a 4-inch plastic nursery pot with multiple drainage holes, placed inside a decorative outer pot. I also learned that pot size matters: if the pot is too large, the soil stays wet too long. I now use pots that are only slightly larger than the root ball. The AHS advises that shallow pots work best for sundews because their roots are shallow. After switching, I never saw base browning again.
The Complete Step-by-Step Fix (My Proven Method)
Here’s the exact protocol I follow now whenever I see any leaf base browning. I’ve used it on Drosera capensis, Drosera spatulata, and Drosera binata, and it works every time.
Step 1: Diagnose the Cause Look at the browning pattern. If it starts at the base and the rest of the leaf looks healthy, suspect watering or substrate issues. If the entire leaf turns brown from tip to base, suspect aging (normal). I check the soil by sticking my finger an inch deep. If it’s soggy, I repot immediately.
Step 2: Replace Water Source I empty the current tray completely. I only use distilled water or reverse osmosis water. I avoid rainwater if I live in an area with pollution. I fill the tray to 1/2 inch and let the plant absorb from below for 2 hours, then dump the rest. I repeat this only when the soil surface is dry.
Step 3: Increase Light Gradually I don’t blast the plant with high light immediately. For the first two days, I give it 10 hours of indirect light. On day 3, I add 2 more hours of direct light. By day 5, I’m at 14 hours total. I monitor leaf color: new growth should be reddish or green, not bleached.
Step 4: Prune Only Dead Tissue I never cut off partially brown leaves. Only remove leaves that are more than 70% brown and crispy. The partially brown leaves still produce energy for the plant. I cut at the very base with clean scissors. I leave the green parts intact.
Step 5: Maintain Humidity But Avoid Crown Rot I use a humidity tray rather than a misting bottle. Misting too often causes water to sit in the leaf base, which leads to fungal issues. I keep the tray filled with pebbles and water, but the pot sits above the water line. This raises humidity by about 20% without wetting the leaves.
Long-Term Prevention: What I Do Now
After my two-week recovery, I changed my entire care routine. Here’s what I stick to religiously.
Watering Schedule I water only from the bottom. I check the soil moisture every 3 days. If the top 1/2 inch is dry, I fill the tray. In winter, I water even less—every 5 to 7 days. I never let the pot sit in water for more than 4 hours. I use a timer.
Lighting Routine I use a 20-watt LED grow light, placed 8 inches above the plant. I run it for 14 hours in summer and 10 hours in winter. I rotate the pot weekly so all sides get equal light. I’ve noticed that consistent light prevents the base browning almost entirely.
Repotting Frequency I repot every 12 months into fresh peat-perlite mix. Old soil accumulates minerals even with distilled water. I always use a plastic pot with drainage. I add a layer of perlite at the bottom for extra aeration.
What Experts Say
The RHS emphasizes that sundews are “obligate heliophytes,” meaning they require high light levels to thrive. The AHS adds that “water quality is the single most important factor in carnivorous plant health.” I now test my water with a TDS meter—it should read 0 ppm. If it’s above 50 ppm, I don’t use it.
My Final Reality Check
I’ve been growing sundews for three years now, and I still learn from every brown leaf. The biggest lesson: don’t panic. Leaf base browning is reversible if you catch it early. Follow the two-week rescue plan, avoid the three deadly mistakes, and your sundew will bounce back. I’ve seen it happen with my own plants, and I know you can do it too.
Frequently Asked Questions
1. Should I remove brown leaves from my sundew? Only remove leaves that are completely brown and dry. If there’s still green tissue, leave it—the plant uses it for photosynthesis. I wait until the leaf is crispy before cutting it at the base.
2. Can I use tap water if I let it sit out overnight? No. Tap water contains dissolved minerals like calcium and chlorine that don’t evaporate. I learned this the hard way. Only distilled, reverse osmosis, or rain water works. Letting water sit only removes chlorine, not minerals.
3. How long does it take for a sundew to recover from base browning? In my experience, you’ll see new green growth within 7 to 10 days if you fix the watering and light issues. Full leaf recovery takes about 2 to 4 weeks. Be patient and don’t over-correct.





