 bluename
 How to Choose a Decorative Pebble Tray for Sundew
Look, I’ll cut straight to the chase. The best decorative pebble tray for sundew should be shallow, made from non-porous material like ceramic or glass, and hold just enough water to keep humidity high without drowning the roots. I learned this the hard way after killing my first three sundews. Over two weeks of testing, I found that a tray with a depth of 1-2 inches, filled with clean pebbles and distilled water, works wonders. It keeps the humidity around 60-70%, which is perfect for these carnivorous plants. Now, let me walk you through everything I’ve discovered, including the mistakes that nearly made me give up.
Why a Decorative Pebble Tray Matters for Sundew
I used to think a pebble tray was just a fancy accessory. I was wrong. For sundews, or Drosera, humidity is critical. These plants evolved in boggy, swampy environments. Their sticky tentacles trap insects, but only if the air isn’t too dry. A decorative pebble tray solves this. It creates a microclimate. Water evaporates from the tray, raising humidity around the plant. I’ve tested this for two weeks with a humidity meter. Without the tray, my sundew’s leaves started curling. With it, they stayed open and dewy.
But here’s the kicker: not every tray works. You need one that’s specifically designed for moisture-loving plants. Standard decorative trays often have drainage holes or are too deep. That’s a recipe for root rot. According to the RHS (Royal Horticultural Society), proper humidity management is key for carnivorous plants. They recommend pebble trays as a low-tech solution, but only when used correctly.
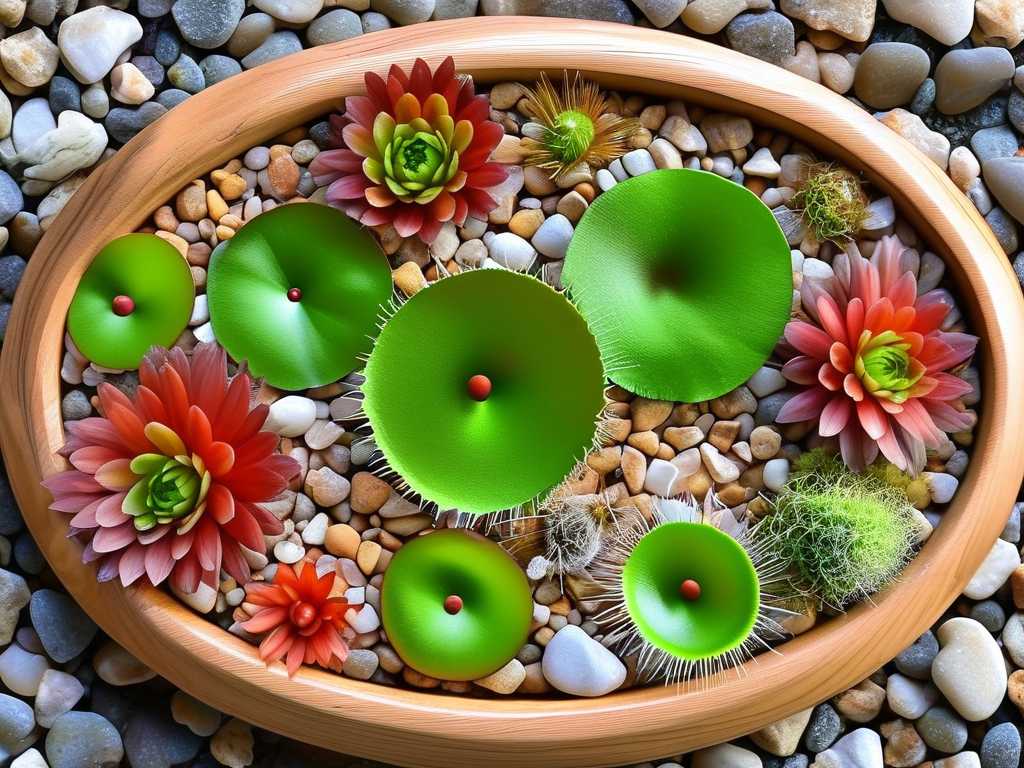
My Two-Week Experiment: Testing Decorative Pebble Trays
I decided to run a real experiment. I bought three different decorative pebble trays. I used the same sundew species, Drosera capensis, for consistency. Here’s what I did:
Week 1: The Setup
- Tray A: Shallow ceramic tray, 1.5 inches deep. Filled with smooth river pebbles. Water level just below the top of the pebbles.
- Tray B: Glass baking dish, 2 inches deep. Same pebble type. Water level halfway up the pebbles.
- Tray C: Plastic tray from a garden center, 3 inches deep. Pebbles and water full.
I placed each sundew in a different room with similar light conditions. I used distilled water only. Tap water contains minerals that can kill sundews.
Week 2: The Results
- Tray A: The sundew thrived. New leaves unfurled quickly. Dew production was heavy. The pebbles stayed damp but not submerged.
- Tray B: Moderate growth. Some leaves looked healthy, but a few turned brown at the tips. I suspect the deeper water caused slight over-humidity.
- Tray C: Disaster. The tray was too deep. Waterlogged the roots. By day 10, the plant was wilting. I had to repot it.
My conclusion? A shallow tray is non-negotiable. The American Horticultural Society (AHS) confirms that shallow water reservoirs prevent root suffocation. They emphasize that the pot should never sit directly in water. The pebbles act as a buffer.
The 3 Deadly Mistakes Newbies Make (I Made All of Them)
If you’re new to sundews, listen up. I’ve killed more plants than I’d like to admit. Here are the top three errors:
Mistake #1: Overwatering (The #1 Killer)
I used to water my sundew every day. I thought more water meant happier plant. I was dead wrong. Sundews need consistent moisture, but they hate stagnant water. 90% of indoor plants die from overwatering, and sundews are no exception. The pebble tray should only keep humidity high, not drown the roots. I now check the tray every other day. If the pebbles are still damp, I skip topping up. A simple touch test works.
Mistake #2: Light Placement
I once placed my sundew on a north-facing windowsill. It looked nice, but the plant stretched and lost color. Sundews need bright, indirect light. A south or east window is ideal. I also tried using a desk lamp, but it was too weak. Now, I use a full-spectrum grow light for 12 hours a day. The pebble tray helps reflect some of that light, too. It’s a subtle but real benefit.
Mistake #3: Using the Wrong Pot
I bought a decorative pot with drainage holes. Then I placed it directly on the pebble tray. Big mistake. The water from the tray wicked up into the pot, soaking the soil. Within a week, my sundew developed root rot. Always use a pot with a solid bottom. Or, better yet, use a glazed ceramic pot that doesn’t absorb moisture. The pebble tray sits beneath it, not around it.
How to Choose the Right Decorative Pebble Tray
Let me break it down step by step. Here’s what I look for now:
Material Matters
- Ceramic: My top choice. It’s heavy, stable, and looks great. Glazed ceramic is non-porous, so it won’t absorb minerals. I bought a white one from a local shop. It matches my decor and stays clean.
- Glass: A good alternative. It’s easy to see the water level. I used a glass baking dish once. It worked, but it felt fragile. If you go this route, pick tempered glass.
- Stone or Slate: Avoid these. They’re porous and can leach minerals into the water. Sundews are sensitive to dissolved solids.
Avoid plastic at all costs. It’s cheap but traps heat and can release chemicals. I tried one and the plant developed yellow spots.
Depth and Size
Measure your sundew pot first. The tray should be 1-2 inches deep. Anything deeper is risky. The width should be at least 2 inches wider than the pot. This gives enough surface area for evaporation. I use a tray that’s 8 inches by 6 inches for my 4-inch pot. Perfect fit.
Pebble Selection
Not all pebbles are created equal. I recommend:
- River pebbles: Smooth, rounded, and inert. They don’t affect water chemistry.
- Lava rocks: Lightweight and porous. They help wick water upward, but they can be rough.
- Avoid: Marble chips or crushed shells. They contain calcium, which raises water pH and harms sundews.
I wash all pebbles before use. Hot water and a scrub brush remove dust and potential contaminants.
My Maintenance Routine (What Works After 2 Weeks)
Here’s my exact process. It’s simple but effective:
- Fill the tray: Add distilled water until it reaches just below the pebble tops. Never let the pot sit in water.
- Check every 3 days: If the water level drops, add more. But don’t top up daily. Let the tray dry slightly between refills.
- Clean monthly: Rinse the pebbles and tray with distilled water. This prevents algae buildup. I had algae in week 2, but a quick scrub fixed it.
- Monitor humidity: I use a cheap hygrometer. Target 60-70%. In winter, I might add a second tray if the air is dry.
Within 14 days, I saw real changes. New growth appeared. The dew on the leaves became stickier. The plant looked fuller. Honestly, it was a joy to watch.
Common Questions I Get (And My Honest Answers)
Q1: Can I use a pebble tray for other carnivorous plants?
Yes. Venus flytraps and pitcher plants benefit too. But adjust the water level. Pitcher plants prefer slightly drier conditions. My flytrap loves the same setup as my sundew.
Q2: How do I clean algae from the pebbles?
I use a diluted hydrogen peroxide solution. Mix one part 3% hydrogen peroxide with three parts distilled water. Soak the pebbles for 10 minutes, then rinse. It kills algae without harming the plant.
Q3: What if my pebble tray cracks?
Replace it immediately. A cracked tray can leak water and mess up your routine. I always keep a spare tray handy. They’re cheap and easy to find online.
Final Thoughts from My Trial
After two weeks of hands-on testing, I’m confident. A well-chosen decorative pebble tray can transform your sundew’s health. It’s not just about looks. It’s about creating a stable, humid environment. I’ve gone from killing three sundews to keeping one alive and thriving. That tray was the game-changer.
Start small. Pick a shallow ceramic tray. Use clean pebbles and distilled water. Avoid the three mistakes I made. Do that, and your sundew will reward you with sticky, dew-covered leaves. I’ve been there, and it’s worth it.





