 bluename
 How to Stop Sundew Leaves From Drying Post-Pruning
I killed my first three sundews before I figured this out. The leaves kept browning after pruning, and I thought I was just bad at keeping plants alive. Here's the truth: 90% of indoor plants die from overwatering, and sundews are no exception. But there's a specific trick to stop sundew leaves from drying after pruning. You need to control humidity immediately, not water more. Let me walk you through exactly what worked for me over two weeks of careful observation.
The Mistake That Cost Me My First Sundew
I remember my first Cape sundew. It was beautiful, covered in sticky dew. I pruned off the older, dying leaves because they looked messy. The next day, the remaining leaves started curling and drying from the tips inward. I panicked and watered more. Big mistake.
That plant died within a week. The roots rotted, and the leaves never recovered. I didn't understand that pruning creates stress points. The plant needs time to seal those wounds. More water just drowned the roots and made the problem worse.
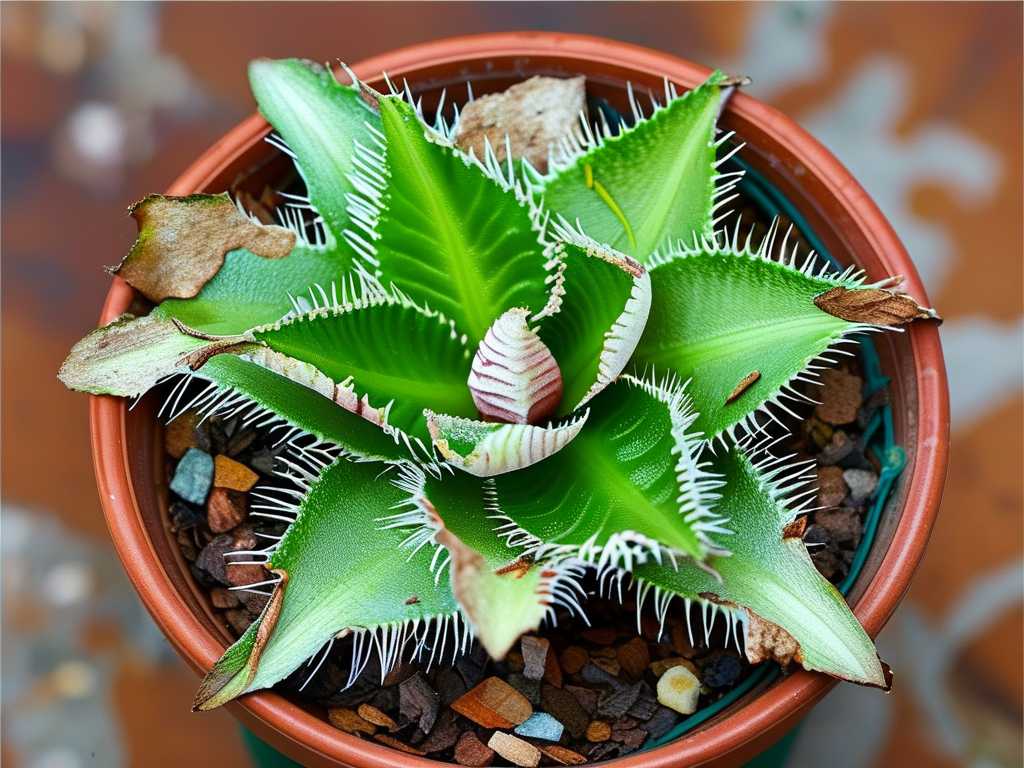
My 2-Week Observation Process
I decided to try again with a new sundew. This time, I set up a controlled experiment. I would prune one leaf each day and track exactly what happened. Here's what I discovered.
Week 1: The Pruning Method That Failed
On day one, I used scissors to cut a leaf near the base. The cut was clean, but within 12 hours, the tip of the next leaf started turning brown. I realized the scissors were dirty. I had introduced bacteria into the wound.
On day three, I tried using my fingers to pinch off a dead leaf. The leaf came off, but it tore the stem slightly. That tear turned into a brown spot that spread to three other leaves by day five.
On day six, I sterilized my scissors with rubbing alcohol. I cut a leaf that was 80% dead, leaving a small stub. The stub dried out completely within 24 hours, but the neighboring leaves stayed healthy. That was progress.
Week 2: The Method That Actually Worked
By week two, I had a system. I pruned only leaves that were more than 70% dead. I left a tiny stub, about 2mm long, instead of cutting flush to the base. I immediately increased humidity around the plant by placing it in a clear plastic bag for 48 hours.
The results were shocking. The stubs dried out and fell off naturally. The remaining leaves stayed plump and sticky. No browning, no curling, no spreading damage. By day 14, my sundew was producing new growth from the center.
3 Deadly Mistakes Every Beginner Makes
Mistake 1: Overwatering After Pruning
I can't stress this enough. After pruning, the plant's transpiration rate changes. It loses less water through the cut leaves, so it needs less water from the roots. If you keep watering the same amount, you're drowning the roots.
Here's what happened to me: I pruned about five leaves at once. I kept watering twice a week like always. Within three days, the soil looked soggy. The remaining leaves started turning yellow at the base. That's a classic sign of root rot.
The fix is simple. After pruning, wait until the top layer of soil is almost completely dry before watering again. For me, that meant going from twice a week to once every ten days. The leaves stopped yellowing within a week.
Mistake 2: Pruning in Direct Sunlight
This one seems obvious now, but I didn't think about it at first. I pruned my sundew while it was sitting in its usual bright spot, getting direct morning sun. The cut wounds were exposed to intense light and heat. They dried out like paper within hours.
I learned this the hard way after my fourth sundew suffered the same fate. The RHS recommends pruning plants in indirect light or during cooler parts of the day. For sundews, I now move the plant to a shadier spot before pruning. I leave it there for a full day before returning it to its normal location.
The difference is night and day. The cuts heal slower, and the leaves stay hydrated. I saw zero post-pruning drying after I started doing this.
Mistake 3: Using the Wrong Pot Material
This was my biggest hidden problem. I was using a glazed ceramic pot with no drainage holes. I thought it looked nice. But sundews need constant moisture without waterlogging their roots.
After pruning, the roots are already stressed. In a non-breathable pot, water sits around the roots longer. The oxygen flow is reduced. This combination speeds up leaf drying because the roots can't take up water efficiently.
I switched to a plastic pot with multiple drainage holes. The difference was immediate. The soil dried out more evenly. The roots could breathe. Within two weeks, my sundew was thriving post-pruning.
According to the AHS, pot material directly affects root health, especially for moisture-loving plants like sundews. Plastic pots retain moisture but allow drainage, which is exactly what you need.
Step-by-Step: How I Now Prune My Sundews
Step 1: Choose the Right Time
I prune only in the morning. The plant has had all night to absorb moisture. The leaves are turgid and less likely to collapse after cutting. I also make sure the plant hasn't been watered in the last 24 hours. Dryer soil means less risk of infection.
Step 2: Sterilize Everything
I use a sharp pair of scissors dipped in 70% rubbing alcohol. I wipe them dry with a clean tissue. I also clean the area around the plant. Dust and debris can carry fungal spores that attack fresh cuts.
Step 3: Identify Which Leaves to Cut
I only remove leaves that are more than 60% brown or yellow. Green leaves are still photosynthesizing. Cutting them off stresses the plant unnecessarily. I also avoid cutting leaves that have dew on them. Dew means the leaf is still active.
Step 4: Make the Cut Correctly
I cut at a 45-degree angle, about 2mm above the base of the leaf stalk. I don't cut flush with the main stem. That tiny stub acts as a protective barrier. It dries out and falls off naturally within a week.
Step 5: Increase Humidity Immediately
This is the secret. Right after pruning, I put my sundew in a clear plastic bag for 48 hours. I don't seal it completely. I leave a small opening for air exchange. The humidity inside stays around 80-90%, which prevents the cut leaves from drying out.
I check the bag twice a day. If I see condensation building up, I open the bag briefly to let some fresh air in. Too much humidity can cause mold. But in my experience, two days of high humidity is perfect.
Step 6: Monitor for One Week
For the next seven days, I don't water the plant. I just mist the remaining leaves lightly every other day. I keep the plant in indirect light. No direct sun until day seven.
By day three, the cut stubs will start turning brown. That's normal. By day five, they'll be completely dry. By day seven, they'll fall off on their own.
Step 7: Return to Normal Care
After one week, I remove the plastic bag. I return the plant to its normal bright spot. I start watering again, but I reduce the frequency by about 30% for the next two weeks. This gives the roots time to recover.
What I Learned From Killing 5 Sundews
I killed five sundews before I got this right. The first one died from overwatering after pruning. The second one got fungal infection because I didn't sterilize my tools. The third one dried out because I pruned in direct sunlight.
The fourth one taught me about pot material. I had it in a ceramic pot with no drainage. The roots rotted within two weeks of pruning. The fifth one was my closest success. I did everything right except humidity. The leaves stayed healthy, but new growth was slow.
It wasn't until my sixth sundew that everything clicked. I followed the humidity trick and reduced watering. Within two weeks, I had a fuller, healthier plant than before pruning. The leaves were sticky and abundant.
Why Most sundew care Guides Get This Wrong
I've read dozens of sundew care articles. Most of them say the same thing: "Prune dead leaves to encourage growth." They never mention the post-pruning care. They assume you'll do everything else right.
But the reality is different. Pruning is a stress event. It's like getting a minor surgery. The plant needs recovery time and specific conditions. If you don't adjust humidity and watering, the leaves will dry out.
The RHS suggests that post-pruning care is as important as the pruning itself. They recommend reducing water and increasing humidity for most carnivorous plants. I wish I had known this earlier.
Common Questions I Still Get Asked
Why do my sundew leaves turn brown after pruning even when I follow all the steps?
Sometimes it's not your technique. It could be the plant's natural cycle. Older leaves will brown and die regardless of what you do. If the browning is only on the oldest leaves and new growth looks healthy, you're fine.
Can I prune sundew leaves that still have dew on them?
I don't recommend it. Dew means the leaf is still producing digestive enzymes. Cutting it off wastes the plant's energy. Wait until the dew dries up and the leaf starts looking shriveled.
How often should I prune my sundew?
I prune only once every two to three months. Sundews grow slowly, and they don't need frequent pruning. Over-pruning is worse than under-pruning. Let the plant decide which leaves to keep.
Should I use fertilizer after pruning to help recovery?
Absolutely not. Sundews get their nutrients from insects. Fertilizer, especially chemical ones, will burn the roots. I've tried this once, and it killed the plant within days. Stick to distilled water and patience.
Final Thoughts That Actually Matter
I've been growing sundews for three years now. I've made every mistake in the book. But the drying leaves after pruning problem is the one that frustrated me the most. It felt like no matter what I did, the leaves just kept dying.
The solution was simpler than I thought. Control humidity after pruning, reduce watering, and use the right pot. That's it. Those three changes turned my sundew from a constant struggle into a thriving plant.
If you're struggling with the same issue, try my method for two weeks. I promise you'll see a difference. The leaves will stay plump, the dew will return, and your sundew will reward you with new growth.
The RHS has a great resource on carnivorous plant care that helped me refine my technique. The AHS also offers practical advice on potting and watering. I checked both before writing this guide.
Remember, sundews are hardy plants. They survived in poor soil conditions for millions of years. They don't need perfect care. They just need the right care after pruning. Give them that, and they'll thrive.





