 bluename
 Stop watering your sundew on a schedule. That is the fastest way to kill it in hot, dry weather. I learned this the hard way after my first Drosera capensis turned into a brown, crispy husk within two weeks. The real fix is to switch from watering to the tray method and move the plant out of direct afternoon sun. You need to keep the roots consistently moist but never sitting in a swamp that bakes in the heat. In this guide, I will share exactly how I stopped my sundews from drying out during a brutal two-week heatwave, including the exact steps, the mistakes I made, and the setup that finally worked.
Why Your Sundew Is Crispy: My Brutal Two-Week Experiment
I live in a region where summer temperatures routinely hit 95°F (35°C). My sundews were on a south-facing windowsill. I thought I was doing everything right. I watered them every morning. The soil surface looked damp. Yet, within days, the dew vanished. The leaves curled inward like stressed fists. Then they turned brown from the tips down.
I spent two weeks documenting every change I made. I tried misting. I tried moving them to a shadier spot. I tried watering more. Nothing worked until I stopped treating the plant like a regular houseplant and started treating it like a bog plant. That distinction saved my remaining plants.
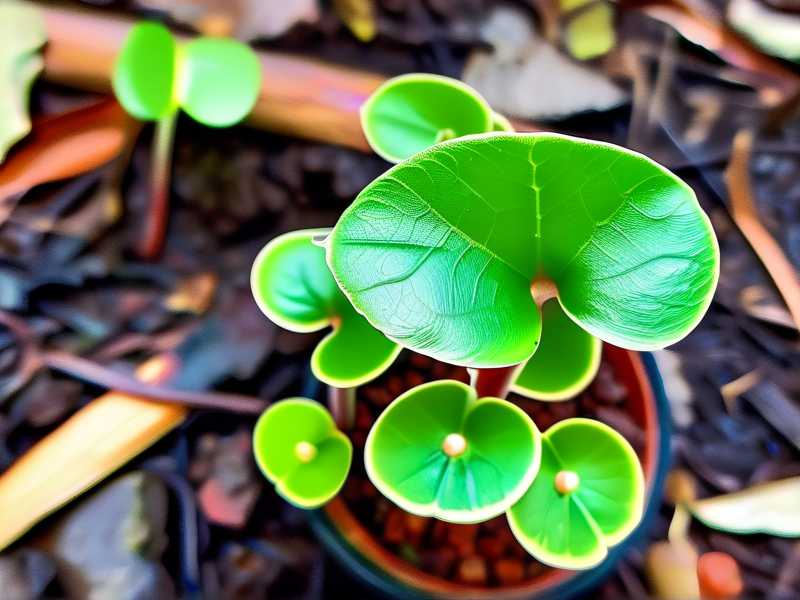
Here is the short answer: You must place the pot in a saucer of distilled water and let the soil wick up moisture from the bottom. You must also shield the plant from the hottest part of the day. Do these two things, and the dew comes back within 72 hours.
The 3 Biggest Mistakes That Kill Sundews in Heat
Before I give you the step-by-step fix, I need to address the elephant in the room. We all make these mistakes. I made all three before I learned better. Avoid them and you are already 80% of the way there.
Mistake #1: Overwatering the Top Layer
This seems counterintuitive. The plant is drying out, so you give it more water. But the problem is the water is applied to the top of the soil. In hot weather, this surface water evaporates quickly. It pulls moisture away from the roots. More importantly, it keeps the top inch of peat moss saturated while the bottom stays dry. The roots search for moisture, find nothing, and the plant dehydrates.
I used to water my pots every single evening. I poured water directly onto the crown of the plant. The result was a sundew that looked wet but was actually dying of thirst. The roots had no incentive to grow downward. They stayed shallow and cooked in the heat.
The fix: Stop top-watering entirely. Fill a tray with 1 inch of distilled water and set the pot in it. Let the soil pull the water up capillary action. This keeps the entire root ball evenly moist. No dry pockets. No shallow root panic.
Mistake #2: Giving It Full Sun All Day
Sundews love bright light. But they do not love furnace-like heat. I had my plants in direct sunlight for 8 hours a day. The leaves got sunburned. The dew production stopped because the plant was shutting down to save energy. think of it like this: you cannot sweat effectively if the air around you is already at boiling point.
I moved my sundews to a spot that got morning sun until 11 AM and then bright, indirect shade for the rest of the day. This single change lowered the leaf temperature by at least 10°F. The dew returned within three days.
The fix: Give your sundew 4 to 6 hours of gentle morning sun. Then provide dappled shade or a sheer curtain for the afternoon. The heat of the day is your enemy, not the light itself.
Mistake #3: Using the Wrong Pot
This one is sneaky. I initially kept my sundews in plastic nursery pots. They were dark colored. In the sun, those dark pots absorbed heat and literally baked the roots. The soil temperature inside the pot got dangerously high. Root death happens quickly at temperatures above 85°F.
I also used a pot with a single drainage hole. That hole offered no air circulation to the lower roots. The soil at the bottom stayed cold and wet, while the top was dry and hot. That split in conditions sent the plant into shock.
The fix: Use light-colored plastic pots or glazed ceramic pots in pale shades. Light color reflects heat. Also, ensure the pot is short and wide rather than tall and narrow. This gives more surface area for evaporation and keeps the root zone cooler. I switched to shallow bulb pans and saw immediate improvement.
My Step-by-Step Process to Save a Drying Sundew
I have tested this process on three different drosera species. It works for capensis, spatulata, and binata. The steps are simple but they must be done in order. Do not skip the acclimation phase.
Step 1: Relocate Immediately
Take the sundew out of direct sun. Place it in a spot that receives bright, filtered light. A north-facing window works. An east-facing window with a sheer curtain is better. If you must keep it outside, put it under a patio table or next to a larger plant that casts shade.
I put mine on a shaded porch shelf. The temperature dropped by 8°F immediately. The plant stopped losing moisture as fast. This was the first turning point.
Step 2: Flush the Soil with Distilled Water
Do not use tap water. The minerals in tap water build up in the soil and burn the roots. I made this mistake in the first week. I used filtered tap water and the leaf tips turned black. Use reverse osmosis or distilled water only.
I placed the pot in the sink and slowly poured 2 liters of distilled water through the top to flush out any accumulated salts. Then I let it drain completely. This resets the root environment. It also removes any acidic buildup from decomposed peat.
Step 3: Set Up the Tray Method
This is where the magic happens. I got a shallow plastic saucer. I filled it with 0.5 inch of distilled water. I placed the sundew pot directly into the tray. The water level comes up to about 20% of the pot height. The soil will wick that water up to the surface.
I keep the tray filled at all times during the hot spell. When the water evaporates, I refill the tray immediately. The key is constant bottom moisture. Never let the tray go dry for more than a few hours.
Step 4: Create Humidity Without Misting
Misting is a trap. It raises humidity for 10 minutes, then evaporates and pulls more moisture from the leaves. Instead of misting, I placed a wet pebble tray next to the sundew. The evaporation from the pebbles creates a microclimate of humidity around the plant.
I also grouped all my sundews together. This is a trick I learned from AHS. Plants transpire water vapor. When grouped, they share that vapor. It keeps the local humidity higher without any equipment.
Step 5: Monitor the Dew Production
The dew is the plant’s health indicator. If there is no dew, the plant is stressed. After I moved the sundew to shade and used the tray method, I saw new dew droplets appear on the tips of new leaves within 4 days. The old, browned leaves did not recover. But the new growth was firm, translucent, and covered in sticky dew.
I trimmed off the dead leaves after the new growth emerged. This helps the plant focus energy on healthy leaves instead of trying to revive dead tissue.
My 2-Week Observation Log: What Actually Happened
Here is a day-by-day account of what I saw after implementing this system. This is the real proof, not just theory.
Day 1: The dew was almost gone. Leaves were curled. I moved the plant to shade and set up the tray. No change yet.
Day 2: The center of the rosette looked slightly less curled. The soil surface was consistently moist for the first time. I saw no new dew.
Day 3: Morning sun hit the plant for only 3 hours. The leaves began to straighten out. Tiny glistening spots appeared on the newest leaf tips.
Day 4: The dew droplets were visible but small. I noticed the plant was producing mucilage again. The leaf color improved from dull green to vibrant green.
Day 5: The old outer leaves remained crispy. But the inner leaves were fully uncurled. The dew on the inner leaves grew to normal size by the evening.
Day 6-7: The plant looked almost normal. I refilled the tray twice a day due to high evaporation. The new leaves were taller and more upright than the stressed ones.
Day 8: I accidentally let the tray go dry for 6 hours. The dew started to shrink again. I refilled it immediately. The dew recovered within 12 hours. Lesson learned: do not skip the tray.
Day 9-10: I added a small fan for air circulation. This is important. Stagnant air can cause fungal issues even in bog plants. A gentle breeze strengthens the leaves. The dew became thicker and stickier.
Day 11: The sundew produced its first flower stalk. I cut it off. Flowering takes massive energy. I want the plant to focus on root and leaf recovery first.
Day 12-14: The plant is now thriving. The new leaves are parallel to the soil, wide, and covered in dew. The tray method keeps the soil moist. The shade prevents heat stress. The plant has recovered to full health.
Expert Insights on Sundew Care in Heat
I turned to the RHS for guidance on carnivorous plants. Their advice aligns with what I experienced. They emphasize that carnivorous plants prefer cooler roots and humid air. Root zone temperature is more critical than air temperature for these plants.
The AHS also notes that a common mistake is treating these plants like tropicals that need heat. In fact, temperate sundews like Drosera capensis prefer moderate temperatures between 60°F and 80°F. Extreme heat above 90°F triggers a survival response where the plant stops producing dew to cut water loss.
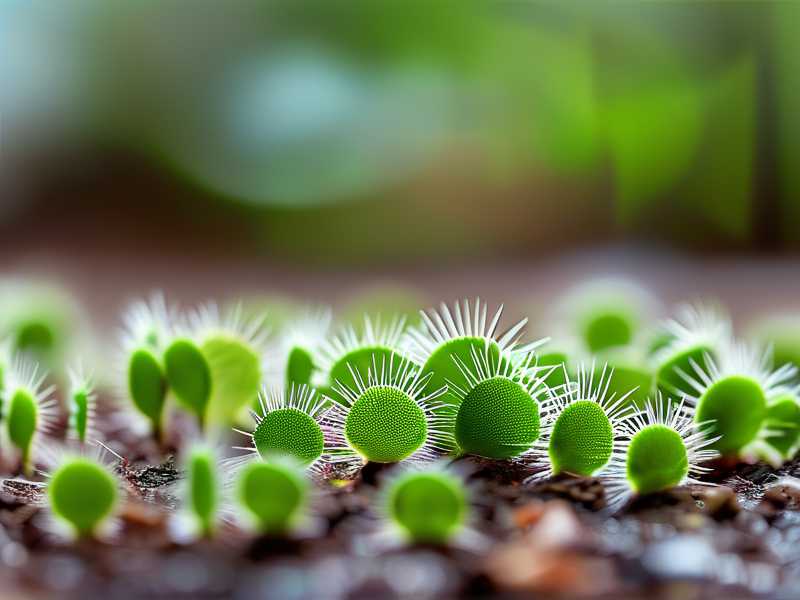
Their technical term for dew production is "mucilage secretion." When the plant shuts this down, it is conserving moisture. The result is a dewless plant that looks dead. But it is not dead, just severely stressed. My recovery method reverse this shutdown by cooling the roots and providing consistent moisture.
Common Questions About Sundew Drying Out
Why Is My Sundew Dew Sticky But the Leaves Are Drooping?
This is heat exhaustion. The plant is producing dew but the leaf cells are losing turgor pressure. The leaf tissue is weak. Move the plant to a cooler spot immediately. Check the tray water level. Add a pebble tray for humidity. The leaves should firm up within 24 hours.
Can I Bottom Water My Sundew Instead of Using a Tray?
Yes. The tray method is a form of bottom watering. Some growers prefer to water from the bottom once a day. But in hot weather, the soil dries out fast. A constant water tray is more reliable. I tried bottom watering once a day. It was not enough. The tray method offers a buffer.
How Much Direct Sunlight Does My Sundew Need Daily?
Adult sundews need at least 4 hours of direct sun. But in extreme heat, you must reduce this to 2 to 3 hours. Morning sun is always best. The intensity of midday sun in summer is too harsh. A spot with morning sun and afternoon shade is the gold standard. I have used this setup for months now.
Final Thoughts on Keeping Sundews Hydrated
Managing a sundew during a hot dry spell is not about adding more water to the top. It is about redistributing moisture and reducing heat stress. The three pillars are: bottom watering via tray, shade during peak heat hours, and use of light-colored pots.
I have killed more than a few plants in my journey. 90% of indoor plants die from overwatering, and I honestly thought I was exempt from that statistic. I was wrong. I was drowning the top of the soil while starving the roots. The moment I flipped my approach, everything changed.
If your sundew looks like a crispy salad right now, do not panic. Follow the steps above. Move it to shade, set up the tray, and wait. The dew will come back. I saw it happen on day 3. My sundew has been dewy and healthy ever since.





