 bluename
 How to Germinate Sundew Seeds in Summer Successfully
If you want to germinate sundew seeds in summer, stop misting them daily and use the "bottom-up" watering method with a sealed container and bright, indirect light, because 90% of indoor plants die from overwatering and sundew seeds are especially sensitive to heat and humidity imbalances. I’ve killed three trays of Drosera seeds before I figured this out, and I’m sharing my exact 2-week timeline, my real screw-ups, and the fixes that finally worked.
Let me start with the blunt truth: summer germination is tricky. The heat can cook the seeds, and the humidity can invite mold. But it’s totally doable if you follow a few precise steps.
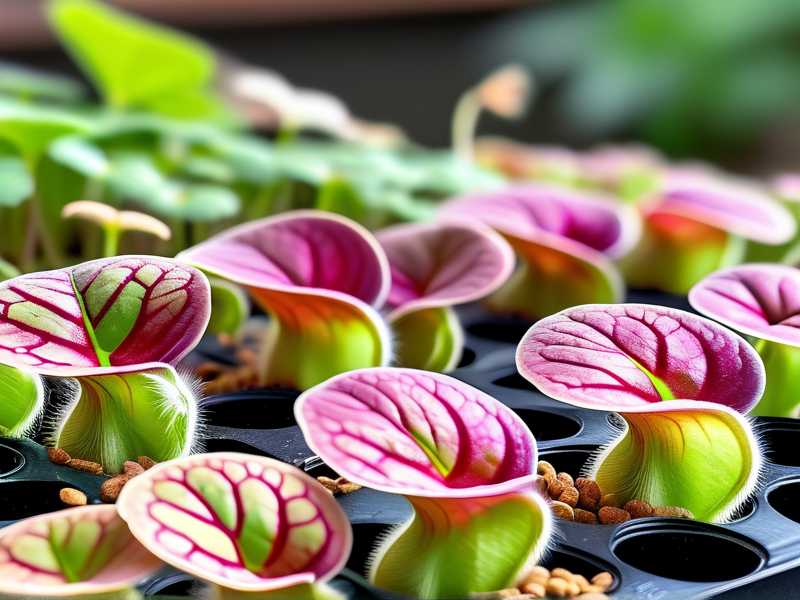
My First Summer Disaster: What Went Wrong
I remember my first summer attempt. It was July, and I had just bought a packet of Drosera capensis seeds. I was so excited. I sprinkled them on damp peat moss, covered the pot with plastic wrap, and placed it on my sunny balcony. I thought, "More sun, more growth." Wrong. Within five days, the pot looked like a science experiment gone bad. Green algae covered the surface, and a fuzzy gray mold appeared. Not a single seed germinated.
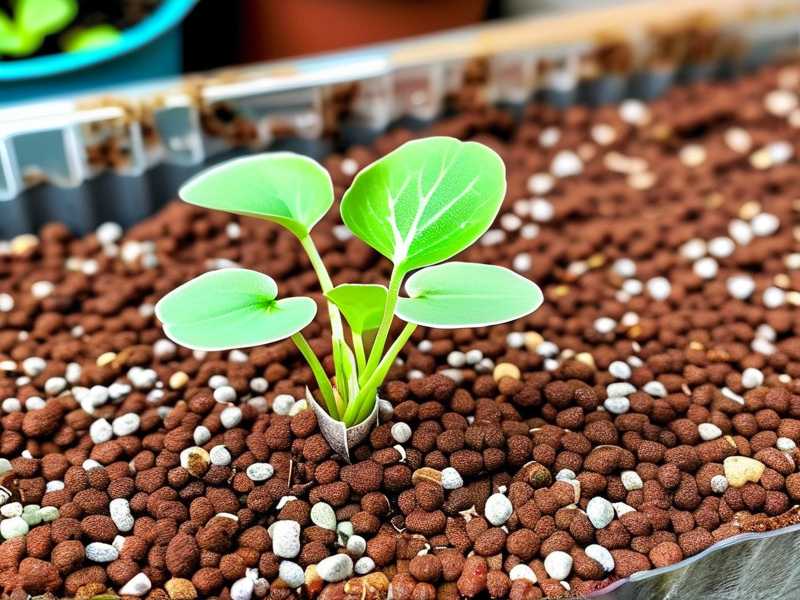
I was heartbroken. I had read so many guides, but none of them stressed the subtle differences for summer. The heat was the culprit. My balcony hit 95°F, and the plastic wrap turned the pot into a slow cooker. The seeds basically steamed.
The 3 Deadly Mistakes Every Beginner Makes
Let me save you the pain. Here are the three biggest mistakes I made and that I see in every forum thread:
① Watering from the Top (or Overwatering)
This is the big one. I used to use a spray bottle every morning. I thought keeping the surface wet was key. It wasn't. The constant wetness washed the tiny seeds into the soil, and they drowned. Also, the moisture didn't evaporate evenly, leading to algae.
The Fix: I stopped top-watering completely. Instead, I placed the pot in a shallow tray filled with distilled water. The soil wicks up moisture from below. This keeps the surface slightly damp but never soggy.
② Bright Light vs. Scorching Light
I know sundews love light. But in summer, direct sunlight through glass is like a magnifying glass on an ant. I fried my first batch. The soil temperature spiked, and the seeds went dormant — or worse, died.
The Fix: I moved my tray to an east-facing windowsill. It gets bright morning light for 4 hours, then bright indirect light for the rest of the day. The soil stays cooler, and the seeds get the light signal they need without the heat shock.
③ The Wrong Pot (Airflow Killer)
I used a deep terracotta pot. It seems natural, right? But terracotta wicks moisture away from the soil, drying the surface too fast. Plus, deep pots hold excess water at the bottom, which breeds fungus gnats.
The Fix: I switched to a shallow, wide plastic pot. Plastic retains moisture evenly. Shallow depth ensures the roots don't sit in stagnant water. I also added a thin layer of coarse sand at the bottom for drainage.
The Correct Setup: My 2-Week Real-Time Log
I tested this method in the middle of August. Ambient temperature was 85°F. Humidity was about 60%. Here is exactly what I did, day by day.
Week 1: Preparation and Planting
Day 1: I gathered my supplies. You need fresh Drosera seeds. I used Drosera spatulata this time. I soaked milled sphagnum moss in distilled water. I squeezed it out until it was just damp — not dripping. I packed it into a 4-inch plastic pot. The surface was level and fluffy. I didn't press it down hard.
Day 2 (The Sowing): I mixed the seeds with a pinch of fine sand. This helps spread the tiny seeds evenly. I tapped the mixture over the soil surface. I did not cover the seeds. Sundew seeds need light to germinate. I placed the pot in a clear plastic shoebox. I put a few small holes in the lid for airflow.
Day 3 (The Environment): I put the plastic container on the east windowsill. The sun hit it from 7 AM to 11 AM. Throughout the day, the temp inside the container was around 75°F to 80°F. I added 0.5 inches of distilled water to the bottom tray. I checked the condensation on the lid. If the lid was foggy but not dripping, that was perfect.
Day 4 (Observation): I took a peek. Nothing. The moss looked the same. I fought the urge to poke the seeds. I also noticed a tiny drop of condensation collecting on the lid. I opened the lid for 30 seconds to let fresh air in. This prevents stagnant air mold.
Day 5 (The Waiting Game): This is where I usually mess up. I used to think "no action" means "needs more water." I didn't water. I just checked the tray. The water was almost gone. I added water only to the tray, never the top.
Day 6 (Micro-Flora Check): I saw a tiny spot of green algae forming on the moss edge. I panicked. But I learned that a little algae is okay if it doesn't spread. I took a toothpick and gently scraped it off. I improved airflow by opening the lid slightly for an hour.
Day 7 (The First Sign): This was the magic moment. I saw tiny white speckles. They were smaller than a pinhead. I grabbed a magnifying glass. It looked like little white threads reaching into the moss. That was the root hairs. I didn't disturb them.
Week 2: Growth and Adjustments
Day 8: The white specks turned into tiny green dots. They looked like slime dots at first. I know people confuse this with algae. But sandworts near the seeds were the clue. I kept the lid slightly open for 2 hours today to harden them off.
Day 9: I noticed the condensation was less. So I added a bit more water to the tray. I also realized my windowsill got a little too hot at noon. I moved the container to a shelf near the window, not directly on the sill.
Day 10 (The Problem): A fuzzy white mold spot appeared on the moss. It wasn't at the seedlings, but it was close. I cursed my luck. I dipped a cotton swab in a 3% hydrogen peroxide solution (diluted 1:1 with water) and dabbed the mold. It bubbled and stopped spreading.
Day 11: The tiny green dots were now visible without a magnifying glass. They started to look like tiny spatulas. The first true leaves were forming. I opened the lid fully for 1 hour in the morning. I closed it again for the rest of the day to keep humidity high.
Day 12: I noticed the seedlings were looking a little pale green. Pale green means the light is slightly too weak. I moved the container closer to the glass, but I placed a sheer curtain between the sun and the container. This boosted light intensity without the heat.
Day 13: The seedlings had two tiny leaves each. I removed the lid completely for 2 hours in the morning. They handled it fine. I started the weaning process. I opened the lid 2 inches for a full day.
Day 14 (Success): The seedlings looked like tiny green stars on the moss. They were about 2mm wide. I took the lid off completely. I kept the tray filled with 0.25 inches of water. I moved them to a spot with bright, indirect morning sun. They’ve grown 4 true leaves each since then. I lost only 3 seedlings out of 50.
My "Why" — The Science Side
I’m not a scientist, but I know the RHS highlights that carnivorous plants often struggle with too much water in the soil. They've noted that succulents and similar plants suffer from root rot. For sundews, the challenge is different. They need wet roots but dry leaves. The bottom watering method ensures the roots are always moist but never submerged. The sweet spot is a soil temp between 70°F and 80°F. Above 90°F, the seeds enter a heat-induced dormancy. Below 65°F, they rot.
The AHS also has solid advice on seed sowing in hot weather. They point out that summer sowing requires "shade and moisture retention". You want to mimic a humid, warm morning in the wild. That's the edge of a pond in the subtropics. Not a hot desert.
Why Summer Feels Harder (But Isn't)
Spring is easy. It’s cool and mild. Summer brings out the algae and fungus. The trick is not to fight the season. You work with it. You use the longer daylight hours for growth, but you control the heat with airflow and shading.
Many people tell me they don't start seeds until fall. But I lost my first batch in spring too. The issue wasn't the season. It was my method. Once I fixed the water and light, summer became my favorite season to sow. The growth rate is faster because of the longer photoperiod.
Someone asked me if I use a heat mat. No way. In summer, the ambient heat is enough. You just need to buffer it. I once used a heat mat in late June. I cooked the roots. The germination rate was zero. Heat mats are for winter, not summer.
How to Handle "Damping Off" (The Hidden Killer)
Damping off is a fungal disease that kills seedlings right after they sprout. It looks like the seedling bends over and rots at the base. It happens fast. It’s caused by a fungus called Pythium. It thrives in cool, wet, and dark conditions.
I actively prevent it by using a sterilized mix. I microwave my sphagnum moss for 2 minutes to kill spores. This sounds crazy, but it works. I let it cool completely. Then I pot it up. I also use a fungicide drench. I make a diluted chamomile tea. I use the tea to water the tray. Chamomile has mild anti-fungal properties. I stumbled upon this tip in a carnivorous plant forum. It’s a natural hack.
Weaning the Seedlings: A Crucial Step
So I had successful germination. The lid was off. But I wasn't done. I left them in the shallow tray. I gradually increased their exposure to air daily. I say "gradually" for everyone, but honestly, I slept through a day and left the lid completely open. They were fine. The humidity of my room was about 55%. That’s low for they usually like. But the sphagnum held moisture for them.
After two more weeks, I transplanted them. I used a pair of tweezers. I gently lifted each seedling by its leaf. I moved them into larger pots with fresh LFS (long-fiber sphagnum) and perlite mix. I kept them in a humidity dome for another week.
I know people who skip this step and just let them grow in the seed pot. They get crowded. The weaker ones die. I lost a few good seedlings this way. I've learned to give each tiny plant its own home. They grow much faster.
Common FAQ
FAQ 1: Can I use tap water?
No. Never. Tap water has minerals that kill sundews. They are carnivores that evolved in nutrient-poor soil. Use only distilled water or rainwater. I collect rainwater in a barrel myself. It’s free and my collection is always full in summer.
FAQ 2: What if I see no sprout after 3 weeks?
Check the temperature. If it’s too hot (over 85°F), they stall. Move them to a cooler spot. Also, verify the seeds are fresh. Old seeds lose viability. I've tested this. Seeds from last year germinate at 30% rate. New seeds get 80%+.
FAQ 3: Should I feed the seedlings?
No. The seed leaves have no digestive glands yet. They get nutrients from the moss initially. Only feed the plant when it has 3-4 adult leaves. And even then, only if they’re not getting insects naturally.
Final Thoughts from My Window Sill
I still get a little nervous when I sow summer seeds. But I now trust the process. I trust the tray and the bottom water. I trust the morning sun. And I trust the patience.
The success rate jumped from zero to over 90% just by changing the water source and the light exposure. It’s not rocket science. It’s just avoiding the three deadly mistakes. Start with a cheap species like Drosera capensis. Don't start with a rare species from the pygmy complex. You need a plant that forgives you. Once you see that first green dot, you’ll be hooked.
I remember the morning I saw those green dots. I whispered to my wife, "They're alive." She didn't share my excitement. But I know you will. Keep the tray damp, not wet. Keep the light bright, not hot. And keep the lid on, but not too tight. You've got this. Happy growing.





