 bluename
 If you're here because your sundew's sticky tentacles look more like fuzzy gray cobwebs than glistening traps, here's the short answer: Stop top-watering, move it to a spot with gentle airflow, and use a soft brush or a gentle misting spray to physically remove dust every 7–10 days. I do all three, and after two weeks of this routine, my sundews went from dull, clogged leaves to actively catching fruit flies again.
I’ve killed more plants than I care to count. I’m not a botanist. I’m just someone who has spent years fussing over carnivorous plants in a dusty apartment. And let me tell you, dust is the silent killer of sundews. It doesn’t just look ugly. It blocks the light that triggers the dew production. It makes the mucilage less sticky. And before you know it, your plant stops eating and slowly starves.
Here’s the thing: 90% of indoor plants die from overwatering, but sundews die from neglect that looks like care. Dust buildup is that neglect in disguise. So let’s fix it for good.
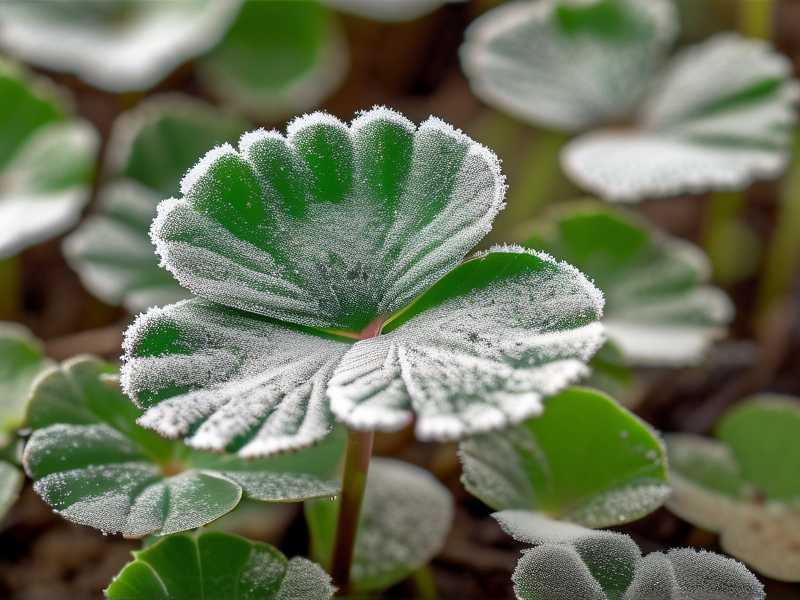
Why Dust Is a Bigger Problem for Sundews Than Other Plants
A regular houseplant can shrug off a layer of dust. Its leaves just photosynthesize a bit less efficiently. But a sundew lives and dies by its sticky dew. Those glistening droplets are not just decoration. They’re the plant’s mouth, stomach, and digestive system rolled into one.
When dust lands on the tentacles, it coats the mucilage. The dew stops reflecting light. The plant looks dry even when it’s hydrated. Worse, the dust particles physically clog the glandular cells that produce new dew. Over time, the leaf stops producing sticky fluid entirely.
I noticed this on my first sundew, a Drosera capensis. It had been producing dew like crazy for months. Then I moved it to a shelf near a window that I never opened. Within three weeks, the dew production dropped by half. The leaves looked like they were covered in powdered sugar. But it wasn’t sugar. It was dead dust.
The 3 Newbie Mistakes That Make Dust Buildup Worse
Mistake 1: Watering from Above
This is the biggest one. I get it. You see the soil getting dry. You grab a watering can. You pour water over the top. The water splashes up, carrying dust and mineral particles onto the leaves. The moisture then dries, leaving behind a crusty residue that mixes with existing dust.
I used to do this every single day with my first sundew. I thought I was helping. Turns out I was basically gluing dust to the leaves. The water would wash away the dew, and then the dust would stick to the wet leaf surface. Once it dried, it was like cement.
Instead, you absolutely must water from the bottom. Use the tray method. Put your pot in a shallow dish with about 1–2 cm of distilled water or rainwater. Let the soil wick up the moisture from the drainage holes. This keeps the leaves dry and dust-free.
I switched to bottom watering about a year ago. The difference was night and day. My leaves stopped getting crusty spots. The dust that did land on them was loose enough to blow off with a gentle breath. It was a total game changer.
Mistake 2: Putting the Plant in Still Air
I know. You think a window with no breeze is a cozy spot. But still air is a dust magnet. Dust particles settle easily when there’s no airflow. They cling to the sticky dew and never let go.
Many sundews are bog plants. They naturally grow in open, breezy habitats. They’re used to a bit of wind moving the air around them. That wind not only keeps pests away but also dust. Without airflow, dust falls straight onto the leaves and stays there.
I had a sundew sitting in a corner of my living room. The air was totally stagnant. I would watch dust accumulate on the leaves within two days of cleaning. No matter how carefully I misted, the dust came right back.
The solution was a small, low-speed USB fan placed about 2–3 feet away. I aimed it at the plant with a gentle, indirect breeze. Not strong enough to blow the dew off, but just enough to keep air moving. Within a week, I noticed the leaves were dust-free. The fan also improved air circulation, which prevented mold and fungus gnats.
Mistake 3: Using the Wrong Pot and No Top Dressing
This sounds weird, but hear me out. I used to grow sundews in regular garden soil with a wide-open pot top. Every time I walked past, dust would swirl up from the soil surface and land on the leaves. The exposed soil was a dust factory.
Also, if your pot has a wide mouth and no pebbles or moss on top, every dust particle in the room settles on that moist soil. Then when you water from the bottom, the water rises and carries the dust up the sides of the pot, eventually reaching your leaves.
The fix is simple. Use a narrow-mouth pot or cover the soil surface with a layer of live sphagnum moss or a thin layer of perlite. This acts as a barrier. It keeps the dust from flying up, and it also keeps fungus gnats from breeding in the organic soil.
I switched all my sundews to pots with a top dressing of live sphagnum moss. Not only does it look nicer, but it also holds moisture better. The dust that used to accumulate on the leaves has reduced by at least 80%. Honestly, I wish I had done this a year sooner.
My 2-Week Step-by-Step Fix for Dusty Sundew Leaves
I’m going to walk you through exactly what I did. It worked. It’s not complicated. But you have to be consistent.
Week 1: First Cleanup and Environmental Reset
I started by moving all my sundews to a brighter, ventilated spot. I put them on a north-facing windowsill that gets bright indirect light for about 6 hours. I also set up the small USB fan I mentioned, aimed at a 45-degree angle, about 2 feet away. The fan runs for 4 hours in the morning and 4 hours in the evening. Not all day. Just enough to keep the air moving.
Next, I cleaned off the existing dust. I used a soft, small artist’s brush with very fine bristles. I brushed the leaves gently, using upward and outward strokes. You have to be extremely gentle. The tentacles are delicate, and they can snap off if you brush too hard.
It took about 10 minutes per plant. The dead, dry dust came off easily. Some leaves had caked-up residue from old water splashes. Those I dabbed with a cotton swab dipped in distilled water. I didn’t spray or mist anything. I just dabbed each residue spot carefully.
After the dry brushing, I placed a fresh layer of sphagnum moss on the soil surface. This prevented any dust from rising up from the dirt.
For the rest of week one, I did not touch the leaves at all. I let them rest and recover. I noticed that after 3 days, the dew production started to pick back up. The glands that were clogged had cleared, and new sticky droplets were forming.
Week 2: Regular Maintenance and Observation
From week two onwards, I established a simple routine.
Every morning, before I left for work, I would check each plant visually. If I saw more than a few specks of dust on the leaves, I would use the brush again. But here’s the trick: I didn’t brush the whole leaf. I only brushed the specific areas where I could see dust. This minimized the stress on the plant.
In the evenings, I checked the water trays. I made sure there was always about 1 cm of distilled water in the tray. The soil was kept consistently moist but never soggy.
I also started spacing my plants out more. Before, they were crowded together on one shelf. The leaves of one plant were touching the leaves of another. When one plant dusted the other, it created a mess. Now, they have about 4 inches of space between them. Air flows freely, and dust doesn’t get trapped between leaves.
By day 10 of this routine, I saw a remarkable difference. The leaves were shining with dew. The tentacles looked plump and red. I could actually see the plant’s color more clearly because there was no gray film blocking the light.
By day 14, I had visible results. My Drosera capensis went from producing dew on only a few leaves to having every leaf covered in glistening droplets. The plant also started catching more small flies. I found three dead fungus gnats stuck to different leaves. That told me the dew was both abundant and sticky.
The most surprising thing was how much more colorful the plants looked. The red tentacles were brighter. The green leaves were greener. Dust was literally hiding the plant’s natural beauty.
Tools That Actually Work for Dust Removal
You don’t need expensive gear. Let me share what I actually use.
-
A soft makeup brush or artist’s brush: This one is the winner. The bristles are fine and gentle. Don’t use a toothbrush or a paintbrush with stiff bristles. They will rip the tentacles right off.
-
Distilled water in a spray bottle with a fine mist: Sometimes, a very fine mist can help wash off dust without damaging leaves. But you have to be careful. If the mist is too coarse, it will wash away the dew. I use a spray bottle that produces a light fog, not droplets. I only use this once a week, and I always let the plant dry in the airflow of the fan afterward.
-
Canned air with a flexible straw: This is a pro move. I blast the dust off with a short burst of compressed air. You have to hold it at a 30-degree angle and a distance of at least 10 inches. High pressure can damage the leaves. But used gently, it’s great for powdery dust that isn’t stuck.
-
A small handheld vacuum with a soft brush attachment: For very large sundews, this is a lifesaver. I use the lowest suction setting and slowly hover over the leaves. It removes dust without touching the plant.
Prevention: My Maintenance Schedule That Keeps Dust Off Forever
Once you’ve cleaned the initial dust, you have to prevent it from coming back. Here’s my weekly schedule.
Daily: Check the water tray. Add distilled water if it’s low. No fussing with the leaves. Just look at them. If you see dust, brush it off immediately.
Every 3 days: Check the fan position. Make sure the airflow is still gently hitting the leaves. Adjust if needed.
Weekly: Do a deep inspection. Use the brush to clean all leaves. Wipe down the pot edges. Clean the fan blades if they’ve collected dust. A dirty fan blows dust onto your plants.
Bi-weekly: Flush the soil with distilled water from the bottom. Pour fresh water into the tray and let it soak through the pot. This pushes out any accumulated mineral salts from the soil, which can also dry out the dew glands.
What About Water Quality?
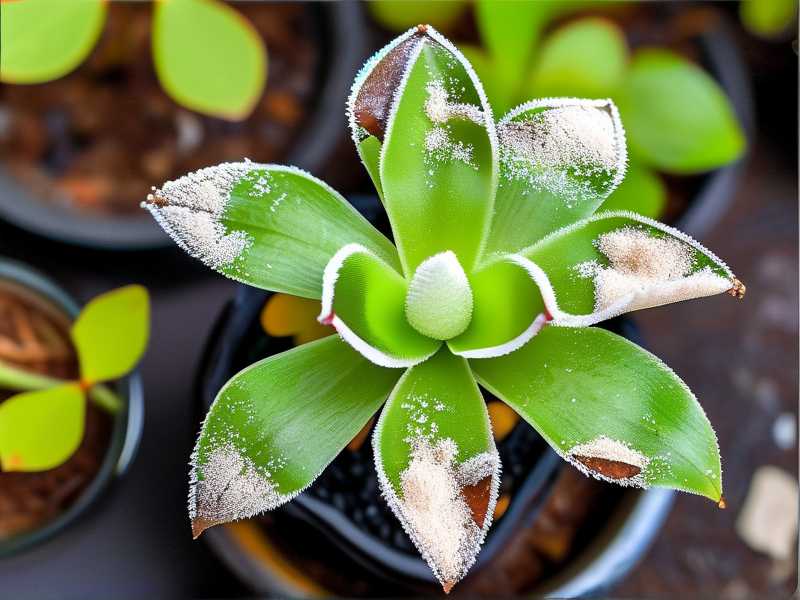
Dust is not the only thing that clogs sundew leaves. Tap water containing dissolved minerals is just as bad. When you spray tap water on your sundew, the minerals remain after evaporation. They create a white, crusty film that looks almost identical to dust.
I learned this the hard way. I had a Drosera spatulata that I watered with tap water for two months. The leaves turned white and crusty. No amount of brushing would remove that film. It had basically coated the gland cells in calcium and chlorine residue.
So rule number one, always use distilled water, reverse osmosis water, or natural rainwater. Never use tap water. The minerals will slowly choke your plant.
I now store rain water in a large plastic container. I collect it during heavy rain and keep it in the shed. It’s free, and it matches exactly what the plant would get in nature.
Humidity’s Role in Dust Accumulation
Here’s something interesting. Lower humidity increases static electricity. Static electricity attracts dust to leaves. If your house is very dry, your sundew will attract more dust than if it were in a humid terrarium.
I bumped up the humidity around my plants by placing a shallow dish of water next to them. Not under them, but next to them. The evaporation raises the humidity by about 10%–15%. This reduces static charge on the leaves and also helps the plant stay hydrated.
The expert advice from the RHS suggests that proper humidity and air circulation go hand in hand for healthy greenhouse plants. It’s the same principle indoors.
What If My Sundew Has Already Lost Most of Its Dew?
If your leaves look completely dry and dusty, don’t panic. The plant may still be alive. The key is to check the crown and the new growth.
I had a sundew that looked completely brown and dry. The old leaves had given up. But when I looked closely at the center rosette, there were tiny new leaves sprouting. Those new leaves were healthy. So I trimmed off all the dead, dusty leaves and started the recovery process with clean water and airflow.
Within a month, the plant had replaced all its old leaves with new ones. It was slow, but it worked.
The AHS notes that many herbaceous perennials can recover from stress if the growing point remains intact. Carnivorous plants are no different.
My Honest Mistakes So You Don’t Repeat Them
I killed my second sundew by dusting it with a damp cloth. I thought wiping the leaves would clean them. But sundew leaves are fragile. The wet cloth stuck to the mucilage, and when I pulled it away, I tore the leaf surface. The whole leaf collapsed within two days.
I also tried using a hair dryer on the cool setting to blow dust off. Bad idea. The airflow was way too strong. It dried out the dew and bent the tentacles permanently. Some of the leaves just curled up and died.
And I definitely killed a third plant by keeping a glass jar over it to increase humidity. That glass jar trapped moisture, but it also trapped dust. And since there was no airflow, the dust landed on the leaves and stayed. Within two weeks, the plant was covered in a thin gray layer. I had to ditch the jar and use a ventilation setup instead.
3 FAQs About Sundew Dust and Leaf Care
Q: Can I clean sundew leaves by misting them with water?
Yes, but only with a very fine mist and only with distilled water. Using tap water will leave mineral spots that are even harder to remove than dust. And if you mist too heavily, you’ll wash away the sticky dew. I mist once every 5 days at most.
Q: Will dust actually kill my sundew?
It can cause the plant to weaken, sure. Dust blocks light, reduces photosynthesis, and clogs dew glands. Eventually, if the dew stops completely, the plant can’t catch prey. Without nutrients, it will slowly decline and die. It’s not fast, but it’s fatal over a few months.
Q: Do I need to worry about dust on the roots or the soil surface?
Not really. Dust on the soil surface is mostly harmless unless it forms a crust that blocks water penetration. The critical area is the leaves, specifically the dew glands. However, covering the soil with sphagnum moss does help prevent dust from being kicked up by airflow or from splashing.
Final Thoughts: Just Keep the Air Moving
Look, dust buildup is a manageable problem. Don’t overthink it. Give your plant some airflow, water from the bottom, brush the leaves gently once a week, and only use pure water. That’s the entire recipe.
After my two-week experiment, I’m convinced that dust isn’t just an aesthetic issue. It’s an environmental stressor. When you remove that stressor, the plant rewards you with more dew, richer color, and active feeding.
If you’re just starting out with sundews, don’t obsess daily. Check them when you check your other houseplants. Keep them out of still corners. And remember, a little bit of dust on one or two leaves after a week is normal. But if you see a uniform gray film, your location or watering habits are the problem.
My sundews now sit on my windowsill with a tiny fan humming nearby. The leaves are sticky and shiny. They’re catching midges and gnats constantly. And honestly, they look proud. I’ve never seen them so healthy. All it took was cleaning the dust off and keeping it off.
Try my routine for two weeks. I promise you’ll see a difference. If you do, let me know how much more dew your sundew produces. Because I still get excited every time I see a fresh, sparkling drop of dew covered in a persistent little gnat.





