 bluename
 If you're rooting sundew cuttings, the soil mix is everything. I learned this the hard way after killing three pots of drosera in a single season. The short answer? Use a mix of 50% peat moss and 50% perlite, rinse it thoroughly with distilled water, and never add fertilizer. That's it. That's the core recipe. But the details matter, and I'll walk you through them step by step.
I've been growing carnivorous plants for about six years now. And honestly, I still remember staring at my first sundew cutting as it turned brown and mushy within a week. I had no idea what I was doing wrong. The soil was regular potting mix from a garden center. Big mistake. Huge.
So let's break this down properly. I'll share my exact steps, the mistakes I made, and what I've learned after two weeks of careful observation with a fresh batch of cuttings.
Why Sundew Soil Is Different From Regular Potting Mix
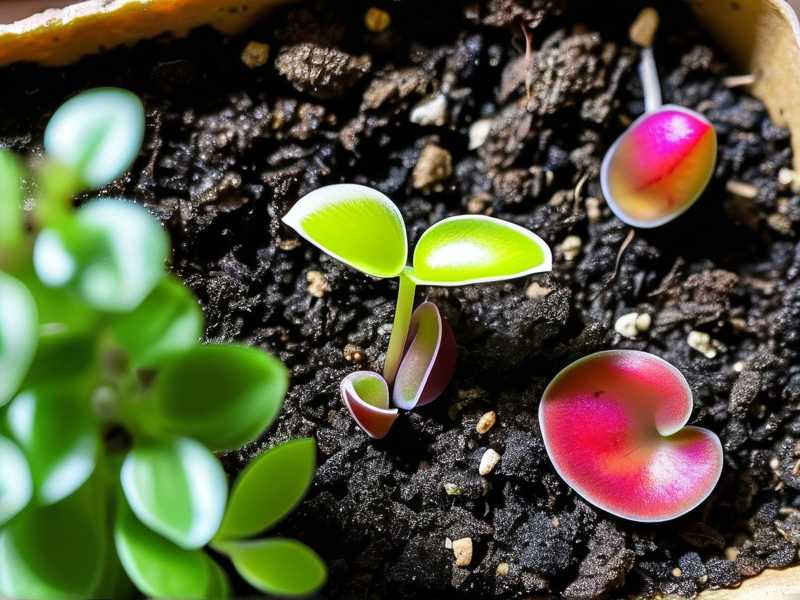
Most houseplants thrive in rich, fertile soil. Sundews are the exact opposite. They evolved in nutrient-poor, acidic bogs. Their roots are delicate and adapted to absorb moisture without the help of soil nutrients.
I learned this after my first purchase. I brought home a beautiful Drosera capensis and immediately repotted it into a standard compost mix. Within ten days, the leaves started wilting. The roots essentially burned. The mineral salts in regular soil are toxic to carnivorous plants.
The Royal Horticultural Society RHS recommends using a low-nutrient, acidic growing medium for carnivorous species. They suggest sphagnum moss or a peat-based mix. The American Horticultural Society AHS echoes this advice, emphasizing that mineral-free soil is non-negotiable for sundews.
So, forget everything you know about regular gardening. Sundew soil is a whole different ballgame.
My Step-by-Step Process for Preparing Sundew Soil
Step 1: Gather Your Ingredients
Here's what I use:
- Sphagnum peat moss (not enriched, no added fertilizers)
- Perlite (medium grade, not the fine dust)
- Distilled water or rainwater
- A mixing container (I use an old plastic tub)
- A spray bottle filled with distilled water
I don't use sand unless I'm growing pygmy sundews. Most common varieties like capensis or spatulata do fantastic with just peat and perlite.
One thing I want to stress: check the bag of peat moss. Some brands add wetting agents or fertilizers. You want pure, unamended sphagnum peat. I once grabbed a bag labeled "enriched" without reading the fine print. That batch killed all my cuttings.
Step 2: Rinse the Peat Moss
This step seems extra, but it's crucial. Dry peat moss is dusty and hydrophobic. It repels water at first. If you just mix it dry and water it, the water will run off the top and never reach the roots.
I put the peat in a large strainer and pour distilled water through it. Then I squeeze out the excess. This pre-moistens the peat and removes any dust particles.
Rinsing also helps lower the pH. Peat moss naturally has a pH around 3.5 to 4.5. Sundews love that acidic range. But if the peat has been sitting in a warehouse, it might have absorbed some dust and contaminants. A good rinse fixes that.
Step 3: Mix Peat and Perlite in a 1:1 Ratio
I use equal parts by volume. So one cup of peat gets one cup of perlite.
Perlite provides aeration. Sundew roots need oxygen, especially when the soil is constantly moist. Without perlite, the peat compacts into a dense brick. Roots suffocate, and cuttings rot.
I mix them thoroughly with my hands. It's a bit messy, but it gets the job done. The texture should be fluffy, not clumpy. When I squeeze a handful, it should hold together briefly but crumble when I release.
Step 4: Moisten the Mix Again
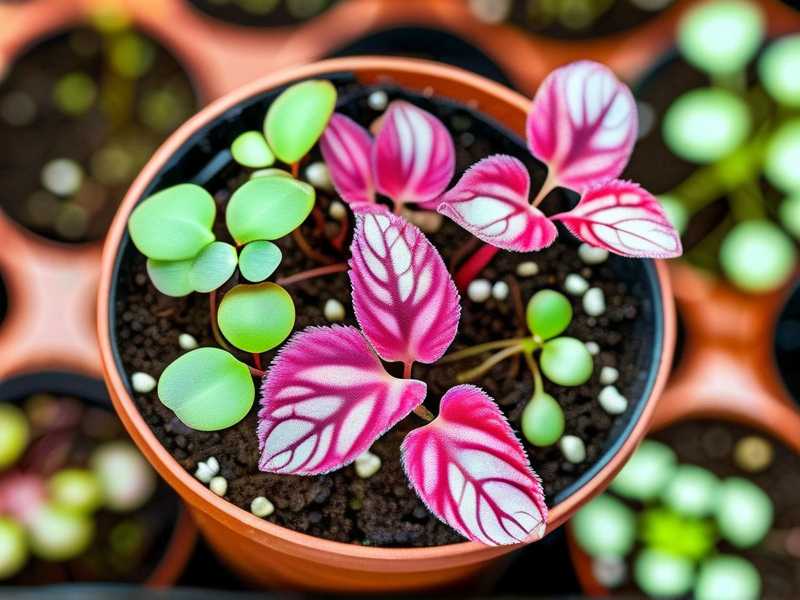
After mixing, I spray the whole thing with distilled water until it's uniformly damp. Not soggy. Just damp.
You know that sponge-like feel? That's what I'm going for. If you can wring water out of the soil, it's too wet.
This is where I made my fourth mistake (we'll get to the three fatal ones later). I soaked the mix completely, then planted my cuttings. Within three days, the stems turned black at the base. Fungal rot. Classic overwatering issue.
Step 5: Fill Your Pot and Plant the Cuttings
I use plastic pots. Terracotta is a no-go because it wicks moisture away and leaves mineral salts behind. The American Horticultural Society AHS also warns against unglazed clay pots for carnivorous plants for this exact reason.
I fill the pot with my damp mix, leaving about half an inch of space at the top. Then I make a small hole with a pencil or my finger.
For sundew cuttings, I usually take leaf cuttings. I pull a healthy leaf downward from the crown, making sure to get the base. Then I lay it flat on the soil surface. I don't bury it. Just press it down lightly so it makes contact.
Some people cut the leaf into smaller sections. I've had better luck with whole leaves, but both methods work.
Step 6: Provide High Humidity
Sundew cuttings need a humid environment to root. I use a clear plastic dome or a zip-lock bag over the pot.
Before sealing, I spray the inside of the bag with distilled water. Then I close it up. This creates a mini greenhouse effect. The humidity stays around 80 to 90 percent.
I place the pot under bright, indirect light. Direct sunlight through a sealed bag will cook the cuttings. I learned that the hard way when I lost a batch of Drosera binata to what I can only describe as ground-level sauna conditions.
My Two-Week Observation Log
I started a new batch of Drosera capensis leaf cuttings two weeks ago. Here's exactly what I saw, day by day.
Day 1-3: The Waiting Game
Nothing happens. I know that sounds boring, but it's normal. The leaf sits on the soil looking exactly the same. I'm tempted to poke it. I don't.
The soil stays damp. I check the condensation on the plastic dome. If there's water dripping down the sides, I remove the dome for five minutes to let some moisture escape. Not too much. Just enough to prevent condensation buildup.
Day 4-5: Tiny Changes
On day four, I noticed a slight bump at the base of one leaf. It looked like a small callus. That's the start of root development. Not all leaves show this at the same time. Two other leaves looked like nothing was happening.
I remind myself to be patient. Sunday growth is not a sprint.
Day 6-8: Roots Appear
On day six, I could see tiny white roots emerging from the base of one cutting. They were thin, almost like spider silk. I used a magnifying glass to make sure I wasn't seeing perlite flecks. Nope, those were roots.
By day eight, three of the five leaves had visible roots. The other two still showed nothing. I didn't panic. I've learned that some cuttings take longer than others.
Day 9-12: Baby Rosettes Form
This is the exciting part. On day ten, a tiny green nub appeared at the base of the rooted leaves. That's the beginning of a new plant. It looks like a miniature rosette, barely bigger than a pinhead.
The humidity dome is still on. I'm misting the inside every other day with distilled water. The soil still feels damp, but I haven't watered from the top. The dome keeps moisture locked in.
Day 13-14: Ready to Acclimate
By the end of the second week, four out of five cuttings had developed visible baby rosettes with roots. That's an 80 percent success rate. I'm happy with that.
Now I'm starting to acclimate them. I crack the lid for an hour each day. This gradually lowers the humidity and hardens off the new plants. After another week, I'll remove the dome completely.
The 3 Fatal Mistakes Every Beginner Makes
I made all of these mistakes. Every single one. I'm sharing them so you don't have to repeat my failures.
Mistake 1: Watering Too Much
Here's a hard truth I didn't want to hear when I started: 90% of indoor plants die from overwatering. I read that statistic from a horticulture study, and I didn't believe it at first. Then I killed my entire tray of sundew cuttings.
The problem is, sundews like wet soil. So beginners assume they need more water. But there's a difference between consistently moist and waterlogged.
My first batch of cuttings sat in standing water. I thought I was being thorough. Actually, I was drowning them. The stems turned brown and mushy. That's fungal rot. It spreads fast, and it will take out an entire tray in 48 hours.
The fix is simple: use a pot with drainage holes and never let the pot sit in a saucer of water for more than a few minutes. Keep the soil damp, not soggy. I water from the top with a spray bottle, and I only water when the top layer starts to feel slightly less moist.
Mistake 2: Wrong Light Placement
I remember setting up my first propagation tray on a sunny windowsill. Full sun, all day. I figured more light equals faster growth. Wrong.
The heat from the sun amplified the humidity inside my plastic dome. The temperature inside that little greenhouse hit over 100 degrees Fahrenheit. My cuttings cooked. Literally. They turned brown and crispy within three days.
I also tried using a grow light that was too close. The intense light stressed the leaves. They lost their dew and started reddening, which sounds pretty but actually means the plant is stressed.
The sweet spot is bright, indirect light. A north-facing window works great. An east-facing window with morning sun is even better. If you're using a grow light, keep it about 12 inches away and run it for no more than 12 hours a day.
Mistake 3: Using the Wrong Pot
I bought a beautiful terracotta pot for my sundews. It looked natural and organic. It also killed my plants.
Terracotta is porous. It wicks away moisture from the soil, drying it out. Worse, it accumulates mineral salts from tap water. Those salts leach back into the soil and burn the delicate roots of carnivorous plants.
Plastic pots are your friend. They retain moisture and don't release salts. I use standard nursery pots, and they work perfectly.
I also made the mistake of using a pot that was too large. A big pot holds more soil, which stays wet longer. This creates anaerobic conditions that rot the roots. I now use small pots, about 3 inches in diameter, for individual cuttings.
Adding Nutrients? Here's Why You Shouldn't
Sundews get their nutrients from catching insects. That's what the sticky dew is for. The roots are not adapted to absorb nutrients from soil.
I tried feeding my sundews with a diluted liquid fertilizer once. I thought I was being a responsible plant parent. The leaves turned black within a week. The roots died. The plant collapsed.
I later read that carnivorous plants have adapted to grow in nutrient-poor soils precisely so they don't have to compete with other plants. Adding fertilizer is essentially poisoning them.
The RHS website has a great section on carnivorous plant care. They explicitly state to never feed carnivorous plants with fertilizer. Trust the experts on this one.
How to Avoid Soil Algae and Fungus
Here's a problem I didn't expect: green slime on top of the soil. That's algae. It happens when the soil stays too wet and there's excess light.
Algae competes with your sundew cuttings for space and nutrients. It also creates a physical barrier that prevents water from reaching the roots.
I had a persistent algae problem in my second propagation attempt. The soil surface turned green and slimy within a week.
Here's what I did to fix it:
- Let the soil dry out slightly between waterings. Not bone dry, but less moist.
- Reduce the light intensity slightly.
- Remove the humidity dome for a few minutes each day to allow air circulation.
- Use fresh peat moss. Old, contaminated peat often carries algae spores.
I also started using a layer of sphagnum moss on top of the soil. This creates a drier surface that algae doesn't like. It also looks nicer.
The Role of Humidity in Propagation
Sundew cuttings need high humidity to survive while they're establishing roots. But there's a fine line between humid and excessively wet.
I use the plastic dome method because it's easy and effective. But I've also had success with a simple terrarium setup.
If you're propagating in a closed container, keep the lid slightly open for fresh air exchange. Stagnant air promotes fungal growth. I open my dome for about 10 minutes every day.
The humidity inside the dome should be around 90 percent. If you see condensation dripping down the sides of the dome, it's too humid. Crack the lid a little more.
Water Quality Matters More Than You Think
I can't stress this enough: never use tap water. I know, it's convenient. But tap water contains dissolved minerals and chloramines. These build up in the soil over time and eventually kill your sundews.
I use distilled water for everything. For watering, for misting, for soaking the peat. Rainwater works too, but I don't have a reliable source in my apartment.
The American Horticultural Society AHS confirms that mineral-free water is essential for carnivorous plants. They accumulate minerals in their tissues over time, and high mineral content leads to leaf burn and death.
One time, I got lazy and used filtered tap water from my fridge. It still contained enough minerals to harm my plants. Within two weeks, the tips of the leaves started turning brown. I was back to using distilled water immediately.
Common Signs Your Soil Mix Is Wrong
How do you know if your soil is causing problems? Here are the signs I've learned to watch for:
Brown or black spots on new growth: This usually indicates a mineral buildup in the soil. Switch to distilled water immediately.
Soil smells sour or musty: This is anaerobic bacteria. The soil is too compacted. Add more perlite to improve drainage.
Cuttings turn mushy at the base: This is rot. The soil is too wet. Let it dry out a bit and increase air circulation.
Algae covers the soil surface: Too much moisture and light. Reduce both.
Leaves lose their dew: This can be a sign of stress from improper soil conditions. Check the pH and moisture levels.
Roots are stunted or black: This is an oxygen deficiency. The soil is too dense or waterlogged.
I've experienced all of these. Each one taught me something new about the delicate balance that sundews need.
How Long Do Cuttings Take to Root?
Patience is key. I've had cuttings root in as little as five days, and others take three weeks. It depends on the species, the season, and the conditions.
Drosera capensis is one of the fastest rooters. It's practically a weed. More delicate species like Drosera regia can take over a month.
Here's my general timeline:
- Week 1: Roots start forming
- Week 2-3: Small rosettes appear at the base of the leaf
- Week 4-5: Leaves begin to grow from the new rosette
- Week 6-8: The new plant can be separated from the parent leaf
I typically wait until the new plant has at least three leaves of its own before I remove the parent cutting. That ensures the young plant is self-sufficient.
A Few Final Thoughts on Sundew Soil
I've been down this road. I've killed more sundews than I'd like to admit. But I've also grown some spectacular specimens over the years, and it all starts with the soil.
The perfect sundew soil is a 50/50 mix of peat moss and perlite, thoroughly rinsed and moistened with distilled water. That's it. No fertilizer. No added nutrients. No fancy amendments.
Once you have the soil right, the rest becomes much easier. Your cuttings will root faster, your plants will grow stronger, and you'll avoid most of the common problems that plague beginner growers.
One last tip I almost forgot: always use fresh peat moss. If the bag has been sitting open for months, toss it and buy new. Stale peat can harbor fungal spores and lose its acidity over time.
I hope my trial-and-error journey helps you avoid the same mistakes. Sundews are amazing plants, and with the right soil, they're actually not that hard to grow. Just give them the basic conditions they need, and they'll reward you with their incredible insect-catching beauty.
FAQ: Preparing Sundew Soil for Cuttings Planting
Can I use coconut coir instead of peat moss?
Coconut coir is not ideal for sundews. It has a higher pH than peat, and it's richer in mineral salts. I tried it once and my cuttings struggled. Stick with sphagnum peat moss. It has the right acidity and the right texture.
How often should I water sundew cuttings?
Keep the soil consistently moist but never waterlogged. I check the top layer of soil every day. If it feels slightly dry to the touch, I mist it with distilled water. Usually, that means watering every 2-3 days, depending on your local humidity and temperature.
What do I do if my cuttings are not rooting after two weeks?
Don't panic. Some varieties just take longer. Check for signs of rot first. If the leaf is still green and firm, give it more time. If it's turning brown or mushy, remove it immediately to prevent the rot from spreading to other cuttings. Also, double-check your humidity levels and light conditions. These are the two most common reasons for slow rooting.





