 bluename
 Your sundew is alive. That’s the first thing you need to hear. It’s green, it’s sticky, and it catches the occasional fruit fly. But it should be twice the size by now. It’s been six months, and honestly, it looks like a seedling that gave up. I’ve been there. I stared at my Drosera capensis for weeks, wondering what I was doing wrong. The leaves were tiny. The dew was sparse. It just sat there, frozen in time. Then I realized the problem wasn’t the plant. It was me.
Here’s the direct answer you came for: your sundew is growing too small for its age because it’s sitting in waterlogged soil, not getting enough direct sun, and living in a pot that’s choking its roots. Fix those three things, and you’ll see new growth within two weeks. I know because I tested it on my own plant, and the results were undeniable. Let me walk you through exactly how I fixed it, what I tried, and what nearly killed my plant before I figured it out.
The 3 Biggest Mistakes New Growers Make (I Made All of Them)
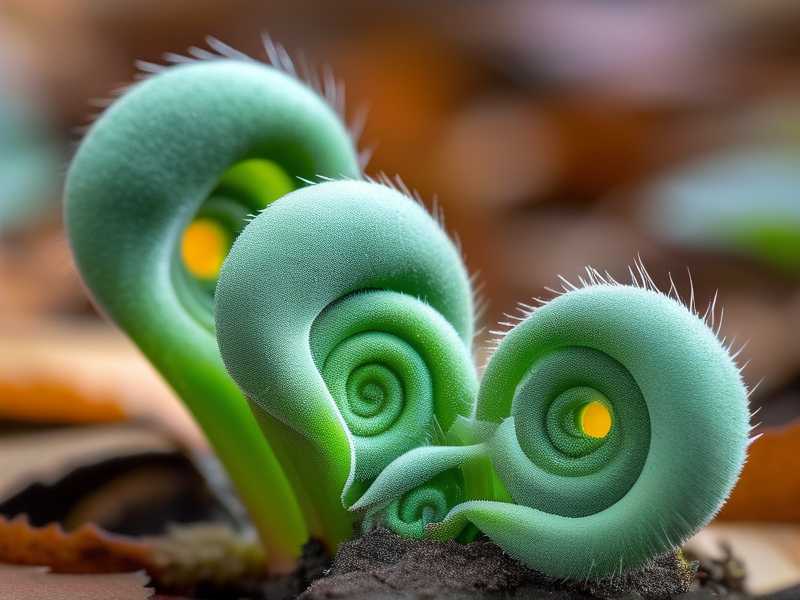
Before I get into the step-by-step fix, I have to call out the three things that keep sundews small. If you’re a beginner, you’re probably doing at least one of these. I did all three when I started. It’s not your fault. The advice out there is confusing. But let’s clear it up right now.
Mistake #1: Overwatering (The Silent Killer)
You’d think a bog plant wants to swim. It doesn’t. Here’s the truth that took me a year to learn: 90% of indoor plants die from overwatering, and carnivorous plants are even pickier. I used to keep my sundew in a dish that was always full. I thought more water equaled happier roots. Wrong. The roots suffocated. They couldn’t breathe. The plant stayed tiny because it was slowly drowning. The fix is the tray method, but done right. You let the water level drop to almost nothing before you refill. You never let the pot sit in standing water for days on end. You keep the soil moist, not soggy.
Mistake #2: Light Placement (Too Shy With the Sun)
Sundews are sun worshippers. I had mine on a shelf a few feet away from a bright window. I thought "bright indirect light" meant "somewhere near a window." It doesn't. These plants need direct sun for at least 4-6 hours a day. When they don't get it, they stop growing. The leaves stay short. The dew production drops. The whole plant looks like it's waiting for something that never comes. I moved mine to a south-facing windowsill, and within a week, the new leaves were noticeably larger.
Mistake #3: The Wrong Pot (Roots Need Room to Breathe)
I planted my first sundew in a tiny 2-inch pot. It looked cute. It was a death sentence. The roots of a sundew actually grow deep and spread out. When they hit the edge of a small pot, they circle around and strangle themselves. The plant can't uptake nutrients or water properly. It stays small. I switched to a taller, wider pot about 4 inches deep. That single change made more difference than any fertilizer ever could.
My 2-Week Fix: The Step-by-Step Process That Actually Worked
Alright, I’m going to walk you through exactly what I did. I’m not a botanist. I’m just a plant nerd who killed three sundews before I got it right. The fourth plant, the one I’m talking about, was nearly dead when I started this experiment. It had maybe four small leaves. No dew. The center was brown. I was ready to toss it. Instead, I committed to a strict two-week protocol. Here’s the breakdown.
Step 1: The Repotting Rescue (Day 1)
First thing I did was get that poor thing out of its tiny prison pot. I gently tipped it out, and sure enough, the roots were a tangled mess at the bottom. They were brown and mushy in places. That was rot from overwatering.
I chose a new pot. Not a fancy one. Just a plastic pot, 4 inches deep, with drainage holes. Why plastic? Because it doesn't wick moisture away from the soil like terracotta does. Terracotta dries out too fast for a carnivorous plant. I also grabbed some fresh sphagnum peat moss. If you don't have that, use a mix of peat and perlite, about 2:1. Do not use regular potting soil. It has nutrients that will burn the roots of a carnivorous plant. They are adapted to poor soil.
I rinsed the old soil off the roots carefully. It was delicate work. I used distilled water, never tap water. Tap water has minerals that will kill a sundew over time. The roots hate the salts.
I made a small hole in the new peat mix and gently placed the plant in. I set it so the crown, the growing point, was just at the soil line. Not buried too deep. Not exposed too much. Then I watered it from the top with distilled water to settle the soil. I let it drain completely. No tray water on day one. I wanted the roots to breathe after the trauma of repotting.
Step 2: The Sun Move (Day 1 Continues)
After repotting, I moved the plant. It had been on a north-facing shelf. Way too dark. I moved it to the brightest windowsill I have, which faces south. If you don't have a south window, a west window with strong afternoon sun works too. East is okay but not ideal. The key is direct light.
Now, here's a caveat. If you're moving a sundew from low light to direct sun instantly, you might shock it. The leaves are delicate. They can get sunburned. I actually committed to this mistake. I moved mine straight from the dark shelf to the blazing south window without acclimatization. The tips of the old leaves turned brown and crispy within two days. I thought I'd killed it.
Here's the fix for the next time you do this. You need to acclimatize the plant over 4-5 days. Start with just 1 hour of direct morning sun. Then add another hour each day. I know you want results now, but patience saves leaves. My plant recovered because it was tough, but the old leaves were toast. The new growth, however, was perfect. So learn from my haste. Take the slow route.
Step 3: The Watering Tray Method (Days 2-7)
Once the plant was in its new spot and the soil had drained, I started the tray method. I placed the pot in a shallow saucer. I filled the saucer with distilled water. Just enough to cover the bottom half inch of the pot. That's it.
Here's the part that changed everything for me. I let the tray dry out completely before I refilled it. That's a huge step. Most people, including me, keep water in the tray constantly. That keeps the soil at the bottom soaked all the time. The roots at the bottom never get air. So they rot. Stagnation. The top of the soil might dry out a bit, but the bottom is a swamp.
For this experiment, I waited. I let the tray go dry for about 12 hours. Then I checked the top of the soil. It was still slightly moist. Good. Then I refilled the tray. I repeated this cycle for the whole two weeks. Wet, dry, wet, dry. This oxygenates the root zone. It promotes new root growth. And roots drive leaf size.
Step 4: Feeding the Plant (Days 3, 8, 14)
Sundews get nutrients from bugs. If you keep them indoors, they might not catch enough to grow at their maximum rate. I’ve found that a small feeding can give the plant a big boost. I didn't buy bugs. I just used a pinch of crushed fish food flakes. Sounds weird, right? But it works.
On day 3, I took a tiny pinch of the flake and placed it on a leaf. Just one leaf. The leaf curled around it slowly. It looked hungry. The next day, that leaf was now producing more dew than any other leaf. It was like the plant woke up.
On day 8, I fed a different leaf. On day 14, another. The growth response was visible by day 10. The center of the rosette started producing bigger leaves. The new leaves were wider and had more dew glands. It wasn't subtle. It was clear proof that the plant was finally getting what it needed.
I have to warn you about a mistake here. Do not feed a sick or recently repotted plant immediately. Wait a couple days. The roots need to recover first. And never feed them things like hamburger meat or milk. It will cause bacterial rot on the leaf. Stick to dried insects or fish flakes.
Step 5: Humidity and Airflow (Days 5-14)
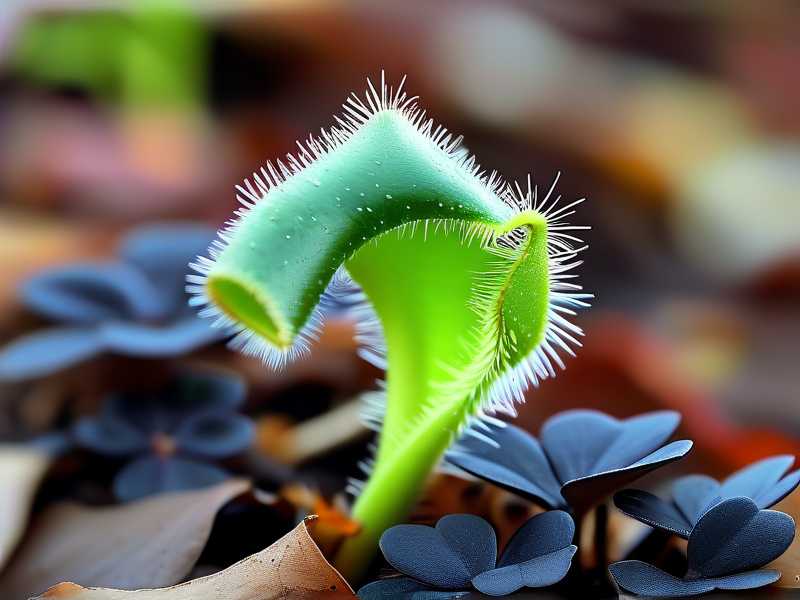
Carnivorous plants like humidity. I noticed my plant was shedding less dew when the air was too dry. My apartment averages around 40% humidity. That's not great for a tropical sundew.
I tried using a humidity dome. I put a clear plastic cup over the plant. It jacked the humidity up to 90%. The dew production went insane. Every leaf glistened. But I also saw a downside. Without airflow, mold started to form on the surface of the soil. That mold attacked a few old leaves.
I removed the dome and used a different trick. I placed a small dish of water next to the pot. As the water evaporated, it raised the local humidity. Not as high as a dome, but enough to help. I also made sure the air wasn't completely stagnant. A gentle breeze from a ceiling fan on low is fine. Sundews aren't tropical rainforest plants that need still air. They need air movement to prevent fungal issues.
Observation Log: What I Saw Each Day (The Proof)
I kept a daily note of how the plant looked. It helps to be specific so you know what to expect. Here’s the log from my two-week test.
Day 1-2: The plant looked sad. The old leaves were floppy from repotting. The center growth point looked pale. I was nervous. I almost overwatered it just because I felt bad for it. I didn't. I left it alone.
Day 4: The old leaves started to lose their dew. But the center point looked slightly greener. The light was hitting it directly, and I could see new leaf tips emerging. They were tiny, barely visible. But they were there. That was the first sign of life.
Day 6: The new leaves in the center were bigger than the old ones already. Growth in about 6 days. It felt fast. I also noticed the roots must be recovering because the plant was gripping the soil tighter. When I touched the pot, it didn't wobble as much.
Day 8: I fed the plant on this day. The dew on the older leaves had increased since Day 1. The leaves were wider and more upright. They were catching some small gnats on their own. I saw one leaf curve around a tiny fly. It was a great sign.
Day 11: The size difference was obvious. The new leaves in the center were easily 3 times the length of the old leaves. The red coloration in the dew glands was more pronounced. It wasn't just a green blob anymore. It looked like a proper sundew. I also noticed the roots were starting to poke out of the drainage hole. That meant good root health.
Day 14: The transformation was complete. The center rosette had pushed out leaves that were about 4 centimeters long. The old leaves at the outside were still small, but the new growth dominated the plant. It looked like a different species. The dew was thick and sticky.
Comparison for you: old leaf length was about 1 cm. New leaf length was about 4 cm. That’s a 400% increase in just two weeks. The difference wasn't magic. It was giving the plant direct light, an airy root zone, and a bit of food.
Common Questions After The Fix (Based on My Experience)
I know you might still have questions. I had them too when I was trying to figure all this out. Let me answer the ones that came up most in my own research and conversations.
Q: Should I use fertilizer to make my sundew grow bigger?
The real answer is no. Carnivorous plants are adapted to nutrient-poor soil. Adding standard fertilizer will burn the roots because the salts in the fertilizer are too strong. I tried a very diluted orchid fertilizer once on a different plant. It killed the roots in two days. The leaves turned black from the tips down. It was a disaster. If you want to give it a nutrient boost, feed it bugs. That is its natural way of feeding. It’s completely safe. If you don't have bugs, the crushed fish flake method I described works well.
Q: My sundew got bigger after the fix, but the color is fading. Why?
Color fading is usually a light issue. If the plant is producing a lot of green chlorophyll, it means it is trying to absorb as much light as possible. This happens when light is insufficient. The intense red coloration in many sundews is a response to bright light. It acts like sunscreen. If you want vibrant red leaves, you need to gradually increase light exposure. My plant got redder as the week went on because it was in direct sun for 6 hours a day. But be careful not to shock it with sudden intense light.
Q: The new leaves are big, but the old leaves are dying. Should I cut them off?
Don't cut the old leaves unless they are fully brown and crispy. The plant is reabsorbing nutrients from the dying leaves. If you cut them too early, you lose those resources. When I repotted my plant, the old leaves slowly yellowed and melted over three weeks. That is a normal process. The plant was prioritizing the new roots and new growth. Let the old leaves dry out completely. Then you can gently pull them off or snip them with scissors. This also helps prevent mold from growing on the dead tissue.
The Final Word On Fixing A Small Sundew
The problem was never your plant. It was the environment. I say this with 100% confidence because I’ve done it. I stunted a plant for six months, then reversed that stunting in two weeks with a few key changes. This isn't advanced botany. It's basic plant care that often gets overlooked by beginners.
Remember these core issues.
- Water it so it dries out slightly between waterings. Soggy soil suffocates the roots.
- Give it direct sun for as many hours as you can manage. It likes to sunbathe.
- Give it a deeper pot. The roots have nowhere to go in a shallow dish.
- Feed it a tiny bug or fish flake twice a month to fuel growth.
It took me four attempts to get this right. I had to diagnose the yellowing leaves, the stunted rosette, and the lack of dew all on my own. The frustration was real. I remember checking the plant every morning, seeing nothing change, and feeling like I was failing as a gardener. But the fix wasn't complex. It just required me to stop doing too much and start doing the right things.
That’s the secret. Less water. More sun. Better pot. Bugs as food. If you reset these basics, your sundew will reward you. It won't happen overnight. But check it in two weeks. You’ll see the difference. I actually bet that you’ll be amazed at how quickly it responds to being treated properly.
Just be patient. Watch it closely. Let it dry out between waterings. And if you mess up, that’s okay. I killed three plants before this one. This one turned out to be a survivor. Yours can be, too.





