 bluename
 How to Choose the Best Soil for Sundew to Prevent Root Rot: A Grower’s 2-Week Experiment
I’ve lost a beautiful sundew to root rot before. One day it was glistening with sticky dew, and seemingly overnight, the base turned black and mushy. The heartbreak was real. If you’re here, you’ve probably felt that sting, or you’re desperately trying to avoid it. The secret, I’ve learned, isn’t just in how much you water, but in what you plant your carnivorous treasure in. Choosing the best soil for sundew is the single most critical step in preventing root rot. Over the next sections, I’ll walk you through my hands-on, two-week test of different mixes, the mistakes I made, and the clear winner that saved my plants.
Understanding the Sundew’s Natural Habitat and Soil Needs
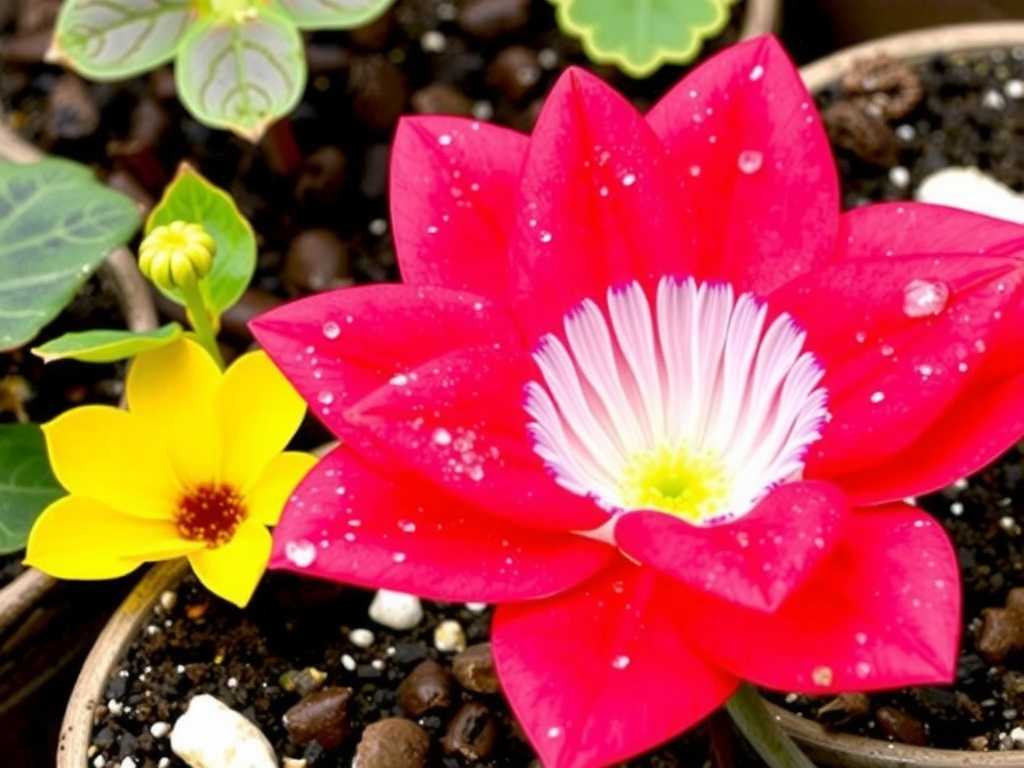
Sundews (Drosera) aren’t your average houseplants. They evolved in nutrient-poor, perpetually damp bogs and fens. Their roots serve two main purposes: anchorage and water uptake. They are not designed to extract nutrients from soil; they get those from the insects they catch. This is why standard potting soil is a death sentence—it’s too rich, holds too much moisture, and quickly becomes compacted, suffocating roots and creating a breeding ground for the fungi that cause root rot.
The ideal soil must be acidic, airy, and devoid of any fertilizers or nutrients. Key components are sphagnum peat moss (for acidity and moisture retention) and perlite or horticultural sand (for aeration and drainage). The goal is to mimic that boggy, oxygenated root zone.
My 2-Week Soil Mix Experiment: Putting Theory to the Test
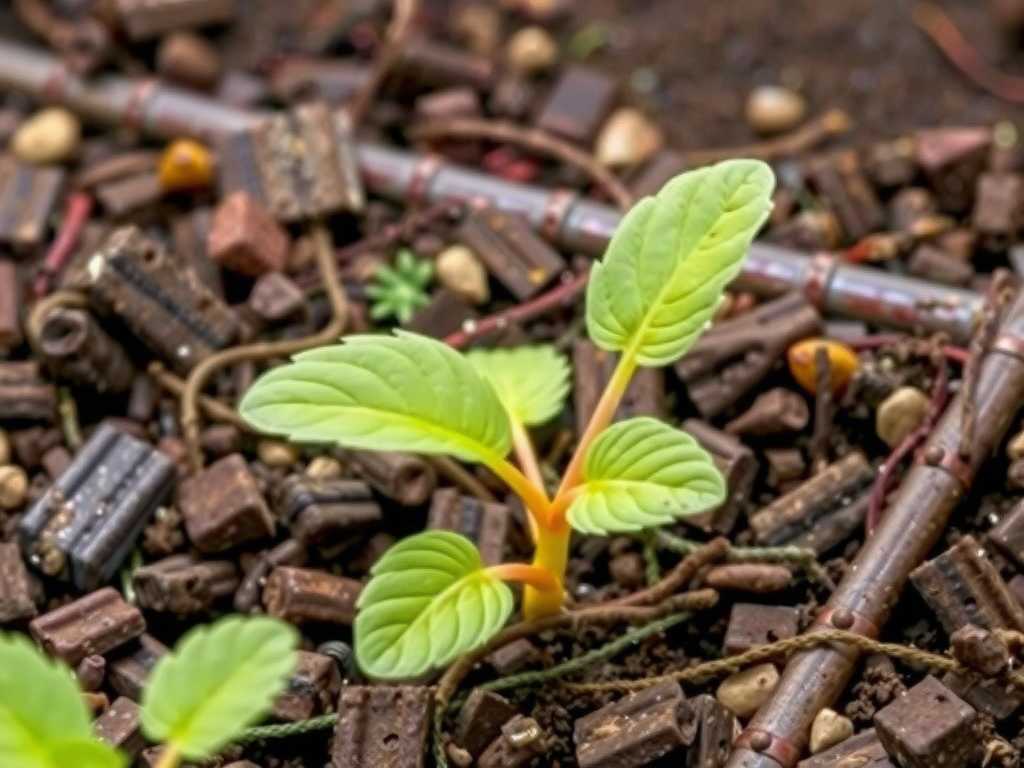
I decided to stop guessing and start testing. I took three healthy, young Drosera capensis ‘Alba’ plants (a common but excellent variety) and repotted them into three different soil mixes. My goal was to observe root development and overall plant health over a critical two-week period, which is often when early signs of stress or rot appear after repotting.
Mix 1: The Standard Recipe (My Control) This is the mix I had used with prior success: a 50/50 blend of sphagnum peat moss and perlite. I moistened the peat moss thoroughly before mixing to ensure it would absorb water evenly. The plant went into a plastic pot with ample drainage holes. This was my baseline for what “good” should look like.
Mix 2: The All-Moss Experiment I used pure, long-fiber sphagnum moss (not peat moss). This is often recommended for delicate seedlings or rehabilitating sick plants. It’s incredibly airy and sterile. I packed it loosely around the roots.
Mix 3: The “Gritty” Mix (Where I Hit a Snag) Influenced by some succulent growers, I tried a very fast-draining mix: 1 part peat moss to 2 parts perlite and 1 part horticultural sand. The logic was “maximum drainage, zero chance of rot.” This is where I made my first critical mistake.
Week 1 Observations: The Good, The Bad, and The Soggy
By day 3, the differences were startling.
- Mix 1 (50/50 Peat/Perlite): The plant was stable. Dew production was consistent. The soil surface felt moist but not waterlogged. Perfect.
- Mix 2 (Pure Sphagnum Moss): The moss was holding a tremendous amount of water. While the top looked dry, squeezing the pot released a stream. The sundew looked okay but slightly less perky. I realized I had packed it too tightly, reducing aeration—my second mistake.
- Mix 3 (Gritty Mix): Disaster. The soil dried out completely between my morning and evening checks. The sundew, a moisture-loving plant, was wilting, its tentacles drying up. I had confused “good drainage” with “rapid drying.” This mix failed to provide the constant, even moisture sundew roots require. I immediately placed this pot in a shallow tray of water (the tray method), but the damage was done.
Week 2 and The Critical Root Check
At the end of two weeks, I gently tipped out each plant to inspect the root systems. This is a nerve-wracking but essential step.
- Mix 1 (50/50): The roots were pristine—white, fuzzy, and showing new growth. They had spread nicely through the mix. No signs of rot or stress.
- Mix 2 (Pure Moss): The story was mixed. The upper roots looked fine, but deep in the center where the moss was densest, I found a few brown, soft root tips. Early-stage root rot was setting in due to low oxygen levels in the soggy core. The plant was surviving, but not thriving.
- Mix 3 (Gritty Mix): The roots were bone dry, brittle, and had not grown at all. The plant was in survival mode, sacrificing roots due to underwatering.
The Verdict and How to Mix the Perfect Sundew Soil
The winner was unequivocally Mix 1: the 50/50 peat moss and perlite blend. It provided the holy grail: consistent moisture with constant aeration. The RHS (Royal Horticultural Society) and experts from the Carnivorous Plant Society consistently endorse this type of open, nutrient-free medium as fundamental for preventing root rot in carnivorous plants.
Here is my fail-proof mixing method, refined from this experiment:
- Materials: Use only horticultural-grade sphagnum peat moss (low pH) and coarse perlite. Avoid “miracle” anything and any product with added fertilizers.
- Hydrate the Peat: Place dry peat moss in a large bucket. Slowly add distilled, reverse osmosis, or rainwater. Mix with your hands. The peat is ready when it’s damp like a wrung-out sponge—it should clump but not drip water freely.
- Combine: Add an equal volume of dry perlite to the damp peat. Mix thoroughly. The perlite’s white specks should be evenly distributed.
- Pot Up: Use a plastic pot with many drainage holes. Fill, make a hole, and settle your sundew in. Gently firm the mix around it. Water thoroughly from above with your pure water until it runs freely from the bottom.
Essential Pot and Watering Practices to Complement Your Soil
The best soil can be undone by the wrong pot or water. Always use non-glazed, plastic or ceramic pots with multiple drainage holes. The tray method is ideal: keep the pot sitting in 0.5 to 1 inch of pure water, and let the tray dry out completely before refilling. This allows the soil to wick moisture upward, simulating a natural bog. Never use tap water; its minerals will build up, alter soil pH, and harm the roots.
Troubleshooting: Signs Your Soil is Failing
- Soil Pulling Away from Pot Edges: This indicates a peat-heavy mix that has become hydrophobic. Soak the entire pot in water for an hour to re-wet.
- Persistent Sogginess or Algae Growth: Your mix lacks aeration. Carefully repot with more perlite.
- White Crust on Soil Surface: Mineral buildup from impure water. Flush the pot thoroughly with distilled water and switch your water source immediately.
Frequently Asked Questions
Can I use coco coir instead of peat moss? While sometimes promoted as a sustainable alternative, coco coir can retain salts and often has a higher, less ideal pH. For beginners, stick with sphagnum peat moss for reliability. Experienced growers may experiment with buffered coir, but peat remains the gold standard for preventing issues like root rot.
How often should I completely change my sundew’s soil? A healthy sundew in the correct mix can go 1-2 years before a repot is needed. Repot if you see performance decline, soil compaction, or mineral buildup. The best time is in early spring as the plant exits dormancy.
My sundew has root rot. Can I save it? Yes, act fast. Unpot the plant, wash all soil away with pure water, and sterilize scissors. Cut away every bit of black, mushy root and leaf stem. Soak the remaining plant in a fungicide like Captan (following label directions) or distilled water. Repot in fresh, sterile 50/50 mix and keep it very humid (under a dome or bag) until new roots establish.
Choosing the right foundation is everything. My two-week experiment proved that a simple, well-executed 50/50 peat and perlite mix provides the moisture, aeration, and acidity that sundew roots crave while effectively guarding against the dreaded root rot. It’s not about fancy ingredients; it’s about understanding and replicating a slice of their natural bog. Start with the soil, master the water, and you’ll be rewarded with a thriving, dewy carnivorous display for years to come.





