bluename
 How to Grow Sundew (Drosera) Indoors for Beginners: My Step-by-Step Success Guide
I remember staring at my first sad-looking sundew, its once-glistening tentacles brown and dry, feeling utterly defeated. I thought, "How hard can it be to grow a plant that literally eats bugs?" As a beginner, the challenge of how to grow sundew indoors felt insurmountable. The conflicting advice online about light, water, and soil was overwhelming. My goal was simple: to keep a Drosera alive and thriving on my windowsill, not in a fancy terrarium. After many trials, errors, and one particularly dramatic two-week rescue mission, I finally cracked the code. This guide is everything I wish I’d known from the start, written from one plant lover to another.
Understanding Your New Carnivorous Friend: What is a Sundew?
Before we dive into the potting mix, let's understand what makes sundews, or Drosera, so special. Unlike most houseplants, they have evolved in nutrient-poor environments like bogs. To compensate, they developed sticky, glandular tentacles on their leaves to trap and digest insects. This isn't just a cool party trick; it's their primary way of obtaining nitrogen and other nutrients. For us, this means their care requirements are completely different from your average pothos or snake plant. They need specific conditions to mimic their natural habitat, and getting these wrong is where most beginners, including myself, stumble.
The Non-Negotiables: Sundew Care Essentials
Getting these four pillars right is 90% of the battle. Skimp on any one, and your plant will let you know—often dramatically.
1. Light: The Ultimate Energy Source
Sundews are sun worshippers. They need bright, direct light for at least 6-8 hours a day to produce those dewy, sticky droplets and maintain vibrant color. A south-facing window is ideal in the Northern Hemisphere. My first sundew sat in an east-facing window; it survived but was pale, leggy, and produced very little dew. When I moved it to a southern exposure, the transformation within a week was remarkable. The leaves reddened, the plant compacted, and every tentacle glistened like morning frost.
If you lack strong natural light, a grow light is a must. I use a simple, affordable LED panel placed about 6-8 inches above the plants for 12-14 hours a day. According to the Carnivorous Plant Society, full-spectrum LEDs that provide a color temperature in the 5000-6500K range are perfect for mimicking daylight and promoting healthy growth.
2. Water: Pure and Simple
This is the most critical rule: never use tap water. The minerals, chlorine, and fluoride in tap water will slowly poison your sundew, leading to root burn and death. You must use water with a low mineral content.
- Best: Distilled water or reverse osmosis (RO) water. You can buy this cheaply by the gallon at any grocery store.
- Good: Rainwater collected in a non-contaminated barrel.
- Method: The "tray method" is foolproof. Place your pot in a saucer or tray and always keep 0.5 to 1 inch of water in it. This creates a constant state of moist, bog-like conditions at the roots. Top it up as it evaporates. I check my trays every other day.
3. Soil: The Foundation for Success
Standard potting soil is a death sentence. It contains fertilizers and minerals that will burn the delicate roots. Sundews require a nutrient-free, acidic, and well-aerated mix.
- My Go-To Recipe: A 50/50 mix of sphagnum peat moss and horticultural sand or perlite. The peat provides acidity and moisture retention, while the sand/perlite ensures drainage and aeration. Always moisten the peat moss with your distilled water before potting, as dry peat repels water.
4. Humidity & Temperature: Creating the Microclimate
While some species are more forgiving, most sundews appreciate moderate to high humidity (50-70%) for optimal dew production. My apartment is quite dry, especially in winter. To solve this, I grouped my carnivorous plants together. This creates a localized microclimate of higher humidity as they collectively transpire. For a single plant, a small humidifier nearby works wonders. As for temperature, most common beginner varieties (like Drosera capensis) thrive in typical household temperatures of 60-80°F (15-27°C).
My Hands-On Setup: A 2-Week Observation Log
I decided to document the establishment of a new Drosera capensis (Cape Sundew), a perfect beginner species, from day one. Here’s what happened.
Week 1: Acclimation and Initial Stress
- Day 1-3: I potted the new plant in my 50/50 peat/perlite mix, watered it thoroughly with distilled water, and placed it on its tray. It went directly under my LED grow light for 14 hours/day. The existing dew was minimal—a sign of shipping stress.
- Day 4-7: I noticed the central, newest leaves starting to glisten. However, a few older outer leaves began to blacken at the tips. This was my first panic moment. I learned this is normal senescence, especially after the shock of repotting. The plant was redirecting energy to new growth. I carefully trimmed the blackened parts with sterile scissors.
- Key Takeaway: Don't panic over a few dying old leaves. Focus on the health of the new growth in the center.
Week 2: Recovery and Visible Growth
- Day 8-10: The blackening stopped. Every single new tentacle on the central 3-4 leaves was now sporting a perfect, shiny droplet. The plant's posture looked perkier.
- Day 11-14: A new leaf unfurled from the center, and it was already producing dew as it opened. This was the clearest sign of success. I fed it one small dried bloodworm (rehydrated in a drop of distilled water) on a leaf. Within 24 hours, the leaf had curled around its meal, and by 48 hours, it was fully absorbed.
- Key Takeaway: Consistent light and pure water allow for rapid recovery. Dew production is the ultimate health indicator.
The Pitfalls I Encountered (And How to Fix Them)
My journey wasn't all dewy success. Here are the big mistakes I made so you can avoid them.
Pitfall 1: The "Helpful" Fertilizer Mistake Early on, I thought a diluted foliar spray would give my sundew a boost. Within two days, the leaves I sprayed were burned and withered. Solution: Sundews get their "fertilizer" from insects. Do not fertilize the soil or leaves. If you must feed (not necessary if they catch gnats), use actual insects like dried bloodworms or fruit flies, and only once every 2-4 weeks on a single leaf.
Pitfall 2: Fungus Gnats and Mold Keeping the soil constantly wet can attract fungus gnats and promote white mold on the soil surface. Solution: For mold, gently scrape off the top layer. For gnats, I introduced a Bacillus thuringiensis israelensis (Bti) dunk (like Mosquito Bits) to my watering tray. It's biological, safe for the plant, and kills gnat larvae. The sundews happily caught the adult flies.
Pitfall 3: Dormancy Denial Some sundews, like Drosera filiformis, require a winter dormancy. I tried to keep one growing year-round, and it became weak and died after 18 months. Solution: Research your specific species. For those needing dormancy, provide a colder period (35-50°F or 2-10°C) with reduced light over winter, keeping the soil just barely damp.
Choosing Your First Sundew: Beginner-Friendly Species
Start with forgiving species that tolerate a range of conditions.
- Drosera capensis (Cape Sundew): The ultimate beginner plant. Grows fast, produces lots of dew, and readily propagates from flower stalks or root cuttings. It's my top recommendation.
- Drosera spatulata: A charming, rosette-forming sundew with spoon-shaped leaves. It's compact and comes in beautiful red and green forms.
- Drosera adelae: A great low-light option for a north-facing window. It prefers brighter indirect light and higher humidity but is less demanding of direct sun.
Propagation: Sharing the Love
One of the joys of growing Drosera plants at home is how easily they multiply.
- Leaf Cuttings: Simply lay a healthy leaf on damp peat moss, keep it under bright light and humid conditions (a plastic bag over the pot works), and in a few weeks, you'll see tiny plantlets forming. This was a magical process to witness.
- Flower Stalks: Instead of cutting off the stalk after flowering, lay it on the soil medium. It will often produce plantlets along its length.
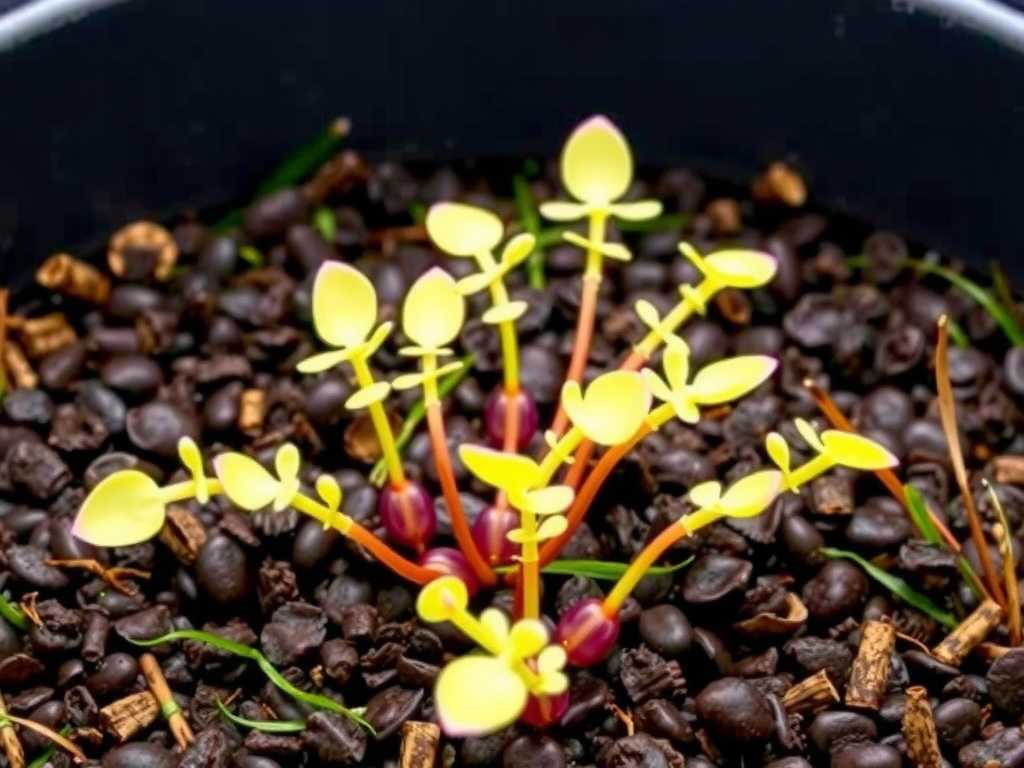
- Seeds: They are tiny but fun to grow. Sprinkle on the soil surface, keep humid and bright, and be patient—they can take weeks to germinate.
Do I need to feed my sundew if there are no insects in my house? No, it's not necessary. Sundews are plants first and can photosynthesize for energy. Feeding supplements their diet but isn't required for survival. They will grow slower without insects, but they won't die. If you want to feed them, a small insect once a month is plenty.
Why is the dew disappearing from my sundew? Lack of dew is almost always a sign of insufficient light or the use of improper water. First, ensure it's getting 6+ hours of direct sun or is 6-8 inches under a strong grow light. Second, confirm you are using only distilled, RO, or rainwater. Low humidity can also reduce dew, but light and water are the primary culprits.
My sundew is turning black! Is it dying? Not necessarily. Individual leaves, especially older ones, have a lifespan and will die back naturally. As long as the central growth point (the crown) is green and producing new, dewy leaves, the plant is healthy. Simply trim away the dead material. If the entire plant, including the crown, is blackening and mushy, it's likely root rot from contaminated water or soil.
Growing sundews indoors is a uniquely rewarding hobby. It connects you to a fascinating corner of the plant kingdom where the rules are different. The key is to forget everything you know about conventional houseplant care and embrace their specific needs: intense light, pure water, and lean soil. Start with a hardy Drosera capensis, be patient through the acclimation period, and let the plant show you what it needs. There’s nothing quite like the sight of a healthy sundew, its leaves sparkling like a field of tiny jewels, knowing you’ve provided the right environment for it to thrive. It’s a testament to the power of understanding and replicating a slice of nature, right on your windowsill.