 bluename
 How to Prevent Sundew Leaves from Burning: A Grower's Guide to Mastering Light
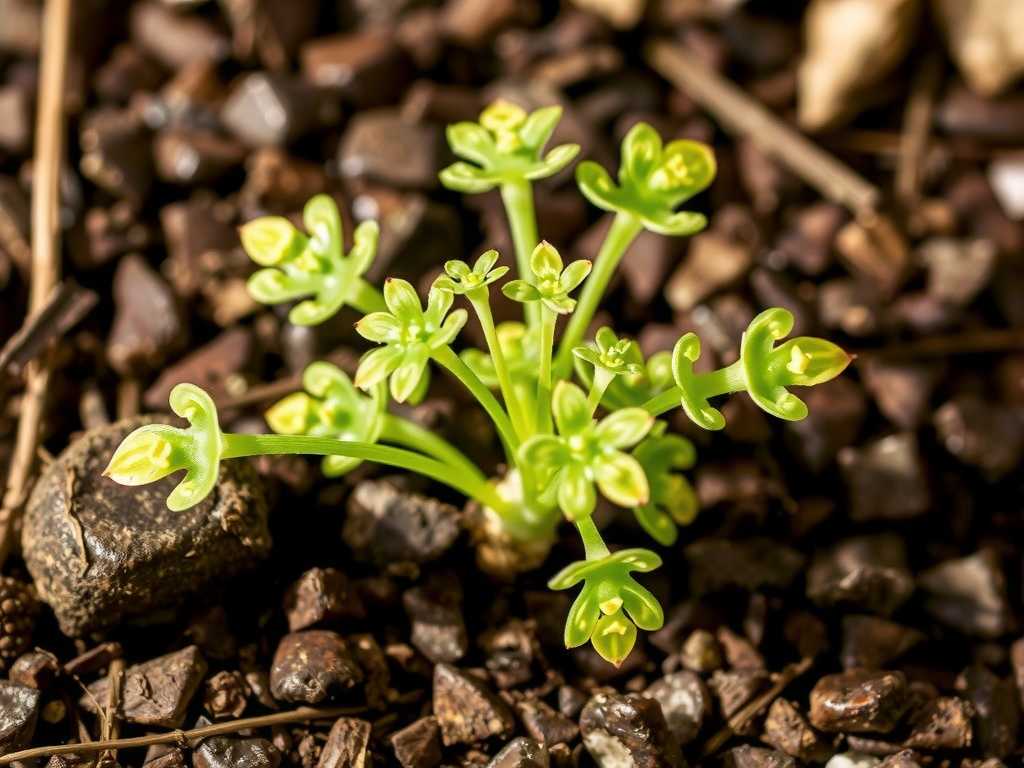
I’ll never forget the heart-sinking moment I first saw it. After eagerly moving my prized Cape Sundew (Drosera capensis) to a sunnier windowsill, thinking I was giving it a treat, I noticed the once vibrant, dewy red tentacles developing crispy, brown patches. The new growth looked stunted and pale. My sundew was getting burned, and it was entirely my fault. I was confusing “more light” with “better light,” a common and costly mistake for carnivorous plant enthusiasts. If you’ve seen similar discoloration, bleaching, or crispiness on your sundew’s leaves, you’re dealing with light damage. But don’t worry—it’s reversible and preventable. Over the next sections, I’ll share the exact, hands-on steps I took to nurse my plants back to health and create the perfect lighting setup, based on two weeks of meticulous observation and adjustments.
Understanding the "Why": How Light Actually Damages Sundews
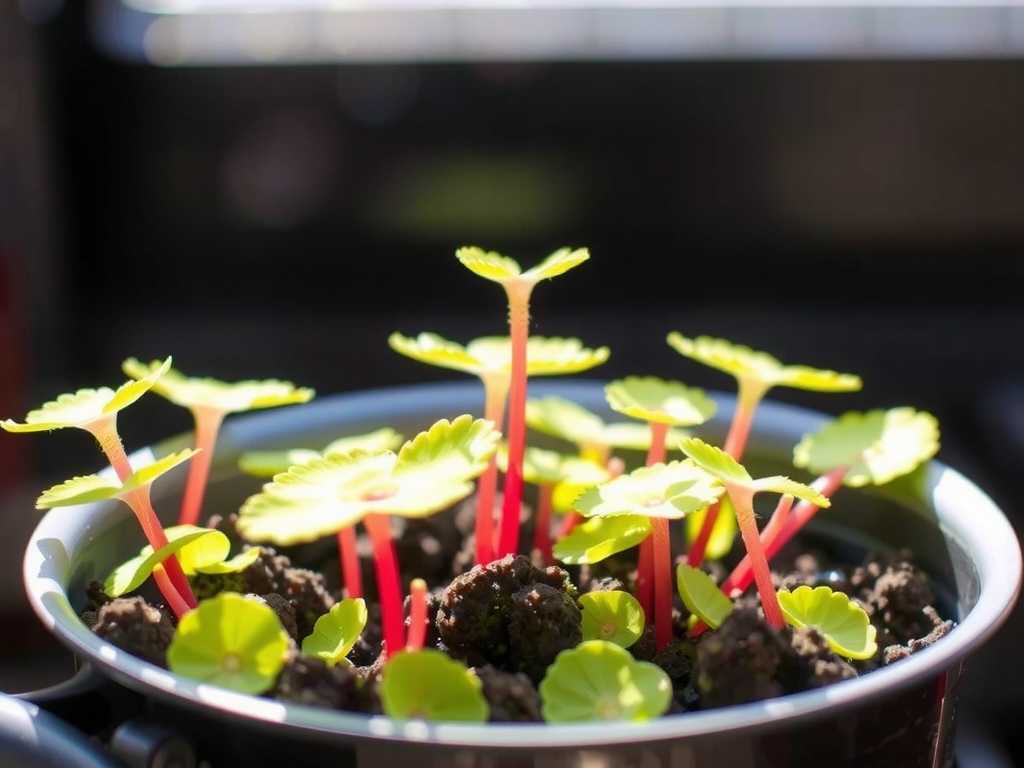
Before we fix the problem, we need to understand it. Sundews are sun-lovers, but "sun-loving" in their native habitats—often boggy, humid environments with bright but frequently filtered light. Direct, intense light, especially through glass (which magnifies heat), can overwhelm their leaves.
The damage isn't just cosmetic. The red pigments (anthocyanins) that make many sundews so beautiful are a sunscreen. When light exceeds a certain intensity, this protective system fails. Photosynthetic tissues get scorched, dew production plummets as the plant tries to conserve water, and growth slows or halts as the plant enters survival mode. The Royal Horticultural Society (RHS) advises that while carnivorous plants need high light, "protection from the hottest midday sun may be necessary under glass," a crucial nuance many home growers miss.
My Two-Week Recovery Protocol: Step-by-Step
Here is the exact process I followed after identifying light stress on my Drosera capensis and Drosera spatulata.
Step 1: Immediate Triage and Relocation The moment I confirmed the issue was light burn, I moved the plants. I didn’t shove them into a dark corner, as that would shock them further. Instead, I chose a bright east-facing window that received direct sun only until about 11 a.m.—gentle morning light. This provided high-quality illumination without the harsh afternoon intensity that caused the burning. I also placed a sheer white curtain as a diffuser between the glass and the plants. This single change was the most critical intervention.
Initial Observation (Days 1-3): The plants looked unchanged, which was a good sign—no further deterioration. The existing dew on unburned parts seemed slightly more stable.
Step 2: Humidity and Hydration Boost Burned leaves lose moisture faster. To support recovery, I increased local humidity. I placed the pots on a wide, water-filled pebble tray, ensuring the pot bases sat above the water line to avoid root rot. I also resumed my watering routine of keeping the pots standing in 1-2 cm of distilled or rainwater at all times, ensuring the medium was consistently moist. The American Horticultural Society (AHS) emphasizes that for bog plants like sundews, "consistent moisture is key," and stress from light damage makes this even more critical.
Observation (Days 4-7): A clear turning point. I noticed the very tips of new, previously stunted leaves beginning to unfurl. They were a healthy green, not pale or bleached. Most importantly, tiny, glistening dew droplets formed on these new growth points. The burned old leaves would not recover, but the plant was redirecting energy to new, healthy growth.
Step 3: The Gradual Reintroduction Challenge After one week in the gentle east window, the new growth was strong. I decided to test a gradual reintroduction to brighter light to achieve the ideal vibrant coloration. This is where I hit a snag. I moved a plant to a brighter south-facing window but behind two layers of sheer curtain. I thought it was safe.
The "Pitfall" and Correction (Days 8-10): Within two days, the newest leaf on my spatulata showed a slight yellow tinge at its tip—a warning sign of renewed stress. I realized that even filtered south light in mid-summer was too much too soon. I immediately moved it back to its east window recovery spot. My mistake was being impatient. The correction was to adopt a much slower, incremental approach: I began giving it only one extra hour of the softer afternoon light from a different window for two days, then increased it by 30-minute increments every three days.
Observation (Days 11-14): With this painstakingly slow method, the plants thrived. New leaves on the capensis grew larger than the burned ones and developed a deep, rich red color. Dew production was copious, covering the entire leaf surface. The plant was clearly photosynthesizing efficiently again, with robust, steady growth. The burned old leaves were eventually trimmed off as new ones took over.
Building Your Perfect, Safe Light Setup
Based on this trial and error, here’s how to provide optimal light without the risk of burning your sundew leaves.
Choosing the Right Light Source: Sun vs. Grow Lights
- Natural Sunlight: East or West-facing windows are often ideal. South windows require diligent diffusion (sheer curtains) or pulling the plant back from the glass. North windows are usually too weak. Observe the path of the sun through your window across seasons.
- Artificial Grow Lights: This is where I’ve found the most consistent success for preventing light damage. I use full-spectrum LED panels. The key advantage is control. You can precisely manage intensity (by raising/lowering the light) and duration (with a timer). I keep my lights 20-30 cm above the sundews, running for 12-14 hours a day. A light meter app on your phone can help; most sundews do well between 10,000 to 20,000 lux for 12+ hours. Grow lights eliminate the risk of the harsh, magnified heat of direct sun through glass.
Key Signs Your Sundew is Getting the Light Right (Not Wrong)
- Healthy Coloration: Species that can turn red will do so beautifully. Green species will be a vibrant, lush green, not pale or yellowish.
- Abundant Dew: Every tentacle should glisten with sticky mucilage. This is the ultimate sign of a happy, well-hydrated, and properly lit sundew.
- Steady, Compact Growth: New leaves should emerge regularly. The plant should look compact and sturdy, not leggy and stretched (etiolated) towards the light.
What about other types of light stress? Yes, even grow lights can cause bleaching if placed too close. Always start with the manufacturer's recommended distance and observe. Leaf burn from lamps is less common than from sun, but it can happen with high-intensity fixtures.
Frequently Asked Questions
Can a sundew recover from severe leaf burn? Absolutely. Sundews are resilient. The burned leaves themselves will not heal and can be trimmed once they are mostly brown. However, the plant will redirect energy to its crown and roots to produce new, healthy leaves. Ensure optimal conditions (safe light, pure water, high humidity) to support this recovery. My plants took about 2-3 weeks to fully bounce back with vigorous new growth.
How do I tell the difference between light burn and nutrient deficiency? This is a vital distinction. Light burn typically creates dry, crispy, brown or white patches, often starting at the leaf tips or most exposed areas. A general pale or yellowish hue across the whole plant, coupled with weak, spindly growth, is more indicative of insufficient light. Red sundews staying green is a sign they want more light, not less. Nutrient issues from improper soil or water (like using tap water) often cause overall decline, blackening leaves, and a lack of dew.
Are some sundew species more prone to light damage than others? Yes. Generally, subtropical species like Drosera capensis or D. spatulata are quite tolerant of a range of light conditions. Temperate species (like D. rotundifolia) and especially pygmy sundews or tuberous species can be more sensitive to intense, direct heat. When in doubt, err on the side of bright, indirect light and increase exposure very gradually, monitoring the plant's dew production and color as your best guides.
Mastering light for your sundews is less about providing maximum intensity and more about providing consistent, high-quality duration without the damaging heat. It’s a balance between encouraging those gorgeous colors and prolific dew while shielding the delicate leaves from scorching. By observing your plant’s specific language—its color, dew, and growth form—you can dial in the perfect environment. Start with gentle light, increase incrementally, and let your sundew’s vibrant, dewy response be your ultimate success metric. The journey from burned and stressed to glistening and flourishing is deeply rewarding for any plant enthusiast.





