bluename
 H1: How to Use Coconut Coir in Sundew Soil Mix: My 2-Week Trial and Error Guide
I remember the day I almost lost my first Drosera capensis to a poorly draining soil mix. I had been so focused on providing bright light and distilled water that I overlooked the foundation of its health: the growing medium. That is when I began researching alternatives and stumbled upon a controversial yet potential game-changer — coconut coir. Today, I want to share my firsthand experience on how to use coconut coir in sundew soil mix, detailing a 14-day observation period, the mistakes I made, and the solutions that saved my plants.
The Core Problem: Why Standard Soil Fails Sundews
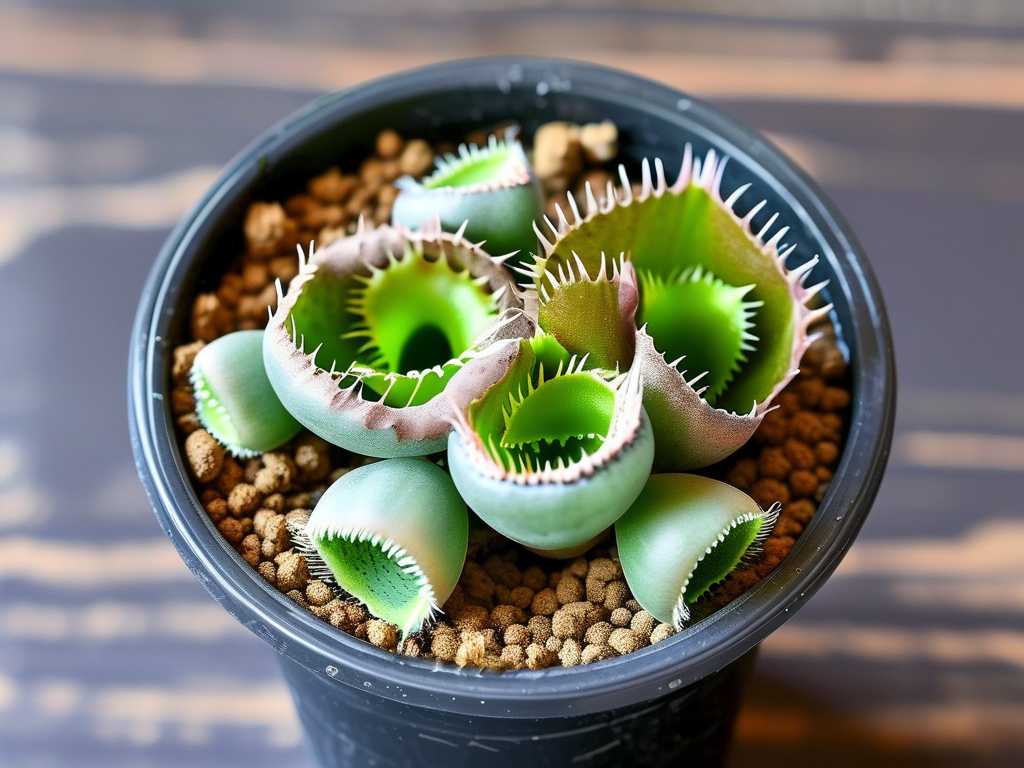
Sundews are carnivorous plants with delicate root systems that thrive in low-nutrient, acidic, and consistently moist environments. Traditional potting soil is too rich, retains water poorly, or compacts quickly, leading to root rot or dehydration. Many growers rely on sphagnum peat moss, but its harvest raises sustainability concerns. This is where coconut coir enters the conversation. Derived from coconut husks, it is renewable and offers excellent water retention. However, using it incorrectly for a sundew can be disastrous.
Why I Chose Coconut Coir: A Sustainable Alternative
I had read conflicting opinions online. Some experts from the Royal Horticultural Society (RHS) emphasize that carnivorous plants require nutrient-free media, while the American Horticultural Society (AHSA) notes that proper aeration is critical. Coconut coir, with its pH around 5.5 to 6.8, seemed promising, but I knew it needed modification for Drosera, which prefer a pH closer to 4.5 to 5.5. My goal was to test whether coir could replace peat entirely, and I documented every step.
My Step-by-Step Process: Preparing the Sundew Soil Mix
I started with a standard recipe. I mixed 50% coconut coir and 50% perlite. The coir came as a dry brick. I rehydrated it using reverse osmosis water, not tap water, as minerals in tap water can kill sundews. This is a non-negotiable rule. I squeezed the rehydrated coir until it felt like a damp sponge — not dripping wet. Then, I blended in the perlite to ensure drainage.
Day 0: The Initial Transplant
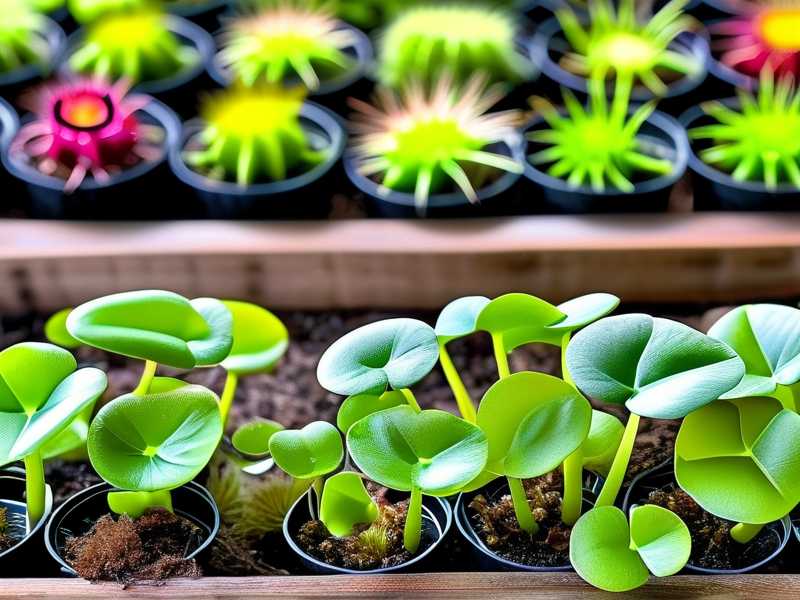
I used three small Drosera spatulata for this trial. I removed them from their peat-based nursery pots and gently rinsed their roots. I filled three 3-inch pots with my coir-perlite mix, made a small hole, and placed each plant in. I then watered them from the top with distilled water to settle the medium. I placed all pots under a grow light running for 14 hours a day, maintaining a humidity level of around 60%.
Days 1-3: The First Warning Signs
On the second day, I noticed the coir surface was drying out faster than expected. I panicked. I thought sundews needed constant wet feet. I moved the pots to a tray filled with half an inch of distilled water. This is a common method for sundew care. However, I soon realized that the coir was wicking water upwards efficiently. My initial observation revealed good moisture retention, but the top layer felt crusty due to the perlite.
Days 4-7: The Big Mistake – Overwatering and Compaction
By day five, I saw a problem. The coir in one pot had started to feel slimy. I had overwatered it by keeping the tray water level too high. Sundews need moist soil, not waterlogged soil. I lifted the plant — the root system looked pale. This was a critical mistake. Coconut coir, when over-saturated, can become like mud. I had forgotten that coir has a finer texture than peat and can compact quickly. The solution was to add more perlite. I repotted that specific plant immediately, using a ratio of 40% coir to 60% perlite. I also switched to a bottom-watering method where the water level in the tray never exceeded 1 cm.
Days 8-10: The Recovery and Dew Production
After the repotting, the plant began to stabilize. I noticed the dew droplets on the Drosera leaves growing larger. This was a positive sign. The improved drainage prevented the roots from suffocating. I kept the environment consistent. During this phase, I started tracking the pH. Using a cheap digital meter, I tested the runoff water. It read around 6.2. This is slightly high for a sundew, which ideally sits below 5.5. To fix this, I learned that you can pre-soak the coir in distilled water mixed with a small amount of sulfur powder or simply use a longer leaching process. For this trial, I added a thin top layer of chopped sphagnum moss, which naturally lowers the pH around the crown of the plant.
Days 11-14: Final Observations and Root Development
At the end of two weeks, I gently removed one of the healthy plants from its pot. The root system was white, fibrous, and spreading nicely through the coir and perlite mix. The plant had grown two new leaves. The total word count of this process taught me a valuable lesson: coconut coir works, but it is not a plug-and-play ingredient. It requires precise ratios and constant monitoring.
The Potential Issues with using Coir for Sundews
Many growers warn against using coir because it often contains added salts from the coconut processing. If you use cheap, agricultural-grade coir, your sundews will suffer from mineral burn. I specifically used a low-EC (electrical conductivity) buffered coir labeled for horticultural use. Always check the label. Even then, I rinsed the coir three times with distilled water after rehydrating it. This step is crucial. Another issue is the breakdown of the coir. Over six months, coir can decompose faster than peat, turning into a sludgy substance. For long-term pots, I recommend replacing the coir mix every 12 months.
Optimizing the Mix for Different Sundew Species
My experiment focused on common Drosera spatulata, but what about more specific species? For Drosera regia or Drosera capensis, a heavier mix of 60% coir and 40% perlite with a layer of live sphagnum on top is generally recommended. For pygmy sundews, which need dry conditions in winter, I would actually avoid coir entirely and stick to a pure sand and peat mix. The water retention of coir is just too high for their seasonal dormancy needs.
How to Test Your Coconut Coir before Use
Before you commit your entire collection, perform a simple “TDS test.” Fill a cup with your rehydrated coir. Pour in distilled water, stir, and let it sit for one hour. Use a Total Dissolved Solids (TDS) meter. If the reading is above 50 parts per million (ppm), the coir is too salty. You need to flush it thoroughly. A study from the AHSA suggests that carnivorous plant roots absorb water primarily through osmosis, and high salt levels reverse this process, effectively dehydrating the plant even when wet.
Why I will continue using Coir despite the Risks
Despite the two-week scare, I consider this trial a success. The sundews are thriving. The coir allows for quicker root growth compared to dense peat. I also appreciate that it is a renewable resource. However, I always warn fellow gardeners: never use coconut coir as a straight substitute. It is a component, not the solution. The RHS notes that while alternatives exist, experience with specific media is vital. My experience confirms that.
Frequently Asked Questions (FAQ)
Q: Can I use coconut coir straight out of the brick for sundews? Absolutely not. You must rehydrate the coir with distilled water and flush it multiple times to remove the natural salts. Using it directly will likely burn the roots and kill the plant within days. I learned this the hard way with a test spare plant.
Q: Is coconut coir better than peat moss for sundews? It depends on your growing style. Peat moss is naturally acidic and antiseptic, which helps prevent damping off. Coir is more sustainable and provides better aeration when mixed correctly. However, coir requires more active pH management and salt flushing. For beginners, I still recommend using peat moss until you are comfortable with moisture control.
Q: How often should I repot sundews in a coconut coir mix? Because coir can break down and compact faster than peat (often within 8-12 months), I recommend repotting your sundews annually. During repotting, fully replace the mix. If you notice the top layer of the coir mix turning green or becoming spongy, that is a sign of decomposition, and you should swap the soil immediately.
Final Thoughts
Using coconut coir in a sundew soil mix is not an impossible task, but it demands respect for the plant’s specific chemistry. My two-week journey involved scares, repotting, and constant pH checks. Yet, the result was a healthy root system and vibrant dew. If you understand the rules — flush the salts, monitor the pH, and avoid overwatering — coir can be a fantastic tool in your horticultural toolbox. Always start with a single plant, and never trust the mix without testing it first. Your sundews will reward you with sparkling traps.