bluename
 How to Care for Sundew in a Humidity Tray: My Step-by-Step Guide for Lush, Sticky Growth
I remember the frustration all too well. My beloved sundews, those fascinating carnivorous plants with glistening, dew-tipped tentacles, were looking sad. The dew was scarce, some leaves were crisping at the tips, and growth seemed to have stalled. I was watering with distilled water, giving it bright light, but my indoor air was simply too dry. That’s when I turned to a classic solution in the carnivorous plant community: the humidity tray. But as I discovered, simply placing a pot on a tray of pebbles isn't a magic fix. Through two weeks of meticulous observation and a few missteps, I perfected a system that transformed my sundews from struggling to spectacular. If you're battling low humidity and want to see your sundew thrive with plentiful, sticky dew, this guide from a fellow enthusiast is for you.
Understanding Why Your Sundew Craves Humidity
Sundews (Drosera) are not just passive green plants; they are active predators. Their sticky mucilage, the "dew," is both a trap and a digestive system. In low humidity, this precious fluid evaporates faster than the plant can produce it. Without it, the plant cannot catch food, leading to nutrient deficiency and stress. A humidity tray creates a localized microclimate, boosting moisture in the immediate air around the leaves. Experts from organizations like the International Carnivorous Plant Society (ICPS) and experienced growers on forums like Reddit’s r/SavageGarden consistently cite maintaining adequate humidity as a cornerstone of sundew care, especially for tropical varieties.
My Complete Setup: Choosing the Right Humidity Tray System
My initial mistake was using a tray that was too shallow. I grabbed a basic plastic drip saucer, filled it with pebbles and water, and set the pot on top. The effect was minimal.
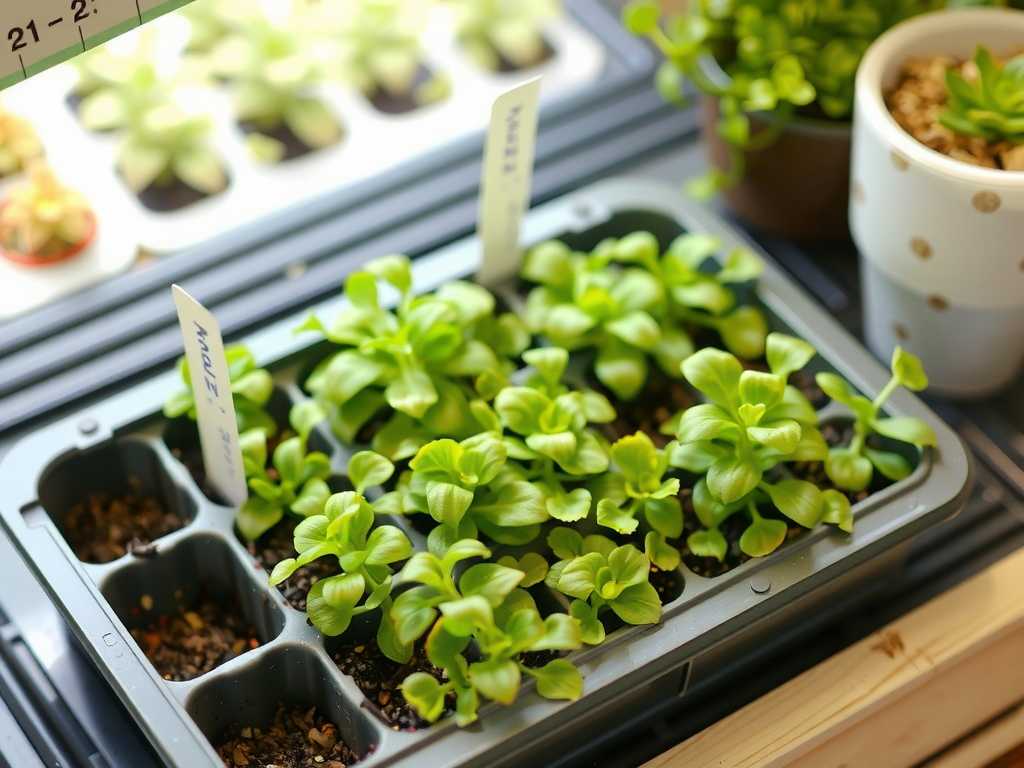
- The Tray: I upgraded to a transparent, plastic seedling tray that was about 2 inches deep. This provided a larger water reservoir and surface area for evaporation.
- The Medium: Instead of pebbles, I switched to LECA (Lightweight Expanded Clay Aggregate). These porous clay balls are superior because they wick water more effectively and provide a stable, non-tipping base for the pot. A layer about 1.5 inches deep is perfect.
- The Water: This is crucial. You must use only distilled, reverse osmosis (RO), or rainwater. Tap water, with its dissolved minerals, will wick up into the pot and slowly poison your sundew. I keep a dedicated jug of distilled water next to my plant shelf.
- The Pot: Ensure your sundew’s pot has drainage holes. It should sit above the water line, never in it. The goal is humid air, not a soggy root system.
The Two-Week Observation: A Diary of Transformation
Here’s what I documented after implementing my improved humidity tray setup.
- Days 1-3: No dramatic change. The leaves still looked a bit dull. I checked that the pot base was not touching water and that the LECA was saturated.
- Days 4-7: I noticed the first sign of success! In the early mornings, tiny droplets of condensation formed on the undersides of the tray’s rim. The local humidity was rising. A few new, tiny leaves on my Drosera capensis showed a faint glisten.
- Days 8-14: This was the breakthrough period. The new growth on all my sundews (D. capensis and D. spatulata) emerged with visibly thicker, stickier dew. The existing leaves seemed to plump up, and the dew on them lasted throughout the day instead of drying by noon. Most tellingly, I observed a small fungus gnat stuck to a leaf of the spatulata—proof the traps were fully functional.
The Pitfalls I Encountered (And How to Fix Them)
My journey wasn’t flawless. Here are the problems I solved.
- Algae Growth: By week two, I saw green film on the LECA and tray sides. While mostly harmless, it’s unsightly. Solution: I now practice a simple monthly maintenance routine. I empty the tray, scrub it with a brush (no soap), rinse the LECA thoroughly with distilled water, and refill. This prevents algae buildup.
- Ignoring Airflow: My first setup was in a stagnant corner. I worried about mold. Solution: I moved the tray to a location with gentle, indirect air circulation from a nearby fan set on low. This prevented fungal issues while still allowing the humid microclimate to persist. Good airflow is a non-negotiable partner to high humidity.
- Over-reliance on the Tray: The humidity tray is a support tool, not a substitute for proper watering. Solution: I continued my normal watering schedule—keeping the soil permanently moist from the top with distilled water. The tray addressed aerial humidity, not substrate moisture.
Integrating the Tray into Overall Sundew Care
A humidity tray is one piece of the puzzle. For it to work, the other care elements must be in place.
- Light: My sundews are under strong LED grow lights for 12-14 hours daily. High humidity + low light = disaster. The intense light drives photosynthesis and dew production, which the humidity then preserves.
- Watering: As stated, I water from the top, ensuring the soil is always damp. The humidity tray’s water never touches the potting mix (a peat/perlite blend).
- Feeding: With robust dew now present, I occasionally feed a few tentacles with dried bloodworms, a practice recommended by veteran growers to boost growth.
Addressing Your Top Questions
Will a humidity tray alone save my sundew if my air is very dry? It will significantly help, but for extremely arid environments, consider pairing it with a small humidifier or a cloche for the first few weeks of acclimation. The tray is often sufficient for most common sundew species in typical home conditions.
How often should I refill the water in the tray? Check every 2-3 days. The goal is to maintain the water level just below the bottom of the pot. I typically add distilled water every 4-5 days to compensate for evaporation. Never let it go completely dry.
Can I use a humidity tray for all my carnivorous plants? Absolutely. It benefits most carnivorous plants that enjoy moist air, like many Nepenthes (pitcher plants) and Pinguicula (butterworts). It is less critical for Venus flytraps, which prefer wet roots but can tolerate lower ambient humidity.
Seeing my sundews glisten like they’re covered in morning dew every single day is the ultimate reward. The humidity tray, when set up correctly, is a simple, low-tech, and highly effective method to meet your plant’s needs. It solved my core problem of low humidity without resorting to complicated terrariums. By learning from my mistakes with algae and airflow, you can shortcut the process. Give your sundew the humid embrace it craves, pair it with strong light and pure water, and you’ll be rewarded with a vigorous, dewy, and actively insect-catching specimen that is a joy to observe.