bluename
 How to Care for Sundew in a Small Pot: A Plant Lover’s 2-Week Trial and Triumph
I remember the excitement of bringing my first sundew home, nestled in its tiny, charming pot. That excitement quickly turned to anxiety. My precious carnivorous plant, with its glistening, dew-tipped tentacles, started to look sad. The leaves browned, the dew disappeared, and I felt like I was failing a tiny, fascinating life. If you’re here, you’ve likely felt that same panic. Caring for a sundew in a small pot isn't about following generic plant rules; it's about replicating a very specific, boggy wilderness on your windowsill. I learned this the hard way, and over a dedicated two-week rescue mission, I turned things around. Let me walk you through exactly how to care for your sundew in a small container, sharing every step, mistake, and solution from my hands-on experience.
Understanding Your Tiny Bog: The Sundew’s Non-Negotiable Needs
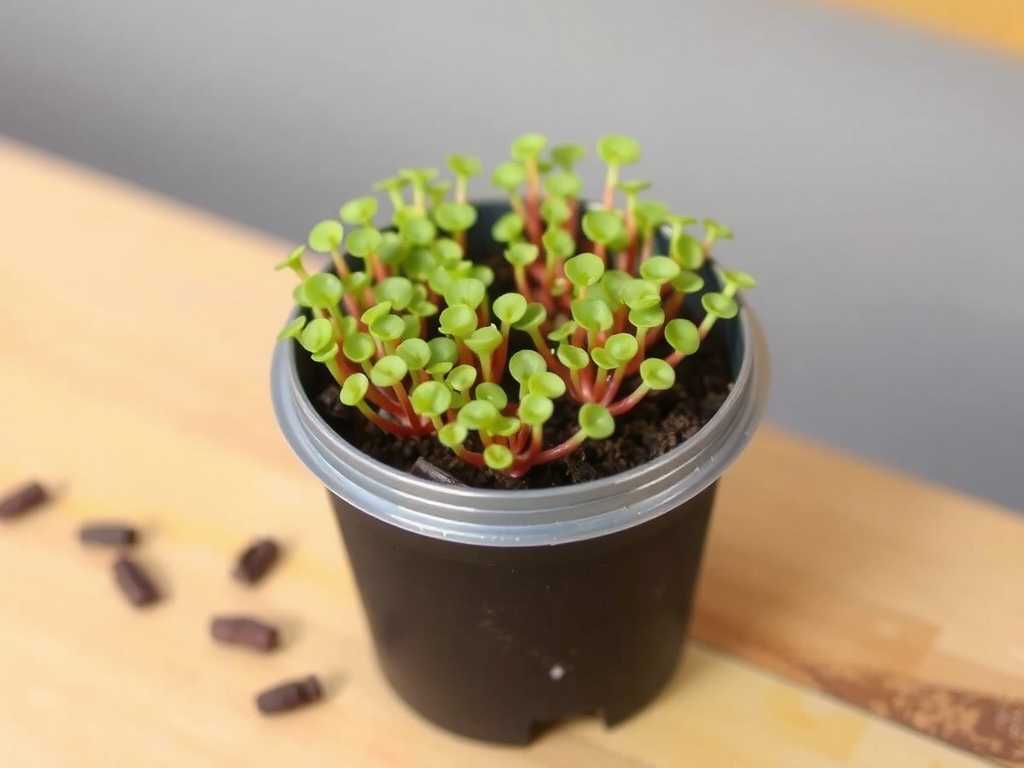
Before we dive into the daily care, it's crucial to understand why small-pot sundew care is so unique. In the wild, sundews (Drosera) thrive in nutrient-poor, perpetually moist, and sunny wetlands. A small pot dramatically amplifies the stakes. There’s minimal soil buffer, so moisture evaporates faster and toxins from inappropriate water or soil can build up rapidly. The International Carnivorous Plant Society (ICPS) and experts from organizations like the Carnivorous Plant Society of North America consistently emphasize three pillars for potted sundews: pure water, the right soil mix, and abundant light. Ignoring any one of these is the most common pitfall for beginners.
My 2-Week Sundew Rescue Plan: A Step-by-Step Diary
I committed to a strict, observant two-week regimen to revive my struggling Drosera capensis. Here’s the exact protocol I followed.
Week 1: The Foundation Reset
Day 1-2: The Emergency Repot My first mistake was using standard potting soil. It was a death sentence, holding minerals and nutrients that burn sundew roots. Following the RHS (Royal Horticultural Society) advice on carnivorous plant compost, I created a sterile, nutrient-free mix.
- My Action: I used a 1:1 ratio of sphagnum peat moss and perlite. I rinsed the perlite with distilled water first to remove dust. Crucially, I soaked the peat moss block in distilled water for 24 hours to ensure it was fully saturated and to lower its initial acidity slightly.
- The Pot: I chose a simple plastic pot, about 4 inches deep, with multiple drainage holes. Terracotta was out—it wicks away moisture and can leach minerals. The small pot size helps prevent waterlogging in the center, a key tip for maintaining sundew health in a confined space.
- The Process: Gently, I rinsed all the old soil from my sundew’s roots using distilled water. I placed it in the new mix, careful not to bury the crown. I then set the pot in a shallow saucer.
Day 3-5: The Watering Protocol My second fatal error was tap water. Even filtered tap water contains dissolved salts that accumulate in the small soil volume, poisoning the plant. The American Horticultural Society’s guides on specialized plant care stress that rainwater, distilled, or reverse osmosis water is mandatory.
- My Action: I adopted the “tray method.” I filled the saucer under the pot with about half an inch of distilled water. I let the soil absorb it completely from the bottom up, then refilled. This keeps the medium consistently moist without waterlogging the crown from the top. I checked the saucer twice daily—evaporation in my warm home was rapid.
- Initial Observation: The plant looked shocked from repotting. Some leaves continued to brown. I resisted the urge to change course, trusting the process.
Day 6-7: Light Optimization It was on a north-facing shelf, receiving only gentle light. Sundews are sun worshippers. Without 6+ hours of bright, direct light, they cannot produce the sticky, digestive mucilage (the “dew”) that defines them.
- My Action: I moved it to a south-facing windowsill where it got direct morning sun and bright indirect light all day. As a supplement for afternoon shade, I used a basic, full-spectrum LED grow light placed 6 inches above the plant for 4 extra hours.
- First Sign of Hope: By the end of Day 7, I noticed the tiniest new growth at the center—a pale, tiny leaf starting to unfurl. The existing leaves still looked poor, but this was a victory.
Week 2: Refinement and Feeding
Day 8-10: Humidity and Dew Formation The lack of dew was my biggest worry. Dew is a function of light, water, and humidity. My indoor air was dry.
- My Action: Instead of misting (which can wash away precious dew), I placed the pot’s saucer on a larger tray filled with pebbles and water. This created a local humidity microclimate as the water evaporated. I ensured the pot itself sat above the waterline on the pebbles to prevent root rot.
- Observation: The new central leaves began showing microscopic, glistening droplets! The old leaves remained brown and dewyess, which I learned is normal—they don’t recover. The plant was redirecting energy to new growth.
Day 11-14: The Feeding Question A common misconception is that you must feed your sundew. In a small pot indoors, it won’t catch many bugs. But forcing feedings can harm it. The ICPS notes that a healthy sundew grown with sufficient light will get most of its energy from photosynthesis; insects are for supplemental nutrients.
- My Action: I did not hand-feed. I waited. On day 12, a fungus gnat (attracted to the moist peat) landed and was caught. It was proof the trap was functional. If no bugs appear after a month of health, experts recommend a single, tiny insect like a dried bloodworm (rehydrated) placed on a tentacle every 3-4 weeks.
- The Result: After two weeks, the transformation was clear. The brown, old growth was still present, but from the center emerged 3-4 vibrant, green-red leaves, each covered in glistening, sticky dew. The plant had firmly re-established itself. Successfully growing sundews in limited potting space was happening right before my eyes.
Troubleshooting: The Pitfalls I Encountered (And How to Fix Them)
- Pitfall 1: Mineral Burn from Water. This was my silent killer. The leaf tips browned and growth stunted.
- Solution: A complete flush. I poured copious amounts of distilled water through the pot’s soil for several minutes, letting it drain thoroughly, to leach out accumulated salts. Then, I strictly used only distilled water in the tray.
- Pitfall 2: Mold on the Soil Surface. In the constantly wet environment, white mold sometimes appeared.
- Solution: I improved air circulation by placing a small fan nearby on low. I also carefully scraped off the top layer of moldy media and replaced it with fresh sphagnum moss. This is common and usually not harmful if addressed quickly.
- Pitfall 3: Lack of Dew. This is almost always a light issue, not a humidity one.
- Solution: I increased direct light exposure by moving the plant and supplementing with the grow light. Dew production began within 48 hours of improved lighting.
Sustaining Your Miniature Ecosystem
Now that your sundew is thriving, maintenance is simple. Keep the saucer filled with pure water. Provide as much light as possible. Remove any completely blackened leaves with sterile scissors to prevent mold. In winter, growth may slow; you can slightly reduce the water in the saucer but never let the soil dry out. Every 12-18 months, consider repotting into the same size pot with fresh media to prevent organic breakdown and compaction.
Common Questions from Fellow Sundew Enthusiasts
Can I use bottled spring water for my sundew? No. Spring water contains minerals. The only safe options are rainwater you’ve collected, distilled water from the store, or water from a reverse osmosis filter. This is the single most important rule for caring for potted sundew plants.
My sundew’s leaves are turning black. Is it dying? Not necessarily. Individual leaves have a lifespan and will die back after flowering or simply from age. If the center of the plant is producing new, healthy leaves with dew, the plant is fine. Widespread blackening, especially in new growth, points to water or soil issues.
How often should I feed my sundew if it’s indoors? Far less than you think. A healthy sundew in a sunny spot needs minimal feeding. If you want to supplement, one small insect per plant every month during active growth is ample. Overfeeding can cause leaves to die back prematurely. Your goal is to replicate the occasional, sparse catch of a plant in the wild, not a daily buffet.
Caring for a sundew in a small pot is a lesson in precision and patience. It teaches you to provide for a plant’s specific evolutionary needs, not your own gardening instincts. By focusing on pure water, airy soil, and intense light, you create a stable micro-habitat. My two-week journey from a struggling plant to a dewy, vibrant specimen proved that success is in the details. Watch your plant closely, respond to its signals, and you’ll be rewarded with the mesmerizing sight of a tiny, thriving predator on your sill, a daily reminder of nature’s incredible specialization.