bluename
 How to Grow Sundew in a Greenhouse with High Humidity: A Grower’s Journey
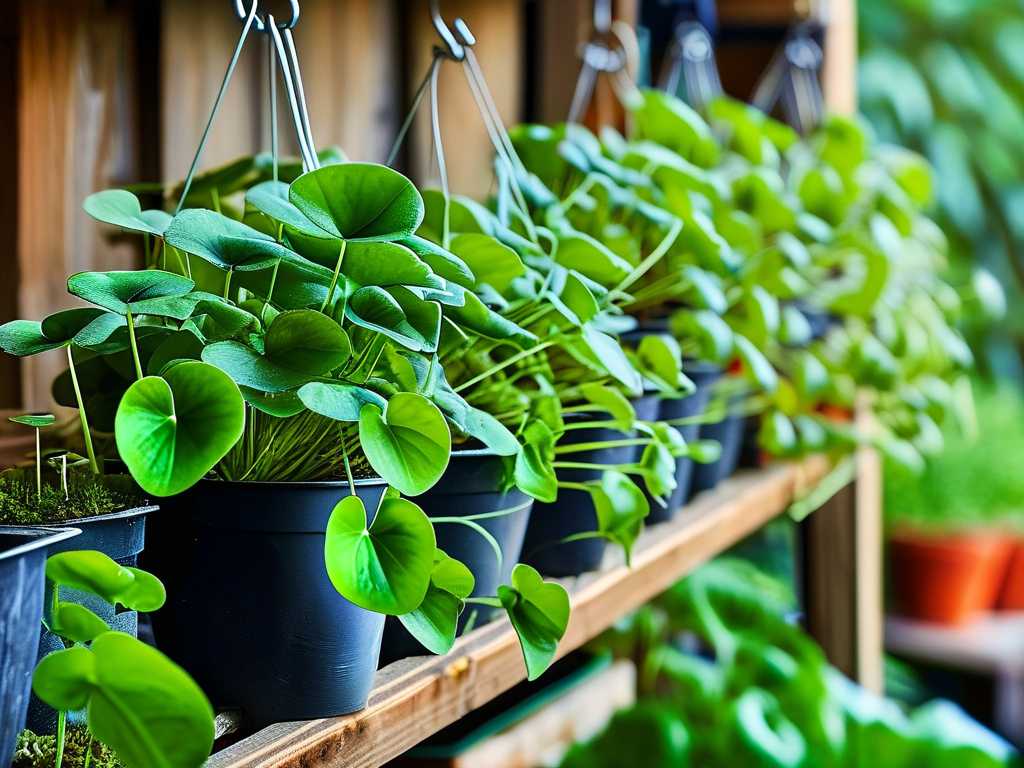
I remember the frustration all too well. You bring home a stunning sundew, captivated by its glistening, deadly dew, only to watch it slowly wither in your care. The leaves lose their stickiness, the growth stalls, and that magical sparkle vanishes. The core problem, I discovered through costly trial and error, isn’t just watering or light—it’s about mastering a miniature ecosystem. For tropical and subtropical sundews, high humidity is non-negotiable. And what better place to create that perfect, steamy paradise than in a greenhouse? But simply placing a plant in a humid greenhouse isn’t a magic bullet. Over two weeks of intense observation and adjustment, I learned exactly how to grow sundew in a greenhouse with high humidity successfully, and I’m here to guide you through every step and stumble.
My goal was simple: revive and thrive a group of Drosera capensis and a more finicky Drosera adelae in my hobby greenhouse. The parameters were challenging: maintain consistently high humidity above 70% while preventing fungal issues and ensuring enough light. Here’s my documented process.
Setting the Stage: Creating the Ideal Humid Microclimate
My greenhouse is a modest 6×8 foot structure. The first step was to stop treating it as a single environment. Sundews, especially the delicate D. adelae, wouldn’t thrive on the same bench as my sun-loving cacti.
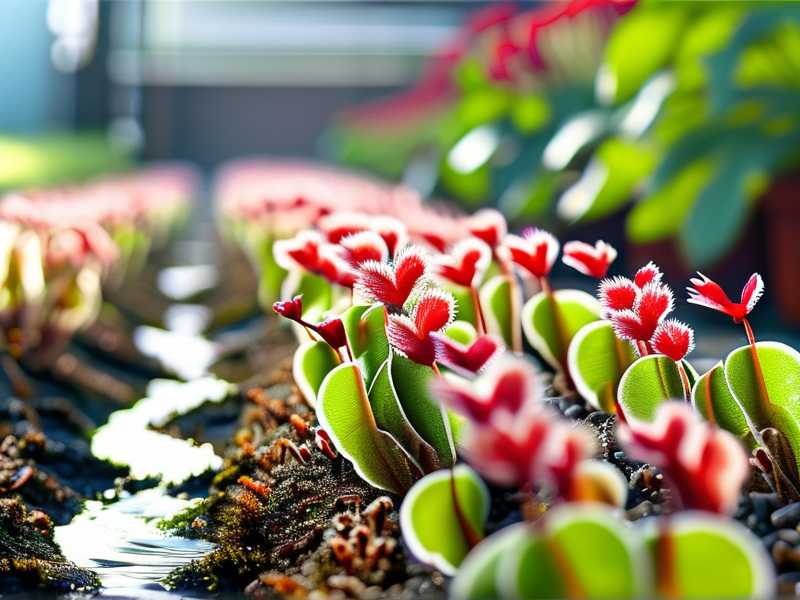
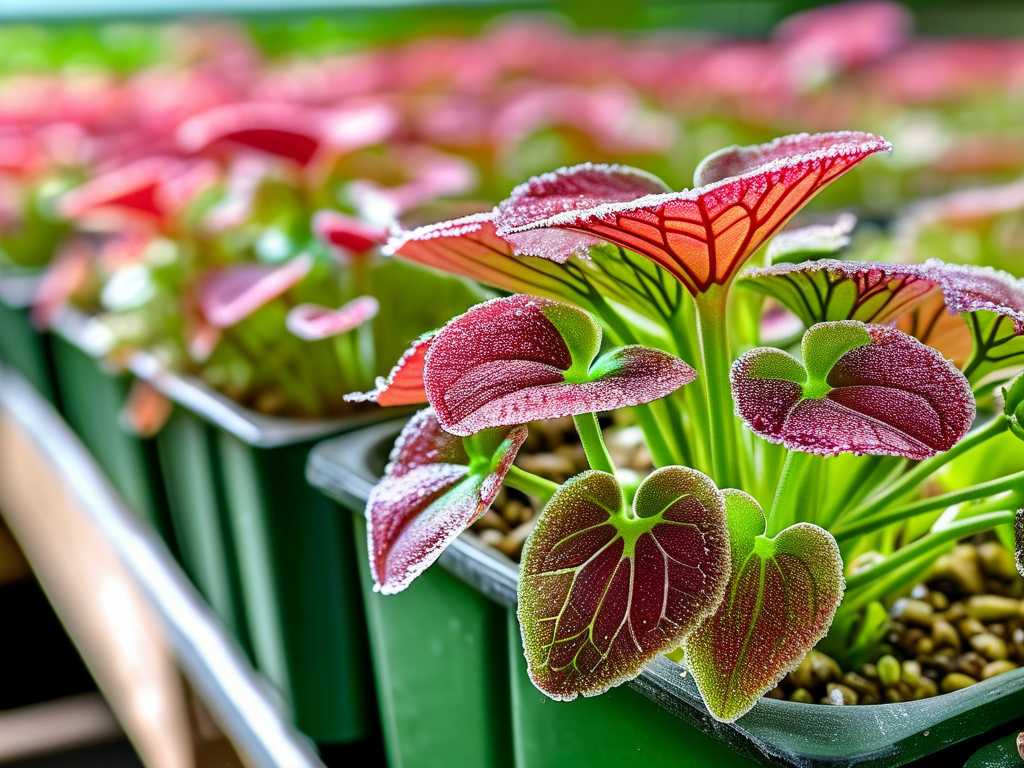
I dedicated a specific corner for the sundews. I placed them on a large, watertight tray filled with about an inch of rainwater. This “humidity tray” method is a classic, but I added a twist. Instead of just gravel, I used a grid of plastic light diffuser panel to keep the pots elevated above the water line, preventing soggy soil from the bottom up. This tray alone bumped the local humidity from the ambient 50% to around 65%. Good, but not enough for robust dew production.
To truly hit that high humidity greenhouse sweet spot, I installed a small, ultrasonic humidifier on a timer. I set it to run for 15 minutes every two hours during the day, less frequently at night to mimic a natural dew cycle. I paired this with a digital hygrometer placed right among the plants. Guessing was no longer an option. According to the Carnivorous Plant Society, most tropical sundews require a minimum of 60% relative humidity for sustained dew, with 70-80% being ideal for lush growth. I was aiming for that goldilocks zone.
The Foundation: Soil, Water, and Pot Choices
Even in perfect humidity, the wrong foundation spells doom. I use a mix of 50% long-fiber sphagnum moss and 50% horticultural silica sand. This medium is airy, acidic, and holds moisture without becoming waterlogged. A common pitfall I’ve faced before is using peat moss that’s too fine, which compacted and suffocated roots. The long-fiber moss creates a resilient structure.
Water is critical. Tap water, with its minerals and salts, will slowly poison your sundews, coating their roots and clogging their delicate leaves. I use only distilled water or rainwater. My greenhouse has a rain barrel, which made this sustainable. Every pot sits in about 1/2 inch of this pure water in the tray at all times—the classic “tray method” for carnivorous plants. The humidifier’s mist also uses distilled water to avoid mineral dust on the leaves.
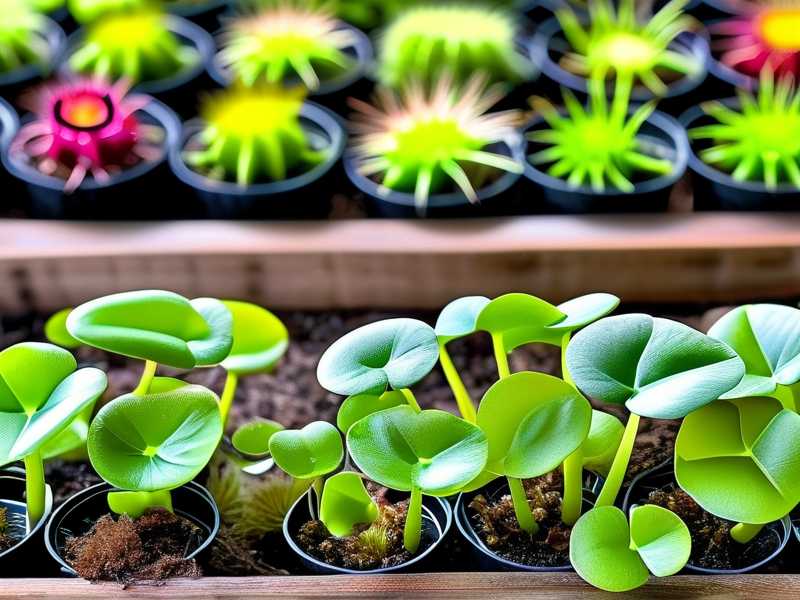
Pot choice matters more than you think. I avoid terra cotta, as it leaches minerals. I use plastic pots, and for a community tray look, I even use net pots which allow excellent air circulation to the root zone, a tip I picked up from expert growers on forums like TerraForums.
The Two-Week Observation: Triumphs and Troubleshooting
This is where the real learning happened. I logged conditions and plant responses daily.
Days 1-3: The initial setup. Humidity spiked to 85% after humidifier cycles, then settled to a steady 75%. The D. capensis already looked perkier. The D. adelae, however, showed signs of stress—a few older leaves browned at the tips. I realized I had placed it too close to the humidifier’s direct output, creating a constant, heavy mist on its foliage. Pitfall #1: Too much direct, constant moisture on leaves can encourage rot, even for moisture-loving plants.
Solution: I moved the D. adelae to the side of the tray, where it received the ambient high humidity but not the direct mist plume. I also increased air circulation slightly by cracking a vent on the far side of the greenhouse to create gentle air movement without dropping humidity drastically.
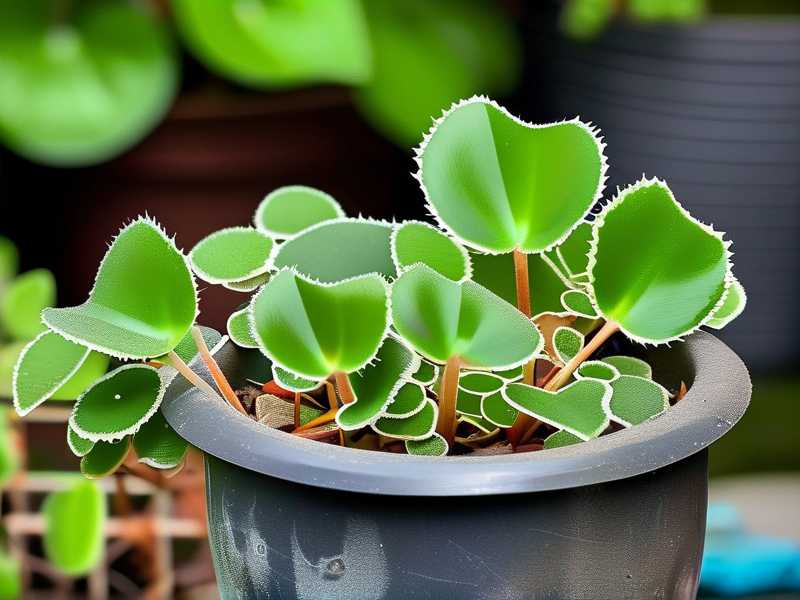
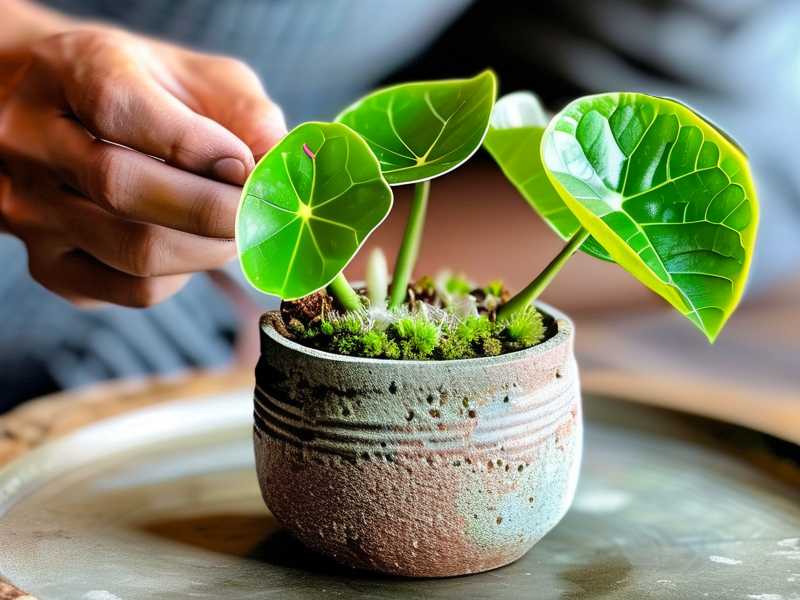
Days 4-7: Recovery and growth. After its relocation, the D. adelae stopped browning. New, small leaves emerged from the center, and they were already producing tiny dewdrops! The D. capensis went into a growth spurt, sending up new leaves covered in thick, sticky mucilage. The dew was spectacular in the morning light. My hygrometer showed the adjustments worked: 72-78% humidity with steady, gentle air flow.
Days 8-14: Stabilization and feeding. The microclimate was stable. The plants were visibly dewier and happier. I introduced food: pinhead-sized bits of dried bloodworms (used for fish) rehydrated in a drop of water, placed carefully on a few leaves every week. This is far better than relying on them to catch random flies, as recommended by the International Carnivorous Plant Society. The response was rapid; leaves curled around the food within a day, demonstrating healthy metabolic function.
However, I noticed a faint, white fuzz on the surface of the moss in one pot. Pitfall #2: Consistently high humidity without enough air flow can promote algae and mold on the soil surface.
Solution: I carefully scraped off the top layer of affected moss. I then adjusted the humidifier timer to have longer off periods during the day and pointed a small, low-speed fan across the top of the greenhouse bay (not directly at the plants). This disrupted the stagnant air pockets. The mold did not return.
Light: The Partner to Humidity
High humidity for sundew cultivation is useless without proper light. They need bright, indirect light. In my greenhouse, I use a 30% shade cloth year-round. Direct, scorching sun through glass can cook plants, even in high humidity. My sundews receive about 6 hours of gentle morning sun, then bright, filtered light for the rest of the day. Under this light, their dew glistens like diamonds, and they develop beautiful red and orange hues. The light drives photosynthesis, which fuels the energy-intensive process of producing their sticky, enzymatic dew.
Long-Term Maintenance in a Humid Greenhouse Environment
Growing sundew in a greenhouse isn’t a “set and forget” project. Weekly, I check the water level in the tray, refill the humidifier reservoir with distilled water, and remove any dead leaves to prevent rot. Monthly, I wipe down the greenhouse glazing near the plants to maximize light penetration and inspect for pests like aphids (a quick spray with diluted neem oil on a cloth, wiped on leaves, solves this).
The joy of seeing these fascinating plants thrive, knowing I’ve replicated their native bog conditions, is immense. Their constant dew is the ultimate sign of success.
How often should I water my sundew in a high-humidity greenhouse? Always keep them sitting in about 1/2 inch of distilled or rainwater in a tray. The high humidity reduces water loss from leaves, but the soil medium should remain consistently damp, not soggy. The tray method automates this. Check the tray water level weekly, not the soil daily.
My sundew’s dew has disappeared, but the humidity is high. What’s wrong? The most likely culprit is incorrect water. Switch to distilled or rainwater immediately. The second culprit could be insufficient light. High humidity keeps them alive, but strong, indirect light is what powers dew production. Try increasing their light exposure gradually. Lastly, check for pests.
Can I grow different types of sundews together in the same humid setup? Yes, with grouping by need. Cape sundews (D. capensis) are forgiving and can be with other subtropicals. More sensitive species like D. adelae prefer higher, stable humidity and lower light. Research your specific species’ needs and cluster them accordingly within your greenhouse space. A one-size-fits-all approach can lead to some plants struggling.
Mastering sundew care in a greenhouse is about balance. It’s the harmony between relentless humidity, pure water, airy soil, and gentle light. My two-week experiment turned into a permanent setup, and the proof is in the perpetual, glistening dew on every leaf. Start with the tray, invest in a good hygrometer, be vigilant with your water source, and observe your plants closely. They will tell you exactly what they need.