bluename
 How to Care for Sundew in a Bog Pot with Sarracenia: A 2-Week Journey from Setup to Success
I remember the exact moment I decided to combine my sundews and pitcher plants in a single, shared bog pot. It was after my third attempt to keep a Cape sundew (Drosera capensis) happy on a sunny windowsill ended in a crispy, dew-less failure. The frustration was real. I loved the otherworldly beauty of these carnivorous plants, but maintaining the constant, swamp-like moisture they crave seemed impossible in individual pots. I was tired of the guesswork, the inconsistent watering, and watching my plants slowly decline. That’s when I discovered the concept of a dedicated bog container garden. The promise was simple: create a mini-ecosystem that mimics their natural habitat, making care easier and the plants healthier. This is my hands-on, two-week chronicle of building and caring for a sundew and Sarracenia bog pot, complete with every stumble and solution I found along the way.
Understanding the Shared World of Sundews and Sarracenia
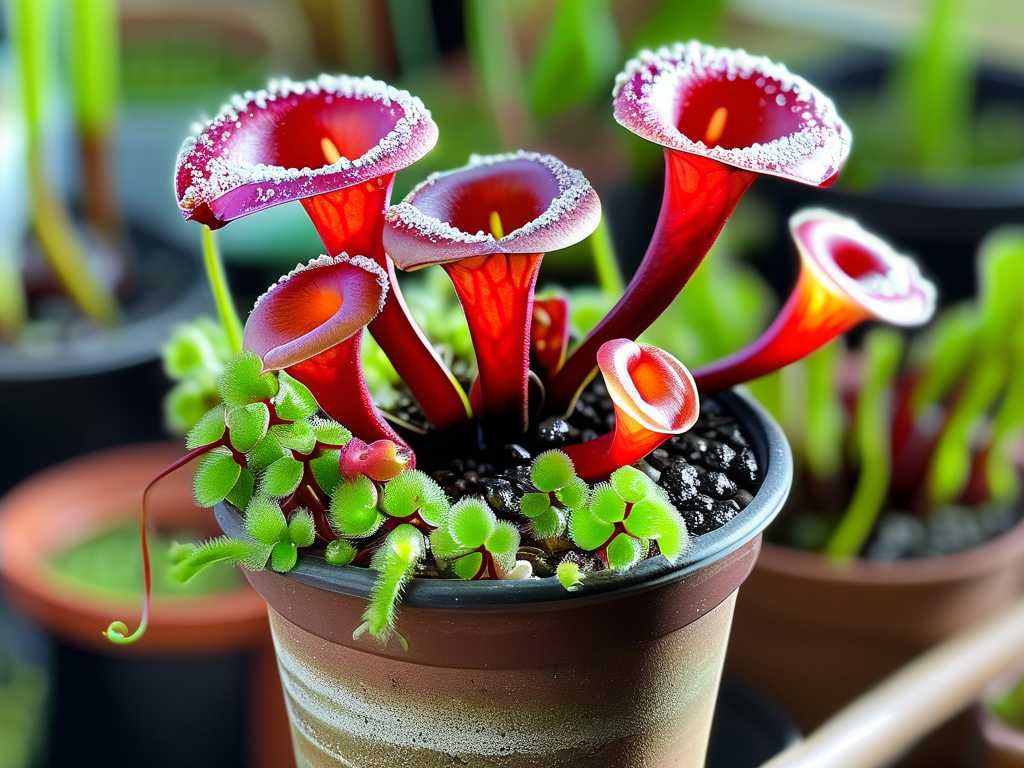
Before we dig into the soil, it’s crucial to know why these two genera can be perfect pot-mates. Both sundews (like the Drosera capensis I used) and North American pitcher plants (Sarracenia) are carnivorous plants native to sunny, nutrient-poor wetlands. They have evolved to thrive in similar conditions: full sun, high humidity, and perpetually moist, acidic, low-nutrient soil. The Royal Horticultural Society (RHS) emphasizes that replicating these natural conditions is the single most important factor for success. By planting them together in a large, non-draining container, we create a stable reservoir of water that maintains consistent moisture from the bottom up, which is far more effective than top-watering small pots daily.
My Step-by-Step Bog Pot Creation Process
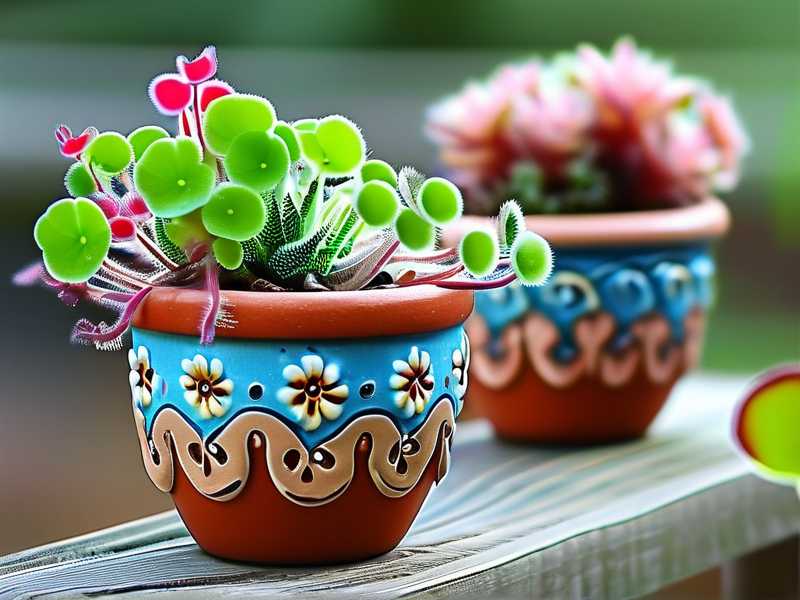
My goal was to create a low-maintenance, thriving display. I chose a 14-inch wide, 10-inch deep glazed ceramic pot without drainage holes. Here’s exactly what I did, step by step.
Gathering the Non-Negotiable Supplies You cannot use standard potting soil or compost. These will kill your plants with fertilizer and minerals. I sourced:
- Sphagnum Peat Moss: The base for acidity and moisture retention. I ensured it was nutrient-free.
- Horticultural Sand or Perlite: For aeration and drainage within the bog environment. I used coarse silica sand (pool filter sand is ideal).
- Distilled or Rainwater: Tap water, even filtered, often contains dissolved minerals that accumulate and poison carnivorous plants. This is the most common killer, as noted by many experts including those at the Carnivorous Plant Society. A gallon jug of distilled water became my best friend.
- The Plants: A robust Sarracenia purpurea (Purple Pitcher Plant) for its shorter stature and a vibrant, red-tinted Drosera capensis.
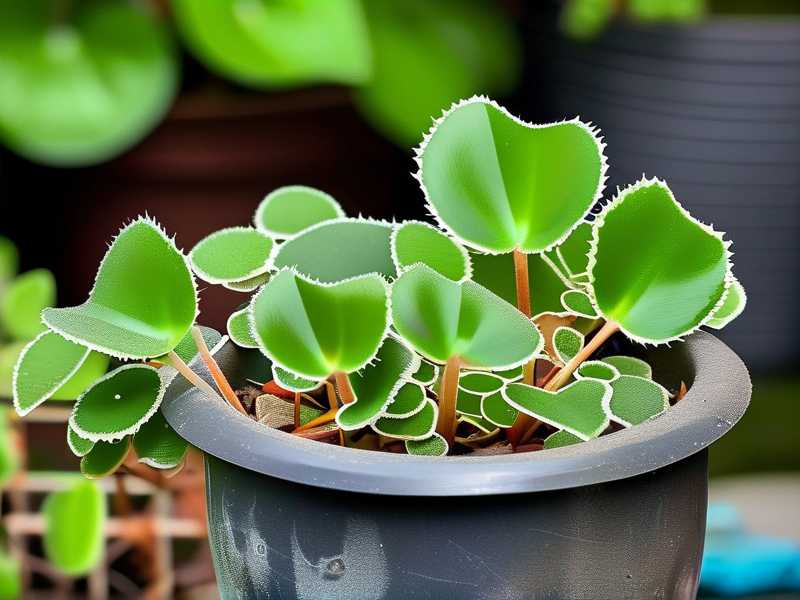
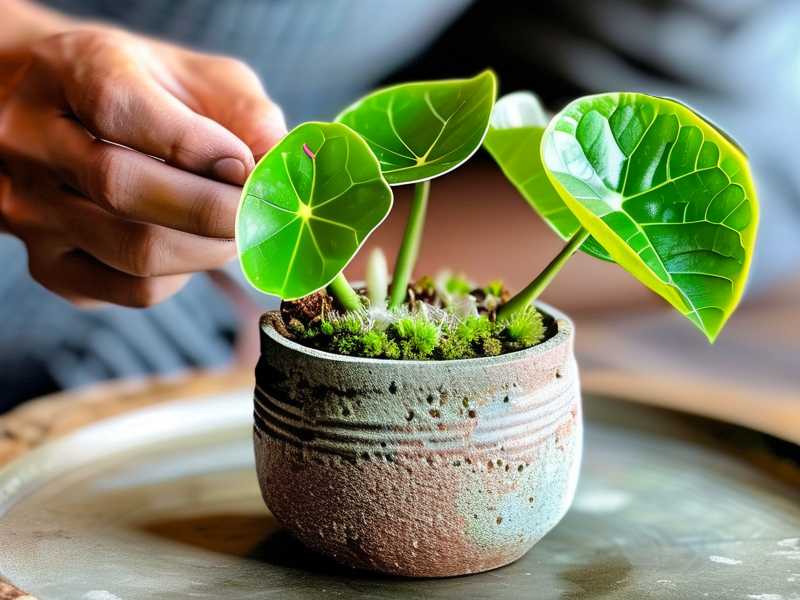
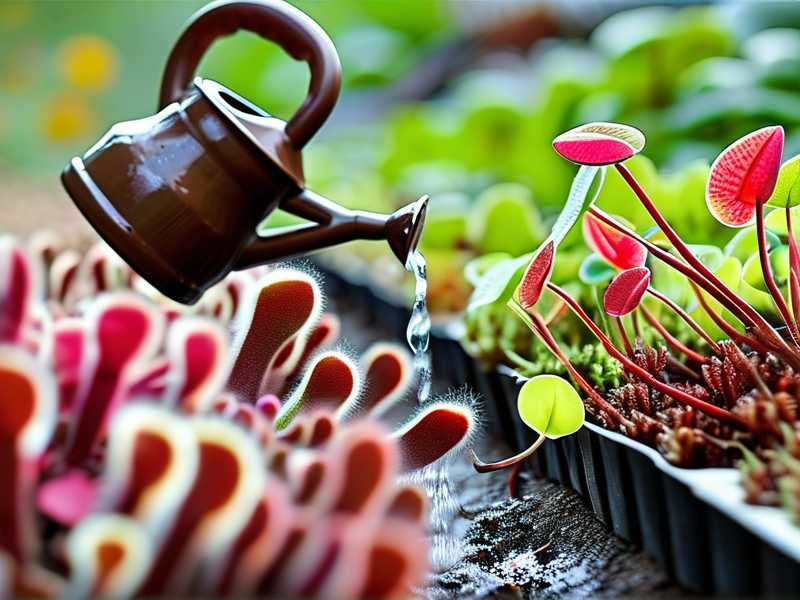
The Planting Procedure First, I mixed a 2:1 ratio of peat moss to sand in a large bucket, moistening it thoroughly with distilled water until it felt like a damp sponge. I filled the pot about two-thirds full with this mix. Gently, I removed the plants from their nursery pots, carefully rinsing their roots in distilled water to remove any old, questionable medium. I positioned the Sarracenia toward the center as a focal point and placed the Drosera near the front rim where its sticky tentacles could catch more light and unsuspecting gnats. After filling in around their roots with more medium, I gave the surface a final soak with distilled water until I saw a half-inch of water standing at the bottom of the pot—this is the “bog” reservoir.
The Critical First Two Weeks: Observation and Adjustment
This wasn’t a “set it and forget it” project. The first fortnight was a period of close monitoring.
Week 1: Establishing the Environment I placed the freshly potted bog on my south-facing patio where it would receive a minimum of 6 hours of direct sunlight. The first challenge appeared within two days: the peat mixture dried out on the surface faster than I expected, even with the water reservoir below. The Drosera’s dewdrops looked smaller. I realized the top layer needed more moisture to wick up from below. My solution was to top-water lightly with distilled water every morning for the first week, just to keep the surface damp, while checking the reservoir remained. By day five, the plants seemed settled. The Sarracenia’s pitchers felt firm, and new, tiny dew droplets glistened on the sundew every morning.
Week 2: Growth and a Pest Scare By the start of the second week, I noticed the first sign of active growth: a new, tiny pitcher emerging from the base of the Sarracenia. My sundew care routine was now simple: a daily morning check. I’d feel the weight of the pot and look for the water reservoir. I only added more distilled water when the reservoir was nearly dry, usually every 4-5 days. Then, I saw them—small, black aphids on the flower stalk of the sundew. This is a common issue in cultivation. Using insecticidal soap was risky for the delicate plant. Instead, I physically removed them with a small brush dipped in distilled water and manually squashed the colony. For broader treatment, a light spray of diluted neem oil (applied in the evening to avoid sunburn) did the trick without harming the plant’s sticky leaves.
Key Lessons in Ongoing Carnivorous Plant Care
After the initial setup period, the system began to prove its worth.
Watering: The Golden Rule I learned to trust the reservoir method. Instead of daily surface watering, which can promote algae, I now water only when the visible water at the bottom is almost gone. This deep-soaking method encourages healthy root growth and provides incredible stability. My previous failure with solo sundews was due to underwatering; this method solved it completely.
Feeding: Let Nature Handle It A major pitfall for beginners is trying to feed their plants hamburger or fertilizer. This will rot and kill them. These plants are adapted to catch their own food. Placed outdoors, my bog pot became a self-sufficient ecosystem. The Sarracenia’s pitchers trapped flies, and the sundew’s sticky leaves ensnared fungus gnats. I did not feed them manually. As per the American Horticultural Society’s advice on carnivorous plant care, healthy plants in good light will catch all they need.
Winter Dormancy Considerations Both Sarracenia purpurea and many sundews require a cool winter dormancy period to thrive long-term. As fall approaches, I will stop filling the reservoir as frequently and may move the pot to an unheated garage where it can experience cold (but not freezing) temperatures for a few months, mimicking their natural cycle.
Addressing Your Top Questions
Can I use tap water if I let it sit out for a day? No. Letting water sit only evaporates chlorine; it does not remove dissolved mineral salts like calcium and magnesium. These accumulate in the soil and will slowly poison your plants. Distilled, reverse osmosis, or rainwater are the only safe options for long-term carnivorous plant health in a bog garden.
How do I know if my bog pot is getting enough sun? Signs are clear. A sun-happy Sarracenia will develop strong, upright pitchers with vibrant coloration. A sundew receiving sufficient light will produce abundant, red-tinted dewdrops. If the Sarracenia is floppy or the sundew’s dew is sparse and the plant is green and leggy, it needs more direct sunlight. This is crucial for maintaining a healthy Sarracenia and sundew combination.
What if mold or algae grows on the soil surface? This is common in constantly wet environments. For fluffy white mold, simply scrape it off. For algae, which forms a green scum, improve air circulation and scrape off the top layer of peat. You can also add a thin top dressing of long-fiber sphagnum moss, which looks natural and inhibits algae growth. It’s a minor issue and not a direct threat to established plants.
Creating this sundew and Sarracenia bog pot transformed my experience as a carnivorous plant enthusiast. What seemed like a finicky, high-maintenance hobby became a manageable and deeply rewarding project. The two-week establishment period was key to understanding the rhythm of the mini-ecosystem. By providing the right medium, pure water, and abundant sun, and then stepping back to let nature work, I now have a thriving, low-intervention display that catches its own breakfast and drinks from its own reservoir. The journey from individual, struggling pots to this communal bog has been the ultimate solution, bringing me closer to the fascinating reality of how these remarkable plants live in the wild.