bluename
 How to Provide Humidity for Sundew Indoors: A Plant Lover’s Practical Guide
I remember the excitement of bringing home my first sundew, only to watch its once-glistening, sticky tentacles turn dry and dull within days. That initial heartbreak is a common story for many indoor carnivorous plant enthusiasts. The central challenge is clear: sundews (Drosera) are humidity lovers, often thriving in boggy environments, while our homes—especially those with air conditioning or heating—are notoriously dry. If you’ve ever wondered why your sundew isn’t producing dew or looks stressed, inadequate humidity is likely the culprit. After extensive trial, error, and a dedicated two-week observation period, I’ve refined reliable methods to create the perfect humid microclimate. Let me walk you through the steps that saved my plants, including the mistakes I made along the way.
Understanding Your Sundew’s Humidity Needs
Not all sundews demand swamp-level moisture. Species like Drosera capensis (Cape sundew) are relatively adaptable, while others like Drosera adelae or tropical varieties are far more demanding. However, most will perform best with humidity levels consistently above 50%. Low humidity causes the plant to stop producing its characteristic, insect-trapping mucilage—essentially, it can’t be a proper carnivore. According to the International Carnivorous Plant Society (ICPS), maintaining adequate atmospheric moisture is as critical as using mineral-free water and proper light. My journey began by investing in a simple digital hygrometer. Placing it near my plants revealed the harsh truth: my living room hovered around a mere 35% humidity. This data was my starting point.
My Go-To Method: The Humidity Tray (Pecky Tray)
This is the most straightforward, low-maintenance solution I’ve found, and it became the cornerstone of my setup.
- The Setup: I took a wide, shallow plastic tray and filled it with a layer of pebbles or LECA (clay balls). I then poured in distilled water until it reached just below the top of the pebbles. My sundew pot (always with drainage holes) sits directly on top of the pebbles, never in the water. This is crucial to avoid root rot.
- The Science: As the water in the tray evaporates, it creates a localized bubble of humid air directly around the plant. It’s a simple yet effective passive system.
- My Two-Week Observation: I monitored a Drosera natalensis on a humidity tray. By Day 3, I noticed new leaves were emerging with a slight dewy sheen. By Day 7, the existing tentacles, which had been dry, began to show tiny droplets in the mornings. By the end of Week 2, the plant was consistently dewy and had even caught a few fungus gnats on its own. The hygrometer now read 55-60% in the immediate area.
- The Pitfall and Fix: My first mistake was using a tray that was too small and shallow. The water evaporated within a day, requiring constant refills and causing humidity to fluctuate. I switched to a much wider and deeper tray. The larger water reservoir slowed evaporation, provided more surface area for humidity, and stabilized the environment. I now only need to refill it every 4-5 days.
Creating a Mini Greenhouse: The Cloche or Dome
For my most humidity-sensitive sundew, a tiny Drosera scorpioides, I employed the cloche method.
- The Setup: I used a clear glass cloche (a bell jar) placed over the pot. You can achieve a similar effect with a clear plastic bag supported by chopsticks or a cut-off plastic bottle.
- The Immediate Effect: This creates an ultra-high-humidity, terrarium-like environment. Dew production exploded almost overnight.
- My Two-Week Observation: Under the cloche, humidity soared above 80%. The sundew became incredibly dewy and vibrant. However, by Day 10, I observed the first signs of trouble: a faint hint of white, fuzzy mold on the soil surface and a softening of the oldest leaves. This was a classic case of too much of a good thing—stagnant, excessive humidity without airflow.
- The Pitfall and Fix: The sealed environment prevented air circulation, encouraging mold and potential rot. The fix was simple but essential: I began a daily ventilation routine. Every morning for 30-60 minutes, I would remove the cloche to allow fresh air to circulate and let condensation dry. This one habit prevented mold and strengthened the plant. It’s a balance between containment and refreshment.
Investing in a Humidifier: The Controlled Solution
For a collection of several sundews, I found a humidifier to be the most effective and consistent tool.
- The Setup: I placed a small, cool-mist ultrasonic humidifier on a shelf near my plant shelf, pointing the mist away from the plants directly (to avoid leaf spotting). The goal is to humidify the air, not soak the plants.
- Optimizing Use: I used the humidifier’s built-in hygrostat to set it to maintain 60% humidity. It would automatically turn on and off to hold that range. I used only distilled water in the humidifier to prevent any mineral dust from settling on my plants—a key tip often emphasized by experts to avoid clogging the plants’ delicate pores.
- My Two-Week Observation: This provided the most stable environment. All my sundews, including a finicky Drosera filiformis, showed uniform improvement. Growth was steady, dew was constant, and I didn’t have the mold worries of the cloche method. The downside? It requires a larger initial investment and regular cleaning of the device to prevent bacterial buildup, a point strongly advocated for by health and appliance authorities like AHAM (Association of Home Appliance Manufacturers) for safe operation.
The Role of Proper Watering and Light
Humidity doesn’t work in a vacuum. I learned that these two factors are its powerful allies.
- Watering: I always water my sundews from below (using the tray method) with distilled or rainwater. Keeping the soil consistently moist (but not waterlogged) adds to the substrate’s evaporation and synergizes with ambient humidity efforts. A dry pot on a humidity tray is fighting a losing battle.
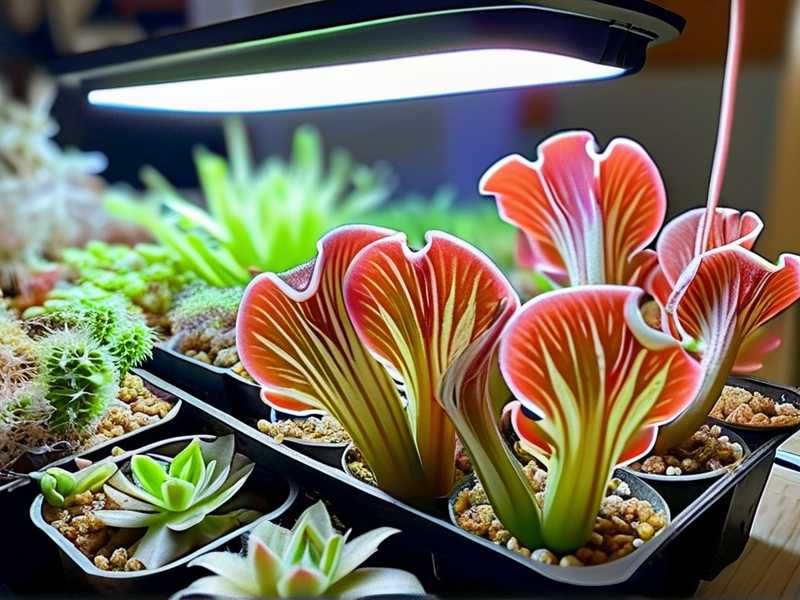
- Light: Providing strong, bright light (from a south-facing window or a dedicated grow light) is non-negotiable. A well-lit sundew is a metabolically active sundew, better able to utilize the humidity and produce dew. I use a full-spectrum LED grow light for 12-14 hours daily, and I’m convinced it makes the humidity management efforts ten times more effective.
What about misting? I tried it. While it temporarily wets the leaves, it does not lastingly raise humidity and can, if overdone, encourage fungal issues or wash away the precious dew. I do not recommend it as a primary strategy.
Common Questions from Fellow Growers
Can I group my sundews with other plants to raise humidity? Yes, absolutely. Grouping plants together creates a “transpiration community,” where each plant releases moisture into the shared air. I clustered my sundews with a few peace lilies and ferns, and the hygrometer confirmed a 5-10% increase in the cluster’s zone compared to the rest of the room. Just ensure all grouped plants have similar light and water needs.
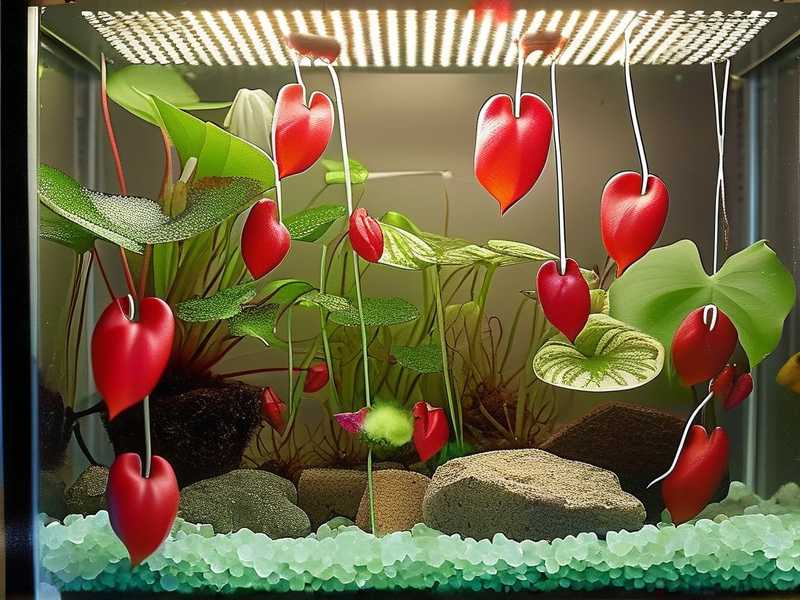
My sundew is in a terrarium; how do I manage humidity there? Terrariums are excellent but require careful balance. My terrarium has a vented lid. I keep a shallow water layer at the bottom below a false floor of grate and sphagnum moss. This creates a stable, high-humidity environment (70-80%) with minimal watering needed. The key is the vented lid—it allows for slight air exchange, preventing the stagnation I encountered with the solid cloche.
What’s the most budget-friendly way to start? Begin with the humidity tray. A plastic drip tray from a garden center, some cheap pebbles, and distilled water are all you need. It’s low-cost, effective, and teaches you the basics of observing your plant’s response to improved conditions. This simple method alone can often solve the humidity problem for more adaptable sundew species.
Providing the right humidity for your indoor sundew is less about replicating a rainforest and more about creating a consistent, suitable microclimate. Whether you choose the simplicity of a pebble tray, the high-tech approach of a humidifier, or the enclosed world of a cloche, the principles remain the same: boost moisture in the air, ensure fresh air circulation, and support it with proper light and watering. Watching those glistening droplets form, knowing your plant is healthy and capable of catching its own meals, is a deeply rewarding part of the carnivorous plant hobby. Start with one method, observe closely for a week or two, and adjust as needed. Your sundew will show its gratitude with every new, dewy leaf.