bluename
 How to Grow Drosera Capensis (Cape Sundew) Indoors: A Beginner’s Guide from a Fellow Plant Lover
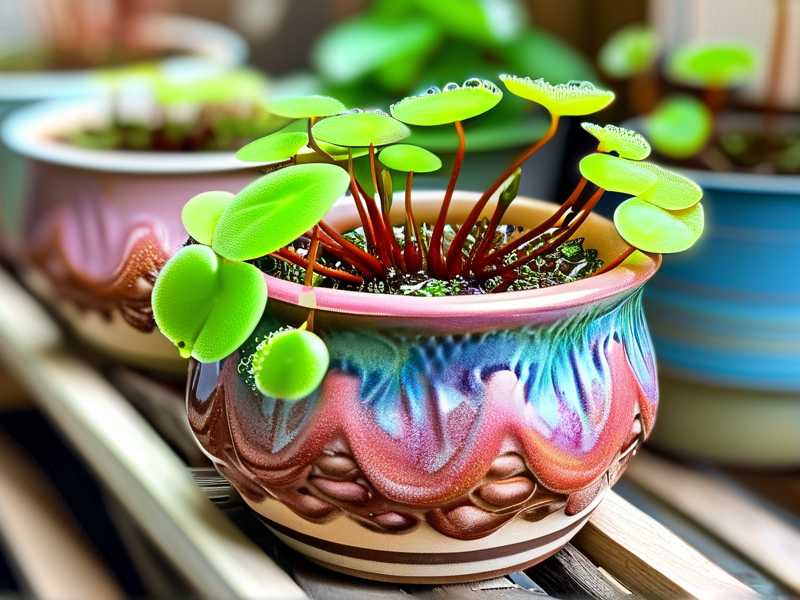
I remember the first time I saw a Drosera capensis, or Cape Sundew. Its glistening, dew-tipped tentacles looked almost otherworldly, a tiny, carnivorous jewel. I was instantly hooked but equally intimidated. I’d killed my fair share of houseplants, and the idea of keeping a “carnivorous plant” alive indoors seemed like a specialist’s hobby. My core frustration was simple: generic advice failed me. I needed a clear, step-by-step guide from someone who had actually done it, someone who had made the mistakes and found the solutions. If you’ve ever felt that mix of fascination and fear, wondering how to grow Drosera capensis indoors successfully, you’re in the right place. I’ve been there, and after turning my initial failures into a thriving indoor collection, I’m here to share exactly what works.
This guide is built on my personal, hands-on experience. I’ll walk you through every critical step, share the results of my own two-week observation journal, and most importantly, detail the pitfalls I stumbled into and how you can avoid them. Let’s demystify the process together.
Understanding Your Cape Sundew: It’s All About the Roots
Before we talk about pots and soil, we must understand what makes this plant tick. Drosera capensis is a carnivorous plant native to South Africa. Those sticky “dewdrops” are a sophisticated glue trap for unsuspecting insects, which the plant digests to supplement nutrients it can’t get from poor soil. This is the key: in their natural habitat, they grow in nutrient-poor, waterlogged, acidic soils. Replicating these conditions is non-negotiable for indoor success. As experts from the International Carnivorous Plant Society (ICPS) emphasize, the single biggest killer of carnivorous plants is mineral toxicity from tap water and rich potting mixes.
The Essential Toolkit for Indoor Success
Gathering the right supplies from the start prevents 99% of common problems. Here’s what you absolutely need:
- The Plant: Start with a healthy specimen. Look for vibrant green or red leaves (depending on the variety) with active, sticky dew.
- Water: This is the most critical item. You must use low-mineral water. Distilled water, reverse osmosis (RO) water, or rainwater are perfect. I used grocery-store distilled water exclusively. Never use tap, spring, or filtered drinking water—the dissolved minerals will accumulate and poison the plant.
- Pot & Tray: A 4-6 inch plastic pot with drainage holes is ideal. You’ll also need a deep saucer or tray to create the “water tray” method, which we’ll use.
- Soil Mix: Standard potting soil is a death sentence. You need an acidic, nutrient-free medium. A simple 50/50 mix of sphagnum peat moss and horticultural sand (or perlite) is perfect. Ensure the sand is silica-based and washed.
- Light: A bright, sunny south-facing window is the minimum. For robust growth and intense color, a grow light for carnivorous plants is a game-changer indoors.
My Step-by-Step Planting and Care Routine
Here is the exact process I followed, monitoring the results closely over the first crucial weeks.
Setting the Perfect Foundation: Potting
I filled my plastic pot with the pre-moistened peat/sand mix, made a small hole, and gently settled the Cape Sundew’s roots in. I carefully firmed the medium around the base, being sure not to bury the crown (the central growing point). Then, I placed the pot in its tray.
The Watering Method That Never Fails
I poured my distilled water into the tray, not the pot, until the water level was about one-third the height of the pot. This is the “water tray” or “bottom-watering” method. It keeps the soil permanently moist from below, mimicking the plant’s boggy home. My rule: never let the tray dry out completely. I top it up with distilled water as needed.
Finding the Sweet Spot for Light
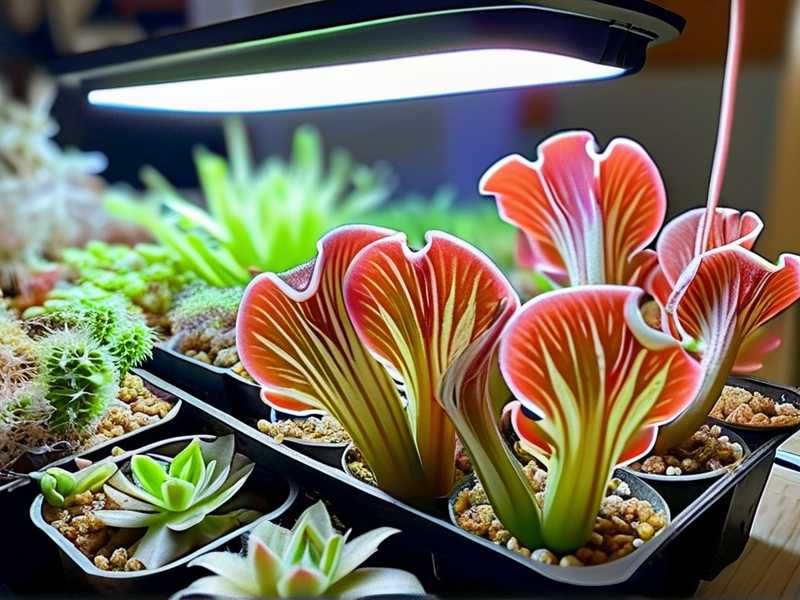
I started my plant on a very bright windowsill. After a few days, I noticed the leaves were a bit greener and the stalks slightly longer, reaching for more light. This was a sign it needed more intensity. I moved it under a full-spectrum LED grow light, positioned about 6-8 inches above the plant, set on a 14-hour timer. The transformation began.
The Two-Week Transformation: An Observation Log
- Days 1-3: Acclimation. The plant looked unchanged, which I took as a good sign—no immediate shock.
- Days 4-7: New growth visible. A tiny, furled leaf emerged from the center. The existing dew remained sticky.
- Days 8-14: Dramatic improvement. Under the grow light, the new leaves grew faster and developed a beautiful reddish tint. The dew production became more prolific, glistening noticeably. This confirmed that adequate lighting for Drosera capensis was the catalyst for vigorous health and proper “dew” development. By the end of the second week, I had two robust new leaves unfurled and hunting.
Feeding: A Delicate Balance
You don’t need to feed your indoor sundew if it’s catching the occasional fungus gnat. However, for optimal growth, I practice targeted feeding. Once every 2-4 weeks, I select a single tentacle leaf and place a tiny, dead insect (like a dried bloodworm rehydrated with a drop of water) onto the dew. The leaf will curl around it over hours. Never use fertilizer or meat. Overfeeding can rot a leaf—one insect per leaf, max.
The Pitfalls I Encountered (And How to Fix Them)
My journey wasn’t without stumbles. Here’s where I went wrong so you don’t have to.
- The Tap Water Trap: In my early days, I used filtered tap water “just once” while waiting for a distilled water delivery. Within 10 days, the dew production slowed, and leaf tips began browning. The solution was an immediate flush: I sat the pot in a bowl of distilled water and let it soak through, leaching out minerals, then returned to strict distilled water only. Recovery took about three weeks.
- The “Helpful” Fertilizer Mistake: Thinking a diluted orchid fertilizer might boost it, I applied a tiny mist. This caused rapid, weak, deformed growth and burned several leaves. The fix was harsh but necessary: I unpotted the plant, gently rinsed the roots in distilled water, and repotted it in completely fresh medium. It taught me the absolute necessity of a nutrient-free soil mix for Cape Sundew.
- Insufficient Light Leads to Legginess: Before the grow light, my plant became “leggy”—long, weak stems with small leaves. This is etiolation. The remedy was increasing light intensity. Under the LED, new growth became compact, colorful, and sturdy.
Winter Dormancy and Long-Term Care
Drosera capensis is less demanding about dormancy than other species, but in lower-light winter months, growth may slow. It might form a tight cluster of smaller leaves (a “winter rosette”). Just keep it on the windowsill, maintain the water tray, and reduce feeding. Come spring, it will explode with growth again. They also readily produce flower stalks (which you can cut to conserve energy) and self-seed, giving you plenty of baby plants.
My Top Three Cape Sundew Dilemmas, Solved
Why is the dew disappearing on my plant? This is almost always due to one of three issues: low humidity, incorrect water (mineral buildup), or insufficient light. Indoors, light is often the prime suspect. Try moving it to a brighter location or investing in a simple grow light. Ensure you’re using only distilled/RO/rainwater.
Can I grow Cape Sundew in a terrarium? You can, but it’s not necessary and can cause problems like fungal rot from stagnant air. They thrive in open-air conditions with good airflow. If you use a terrarium, ensure it’s not fully sealed and has strong ventilation and lighting to prevent overheating and mold.
My plant’s leaves are turning black. Is it dying? Individual leaves, especially older ones, naturally die back as the plant grows. This is normal. Simply trim the black leaf off at the base. If all leaves are rapidly turning black, it’s a sign of root stress from bad water, overfeeding, or soil contamination. Re-evaluate your care fundamentals: water type, soil mix, and lighting.
Growing Drosera capensis indoors is a deeply rewarding experience. It connects you to a fascinating corner of the plant kingdom and serves as a living lesson in precision care. By providing the simple trinity of pure water, the right soil, and strong light, you’ll be rewarded with a resilient, ever-changing, and captivating carnivorous companion. Start with the basics, learn from its responses, and soon you’ll find yourself marveling at your own glistening, thriving sundew.