How to Propagate Sundew from Division: A Step-by-Step Guide to Multiply Your Carnivorous Plants
Are you a sundew enthusiast looking to expand your collection without buying new plants? Perhaps you have a mature, overgrown sundew that seems less vigorous, or you simply want to share the wonder of these sticky-leaved carnivores with fellow growers. The challenge many face is the fear of harming their prized plant during propagation. Unlike starting from seeds, which can be slow and uncertain, learninghow to propagate sundew from divisionoffers a faster, more reliable path to new plants. This method leverages the natural growth habit of many sundew species, allowing you to create genetically identical clones from a healthy parent. Done correctly, it’s a simple and immensely rewarding process that ensures your sundew’s legacy continues to thrive.
This comprehensive guide will walk you through the entire process, from identifying the perfect candidate to post-division care. We’ll focus on the practical steps to successfullydivide sundew plants, ensuring both your original specimen and its offspring flourish.

Understanding Sundew Growth and When to Divide
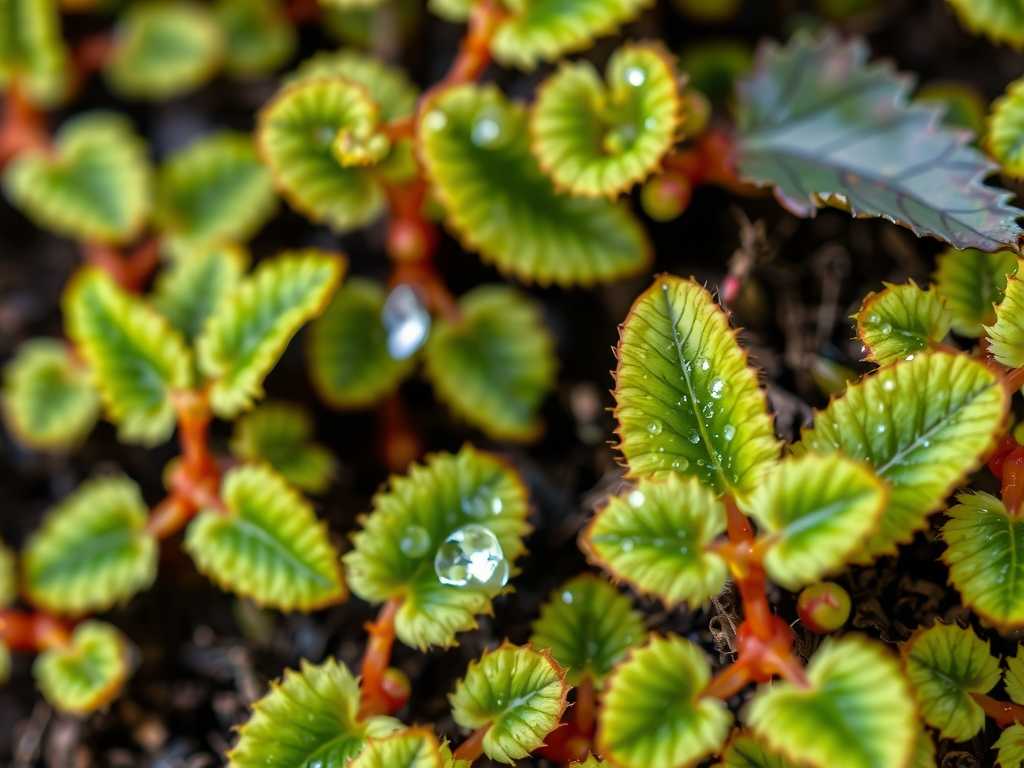
Not every sundew is ready for division. Successful propagation hinges on timing and understanding your plant's structure. Most commonly divided sundews are those that form clumps or rosettes from a central point, such asDrosera capensis(Cape Sundew),Drosera spatulata, and many temperate species.
The ideal time forsundew plant divisionis at the start of the plant's primary growing season, typically in early spring as new growth emerges. This gives the divisions the entire growing season to establish strong roots. Key signs your sundew is ready include:
- A dense, crowded cluster of crowns emerging from the soil.
- The center of an older plant becoming woody or less productive.
- The plant naturally producing multiple, distinct growth points.
As noted by carnivorous plant expert Dr. Barry Rice in his seminal work "Growing Carnivorous Plants," vegetative propagation methods like division are often preferred for maintaining specific cultivar traits, a principle that applies perfectly to sundews.
Essential Tools and Preparation for Sundew Division
Gathering the right materials beforehand is crucial for a smooth, stress-free process—for both you and the plant. You will need:
- Fresh, Appropriate Potting Mix:A standard carnivorous plant blend of 50% peat moss and 50% perlite or silica sand is perfect. Never use potting soil, compost, or fertilizers.
- Clean Pots:Have several small pots (3-4 inches) ready, cleaned with a 10% bleach solution and rinsed thoroughly.
- Precision Tools:Sharp, sterilized scissors or a razor blade, and fine-tipped tweezers.
- Water:Distilled water, reverse osmosis water, or rainwater.
- A Clean Workspace.
Step-by-Step Guide: How to Divide Your Sundew Plant
Follow these clear steps to ensure a successfulpropagation of sundew by division.
Step 1: Preparing the Parent Plant
Water your sundew thoroughly a few hours before the procedure. Moist soil makes it easier to remove the root ball with minimal damage. Gently remove the entire plant from its pot, carefully shaking and teasing away the old potting medium to expose the root system and the base of the crowns.
Step 2: Identifying and Separating the Divisions
Examine the plant's base. You will see multiple individual "crowns" or growth points, each with its own set of leaves and roots. Your goal is to identify natural separation points. Using your sterilized blade or fingers, gently but firmly tease these crowns apart, ensuring each division retains a portion of healthy, white roots. For very tangled plants, you may need to make a clean cut through a connecting rhizome. The key is to minimize root tearing.
Step 3: Potting Up the New Sundew Divisions
Fill your new pots with the damp potting mix. Create a small hole in the center for the roots. Place each division in its own pot, spreading the roots out gently. Position the crown (the point where leaves emerge) at the same soil level it was previously growing. Gently firm the medium around the roots to eliminate large air pockets.
Step 4: The Critical Aftercare Phase
Immediately after potting, water each division from the top with your purified water to settle the soil. This is the most vulnerable time for your new plants.
- High Humidity:Place the pots in a high-humidity environment. A terrarium, propagation tray with a clear dome, or even a loosely sealed plastic bag works wonders. This reduces transplant shock and prevents dehydration while new roots establish.
- Light:Provide bright, indirect light. Avoid direct, scorching sun for the first 1-2 weeks.
- Water:Keep the soil consistently moist, using the tray method (keeping the pot in a shallow saucer of water) once you see signs of new growth.
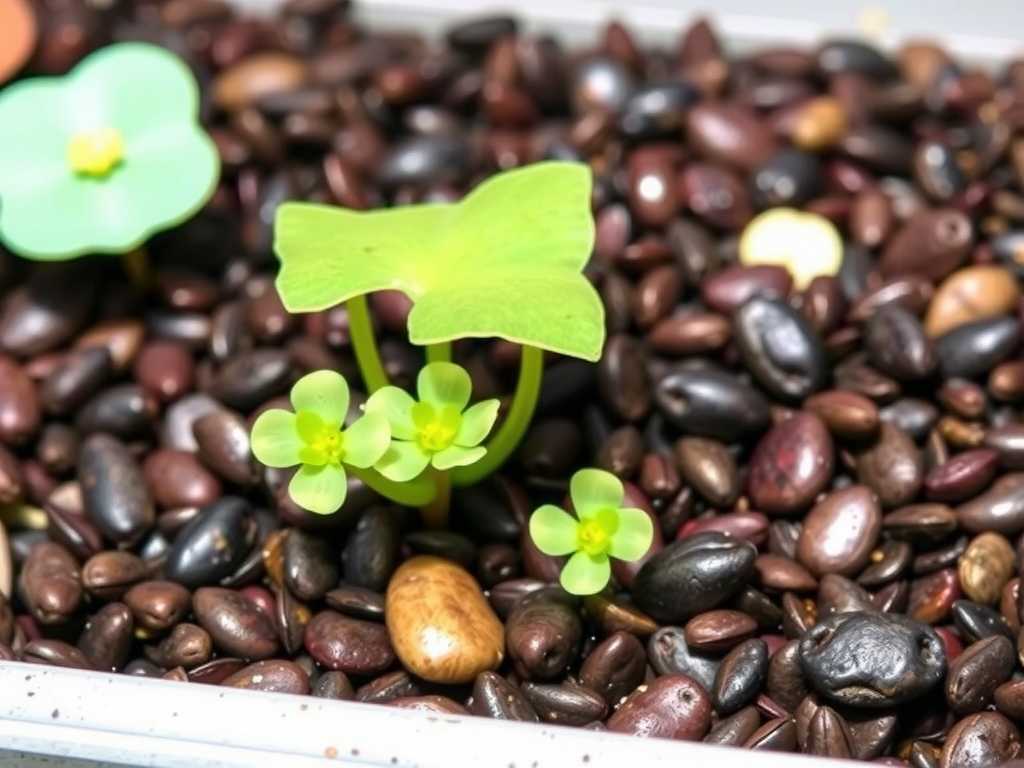
Within two to four weeks, you should observe new sticky dew forming on the leaves—the definitive sign yoursundew division propagationhas been a success. At this point, you can gradually acclimate them to lower humidity and their permanent growing conditions.
Troubleshooting Common Division Problems
Even with care, issues can arise. A division that wilts severely may have sustained too much root damage. Return it to a high-humidity enclosure. If any part turns black and mushy (rot), remove the affected tissue immediately with a sterile tool and ensure the soil is not waterlogged. Patience is essential; some divisions may take longer to bounce back than others.
Will dividing my sundew harm the original plant?When performed correctly on a healthy, mature plant, division invigorates the original. By reducing crowding, you allow better air circulation and light penetration to the remaining crowns, which often leads to more vigorous growth. The process mimics the natural way these plants spread in the wild.
How many new plants can I get from one division?This depends entirely on the size and growth habit of the parent sundew. A large, matureDrosera capensisclump might yield 4-8 viable divisions, while a smaller rosette may only provide 2-3. The goal is to ensure each piece has sufficient roots, not to maximize quantity at the expense of plant health.
My divided sundew isn’t producing dew. What’s wrong?A lack of dew is a common sign of stress after division, often due to low humidity or insufficient light. Ensure the plant is in its high-humidity recovery environment and receiving adequate bright light. As the plant overcomes transplant shock and establishes new roots, dew production will resume. Avoid the temptation to feed it until it is fully dewed and growing actively.
Mastering the technique of sundew division is a fundamental skill for any carnivorous plant gardener. It transforms a single specimen into a thriving collection, allows for the rescue and rejuvenation of older plants, and deepens your connection to their unique biology. By choosing the right plant, timing the process well, and providing meticulous aftercare, you ensure that the fascinating, glistening legacy of your sundews continues to grow.
")

发表评论