How to Grow Sundew from Seeds in a Propagator: A Complete Beginner’s Guide
")
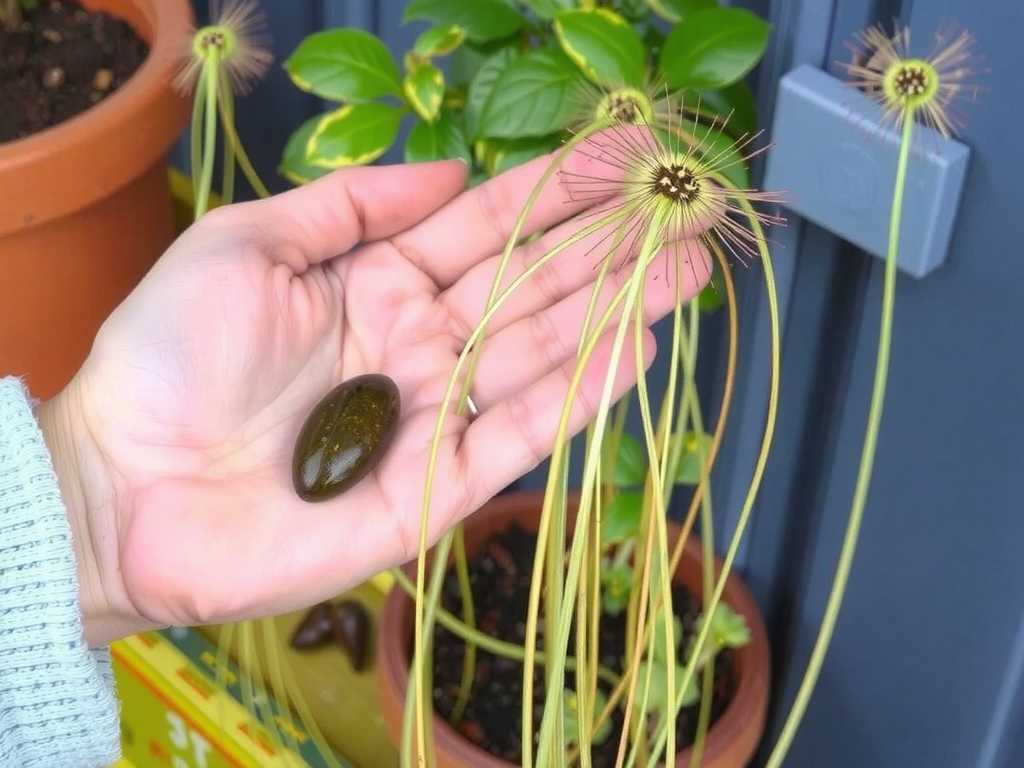
You’ve been captivated by the otherworldly beauty of sundews, those dewy, glistening carnivorous plants that look like something from a sci-fi movie. You’re eager to grow your own colony from scratch, but the thought of tiny, dust-like seeds failing to sprout is holding you back. It’s a common frustration—sundew seeds are notoriously slow and finicky under normal room conditions. The secret to unlocking reliable, vigorous germination lies in mastering one simple tool: a propagator. This guide will walk you through every step, turning that packet of tiny seeds into a thriving, insect-catching display.
Why a Propagator is Non-Negotiable for Sundew Seeds

Sundew seeds, especially from temperate species, often require a cold, damp period to break dormancy, mimicking winter. Tropical varieties need consistently warm and humid conditions. A propagator provides the ultimate controlled environment to meet these needs. It maintains high humidity, preventing the delicate seeds and subsequent seedlings from drying out. It also stabilizes temperature, which is critical for triggering germination. Without this controlled climate, germination rates can be dismal and unpredictable. Think of the propagator as your seed’s personal incubation chamber, dramatically increasing your chances of success from the very start.
Essential Materials and Setup Before You Begin
Gathering the right materials beforehand sets the stage for success. You won’t need complex equipment, but quality matters.
- The Propagator:A basic, humidity-dome seedling tray is perfect. Ensure it has ventilation vents so you can regulate humidity later.
- Growing Medium:Never use standard potting soil. Sundews require nutrient-free, water-retentive media. A 50:50 mix of sphagnum peat moss and perlite is ideal. Pre-moisten it with distilled water, rainwater, or reverse osmosis water until it’s damp like a wrung-out sponge.
- Containers:Use clean seedling cells or small pots. Fill them with your pre-moistened mix, leaving a small space at the top.
- The Seeds:Source seeds from a reputable carnivorous plant nursery. Fresh seeds have the highest viability.
- Water:Have a dedicated jug of distilled, rain, or reverse osmosis water ready. Tap water, with its dissolved minerals, can harm or kill sundews.
- Labels:Trust us, you will forget what you planted where. Label each container with the species and sowing date.
Step-by-Step: Sowing Your Sundew Seeds for Maximum Germination
Now for the main event. Follow these steps carefully for the best results on your journey togrow sundew from seeds in a propagator.
- Preparing the Surface:Gently level the growing medium in your pots. Do not compact it. The surface should be even and open.
- Sowing the Seeds:Sundew seeds need light to germinate, so do not bury them. Carefully sprinkle the tiny seeds onto the surface of the medium. Aim for a sparse distribution to give seedlings space later. You can gently press them into contact with the moss, but they should remain visible.
- The Cold Stratification Step (For Temperate Sundews):If you’re growing temperate species likeDrosera capensisorD. filiformis, they require cold stratification. Once sown, seal the pots inside a plastic bag or cover the propagator tray and place it in your refrigerator (not freezer) for 3-6 weeks. This simulates winter.
- Moving to the Propagator:After stratification (or immediately for tropical seeds), place your sown pots into the propagator base. Add about 1 cm of your pure water to the bottom of the tray to maintain humidity, ensuring the water level stays below the pots’ drainage holes.
- Creating the Ideal Environment:Place the clear dome lid on top. Close all ventilation vents initially to create a near-100% humidity environment. Position the propagator in a bright location with strong, indirect light. A windowsill with eastern exposure or under grow lights works well. Avoid direct, scorching midday sun which can overheat the sealed propagator. Ideal temperatures are between 70-78°F (21-26°C).
Caring for Your Sundew Seedlings in the Propagator
Patience is key. Germination can take anywhere from 2 to 8 weeks. During this period, your job is simple: monitor.
- Light:Ensure they get 12-16 hours of bright light daily. Insufficient light will result in weak, elongated seedlings.
- Humidity and Airflow:Keep the dome on and vents closed until you see a forest of tiny green specks. Once most seeds have germinated, begin to open the vents slightly to introduce airflow. This is crucial to prevent fungal growth (dampening off). Over the next week, gradually open vents more to lower humidity, acclimatizing the seedlings to room conditions.
- Watering:Always keep about 1 cm of pure water in the propagator’s bottom tray. Water from below only. Never let the medium dry out, and never water from above, as this can dislodge seeds or damage seedlings.
- Expert Tip:As noted by carnivorous plant specialist Dr. Barry Rice in his writings, the greatest threat to seedlings at this stage is fungal attack. The gradual reduction of humidity via vent management after germination is the most effective preventative measure.
Transplanting and Ongoing Care for Young Sundews
Once your seedlings have developed 3-4 true leaves (not just the initial seed leaves) and are crowded, it’s time to transplant.
- Preparation:Prepare new pots with the same peat/perlite mix. Moisten it thoroughly.
- The Process:Using a small tool like tweezers or a toothpick, gently tease apart a clump of seedlings. Handle them only by a leaf, never the fragile stem. Make a small hole in the new medium and gently lower the roots in. Firm the medium lightly around them.
- Post-Transplant Care:Place the transplanted seedlings back into the propagator for a week or two to help them recover from the shock, maintaining high humidity. Then, continue the process of hardening them off to lower humidity by removing the dome for longer periods each day.
- Long-Term Success:Once acclimated, your sundews need three things forever:Bright Light(a south-facing window or strong grow lights),Pure Waterin a tray system (keep the pot sitting in 0.5-1 inch of water at all times), andNutrient-Free Soil. They will catch their own food. Do not fertilize them.
Troubleshooting Common Propagation Problems
- No Germination:Check if your species needs cold stratification. Ensure seeds are fresh and were surface-sown, not buried. Temperature might be too low.
- Mold or Fungus:This signals excessive humidity and poor airflow. Increase ventilation immediately. You can carefully apply a light dusting of ground cinnamon, a natural fungicide, to affected areas.
- Seedlings Dying (Dampening Off):Stems turn thin, black, and collapse. Caused by fungal pathogens in overly wet, stagnant conditions. Improve airflow, ensure the propagator isn’t overcrowded, and use sterile tools and medium next time.
- Leggy, Weak Seedlings:This is a desperate plea for more light. Move them to a much brighter location immediately.
Frequently Asked Questions
How long does it take for sundew seeds to sprout in a propagator?With optimal conditions in a propagator, germination typically begins within 2-4 weeks for many common species, though some can take several months. The propagator’s consistent environment significantly speeds up this process compared to open-air sowing.
Can I skip using a propagator and just use a plastic bag?Yes, a clear plastic bag over a pot can create a similar mini-greenhouse effect and is a good low-cost alternative. However, a propagator with a vented dome is often easier to manage for airflow control and prevents the bag from sticking to or crushing the emerging seedlings.
When should I remove my sundew seedlings from the propagator?Begin the removal process once the seedlings are well-established with several true leaves and after you have gradually acclimatized them to lower humidity over 1-2 weeks by opening the vents fully. Sudden removal can desiccate the tender plants.
Growing sundews from seed is a profoundly rewarding process that unveils the full life cycle of these fascinating carnivores. By leveraging the controlled environment of a propagator, you overcome the biggest hurdle—germination. From there, consistent care with pure water and bright light will see your tiny seeds transform into dewy, glistening adult plants, ready to add a touch of predatory wonder to your home. The journey from seed to insect-trapping marvel is now in your hands.

发表评论